
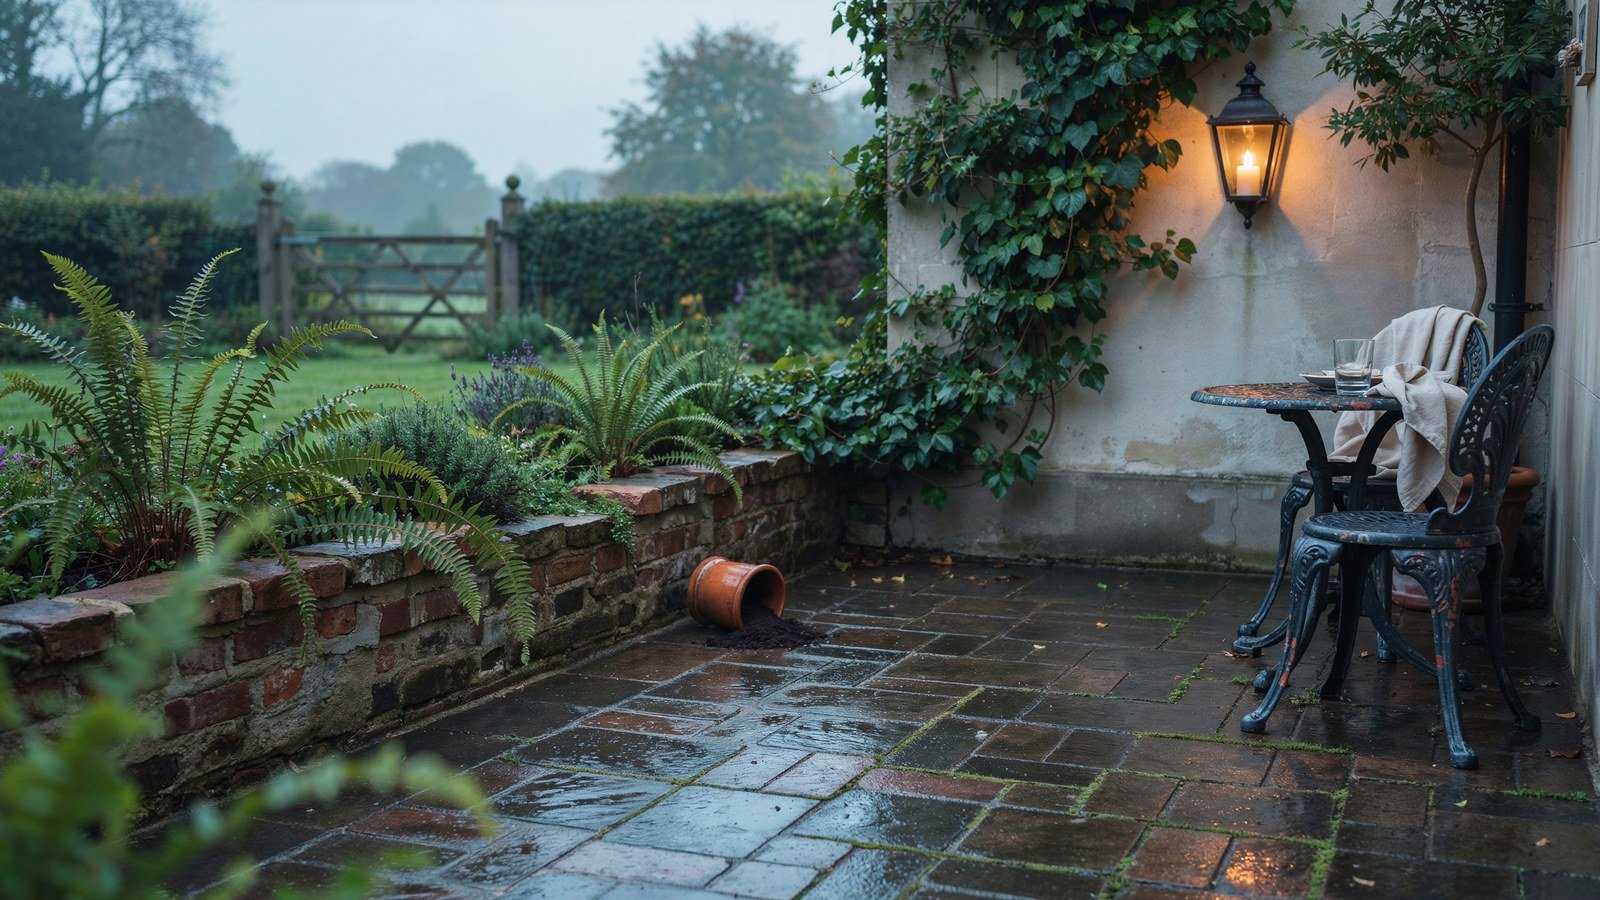
A moody Victorian patio depends on dark materials, dense planting and one warm light source. Get those three right and a small back garden reads as an outdoor room rather than a paved rectangle. Get them wrong and you have a dark yard that nobody sits in after seven.
Mine started as cracked concrete with a rotary washing line in the middle. The concrete went, dark clay pavers went down, and the whole thing changed the moment the first lantern went on. The planting took two more seasons and was worth every one of them.
Below is the whole build in fifteen steps, running from the survey through to the winter plan. Some steps are decisions you make before ordering anything, others are weekends of work. The order saves money.
What Makes A Patio Read As Victorian Rather Than Just Dark
Victorian gardens were dense, enclosed and full of contrast between hard geometry and unruly planting. That combination is what you are recreating: a formal paved shape with planting allowed to spill over its edges. Neat paving with neat planting reads as municipal.
The palette does most of the work. Dark clay, slate, blackened timber and cast iron, all of which were ordinary Victorian materials rather than design choices. Against those, deep green and burgundy planting looks period without any effort.
The third element is enclosure. Victorian town gardens were walled, and a sense of being contained is what makes a patio feel like a room. If you have no walls, you need to build the feeling with planting or screening before anything else will work.
| Element | Moody Victorian Choice | What Breaks The Look |
|---|---|---|
| Paving | Dark clay pavers, slate, York stone | Pale buff concrete slabs |
| Edging | Rope top tiles, dark brick on edge | Plastic or timber edging strip |
| Metalwork | Cast iron, blackened steel | Bright galvanised or aluminium |
| Planting | Ferns, ivy, hellebores, dark heuchera | Bright bedding in mixed colours |
| Furniture | Iron bistro set, weathered timber | Moulded plastic in any colour |
| Lighting | Warm lanterns, candles, low bollards | Cool white floodlights |
What To Sort Out Before You Order Any Materials
Drainage decides more about a patio than the paving does, and it is the thing most people find out about too late. Water has to run away from the house at a fall of around one in eighty. Work out where it goes before anything is laid.
Check what is under the existing surface. Old concrete over hardcore can often be kept as a base, which saves a considerable amount, while soft ground needs proper excavation and a sub base. A test hole in one corner tells you which situation you are in.
Think about access for materials as well. A tonne of pavers has to reach the back garden somehow, and a house with no side gate means everything goes through the hallway. That changes the cost and the choice of material.
1. Survey The Light Before You Choose Anything
Watch the space across a full day and note which parts get sun and when. A moody scheme suits shade well, but you still need to know where the sunny corner is because that is where people will sit. Everything else arranges around it.
North facing gardens take this style particularly well. The dark palette suits low light, and the ferns and hellebores the look depends on are shade plants anyway. A north facing yard is an advantage here rather than a problem.
Note the evening sun especially. A patio used after work needs light at six or seven, not at noon, and those are often different corners entirely. Sit outside at the time you would actually use it.
Mapping The Shade Properly
Take a photograph from the same spot every two hours on a clear day. The sequence shows you the pattern far better than memory does, and it takes almost no effort. Do it in the season you will use the garden most.
Remember that shade moves through the year. A corner that is sunny in June can be in permanent shadow by September, which matters for both seating and planting. Check the sun angle rather than assuming.
2. Choose Dark Clay Pavers Or Slate

The paving is the largest surface and it sets the entire tone. Dark clay pavers, riven slate and aged York stone all read as Victorian and all go dark when wet, which is when the look is strongest. Pale concrete slabs undo the scheme immediately.
Clay pavers are the most forgiving because they come in small units. Small units cope with awkward shapes and settle unevenly in a way that looks appropriate rather than faulty. They are also easier to lay yourself.
Buy reclaimed if the budget and the supply allow. Genuinely old materials have a depth of colour and wear that new products imitate poorly, and reclaimed clay pavers are still widely available. Order fifteen percent extra because sizes vary.
Laying Patterns That Suit The Period
Herringbone and basketweave are both period appropriate and both look considerably better than a running bond in a small space. Herringbone in particular disguises a slightly out of square garden. Both also use more cuts at the edges, so allow extra material.
Keep the pattern running in one direction throughout. Changing pattern between areas fragments a small patio and makes it read as several patches rather than one surface. Set the first course out dry before you fix anything.
3. Edge It Properly With Brick Or Rope Tiles
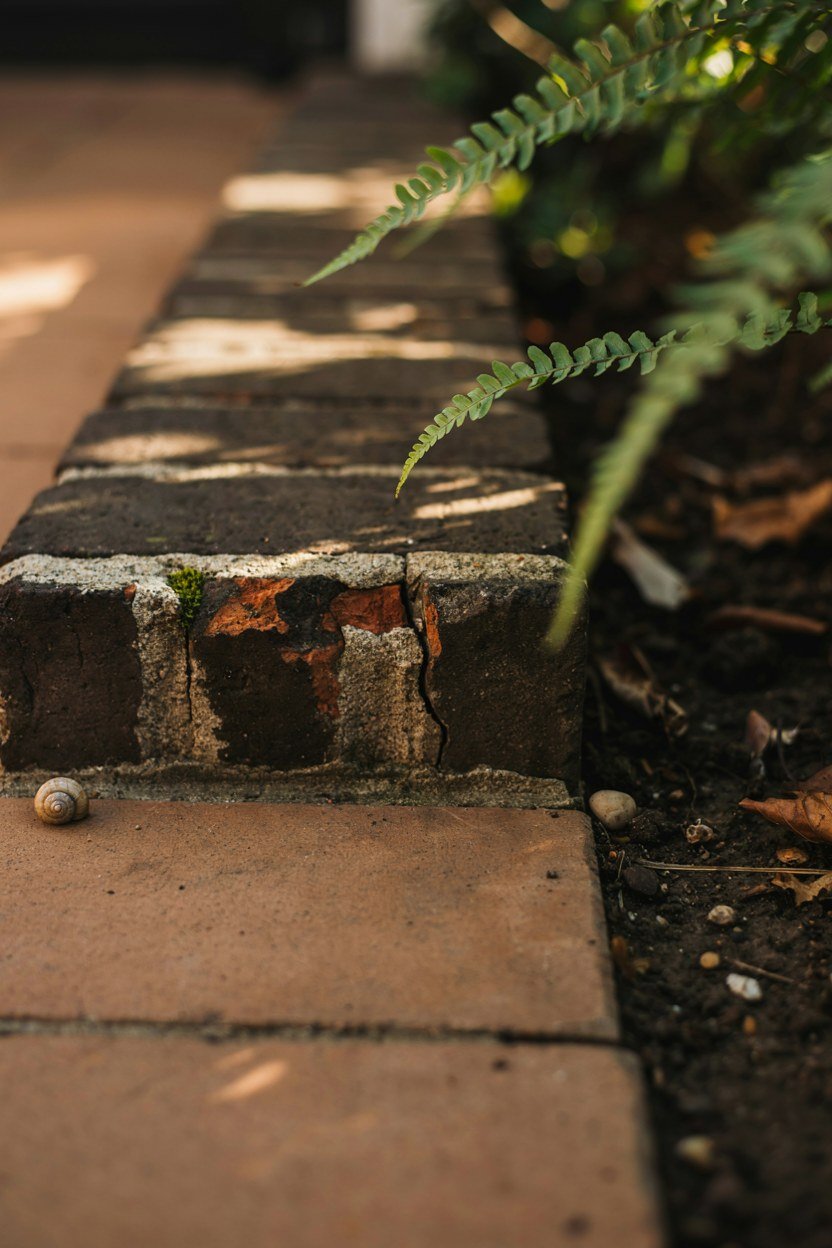
The edge is what separates a laid patio from a considered one. Victorian gardens used rope top tiles, brick on edge and stone kerbs, all of which are still available and all of which read immediately as period. Plastic edging strip does the opposite.
Brick on edge is the cheapest and the most flexible. A single course of dark brick laid on its long edge around the perimeter contains the paving and gives a clean line against planting. It also lets you follow a curve.
Rope top tiles are the more decorative option and they suit a smaller, more ornamental garden. Use them along the planting edges rather than the whole perimeter, since a full surround of decorative tile becomes busy. They are still made, and reclaimed ones turn up regularly.
Setting The Edge Level
Set the edging slightly below the paving so a mower or a brush can pass over it. An edge that stands proud collects debris and trips people in the dark. Two or three millimetres down is enough.
Bed edging on a concrete haunching rather than sand. Edge restraints take all the lateral load from the paving, and an edge laid on sand will move within a couple of winters. Let the haunching cure properly before loading the paving against it.
4. Build Or Plant The Enclosure First
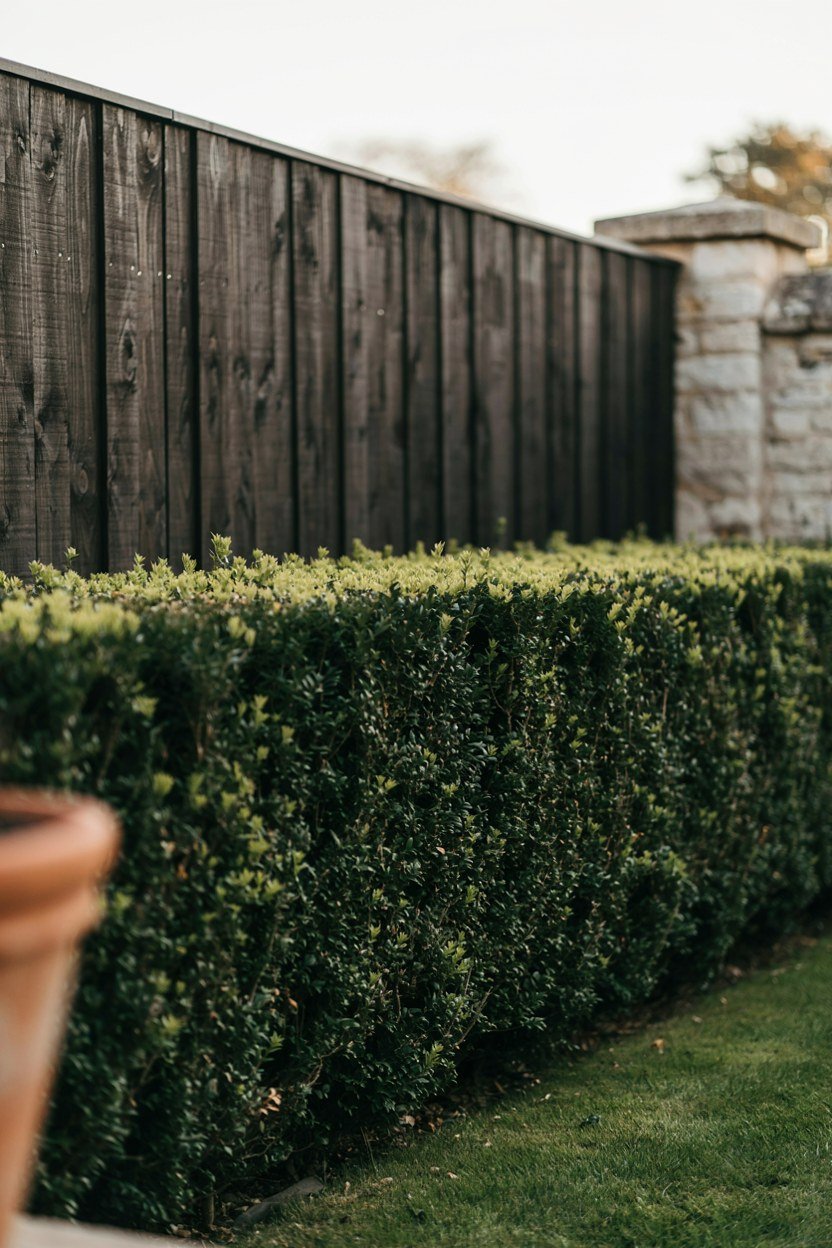
Enclosure is what turns a patio into a room, and it takes longest to establish, so start it before the paving if you possibly can. A hedge planted in year one will be doing real work by the time the furniture arrives. Planting the boundary first is the cheapest time to do it.
Yew, holly and beech all suit the period and all take clipping. Yew is the classic choice and it is considerably faster than its reputation suggests, putting on twenty to thirty centimetres a year once established. Buy bare root in winter and the cost drops dramatically.
Where a hedge is not possible, dark stained trellis with climbers gives you the enclosure in a single season. Paint or stain it near black rather than leaving it orange brown, which is the detail that makes cheap trellis look cheap. Fix it on battens so air can move behind the panel.
Screening Without Blocking Light
Slatted screens with gaps let light and air through while still reading as an edge. Solid fences create dense shade and dead air, and in a small garden they make plants sulk on both sides. A gap of around 20mm between slats is the usual compromise.
Keep the screening lower on the sunny side. You need the enclosure most where you are overlooked, and full height screening all round will cost you the only warm corner you have. Work out which boundary that is before ordering panels.
5. Use Cast Iron Or Blackened Steel Somewhere
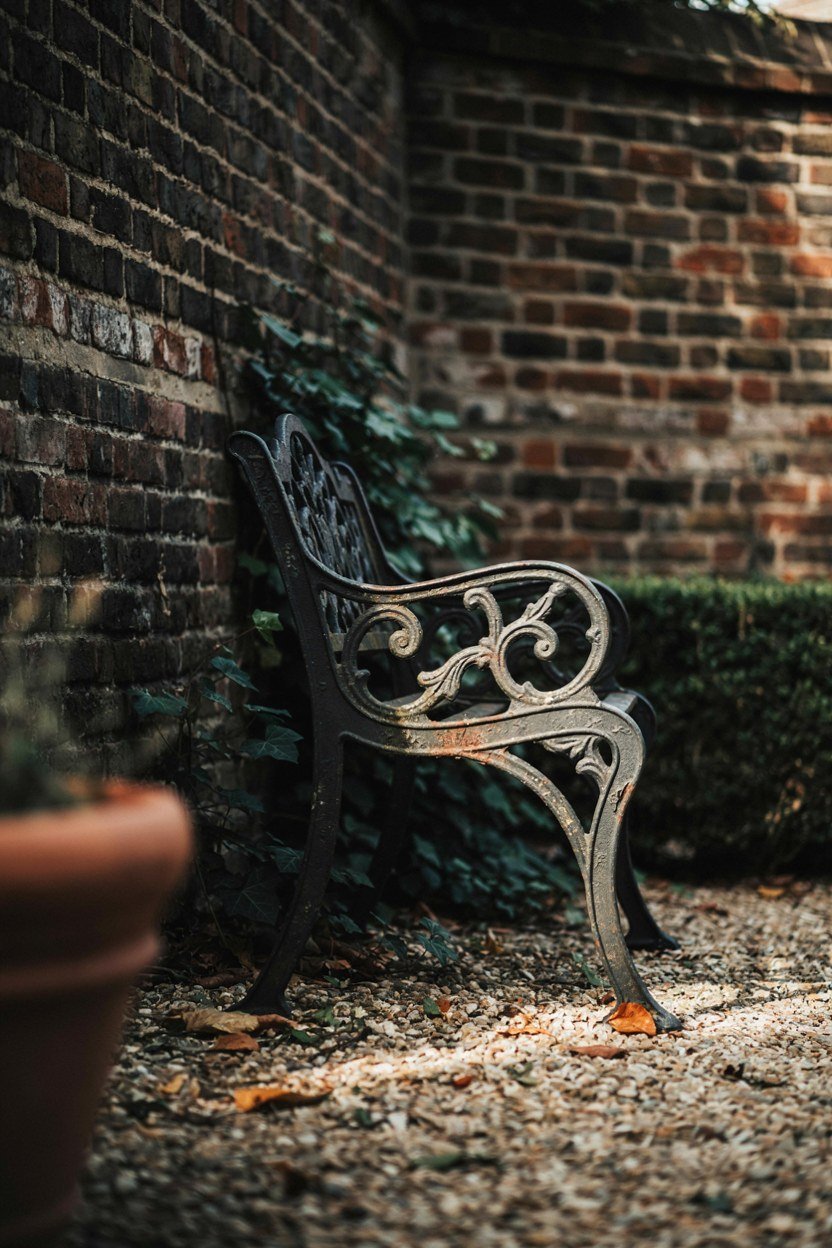
Metalwork is the detail that pins the period. A cast iron bench, an old bootscraper, a blackened steel arch or a set of iron railings all do it. One substantial piece is enough in a small garden.
Reclamation yards are full of Victorian ironwork at reasonable prices, particularly items with no obvious use. A gate leaning against a wall as a plant support is entirely in keeping and costs very little. Go with a tape measure and a rough idea of where it will stand.
Treat any bare iron before it goes out. A wire brush, a rust converter and two coats of a matt black exterior paint will keep a reclaimed piece stable for years. Skipping this means a rust stain down your new paving.
Avoiding The Wrong Metal
Bright galvanised steel and raw aluminium both read as modern and neither weathers into anything better. If a fixing or a bracket has to be galvanised, paint it black before it goes up. A tin of matt black exterior paint solves most of these.
Corten steel is a popular choice and it does not belong here. It reads as contemporary landscape design rather than Victorian, and its orange tone fights the whole palette. It also stains whatever paving sits below it, permanently.
6. Plant Ferns And Ivy Against The Walls
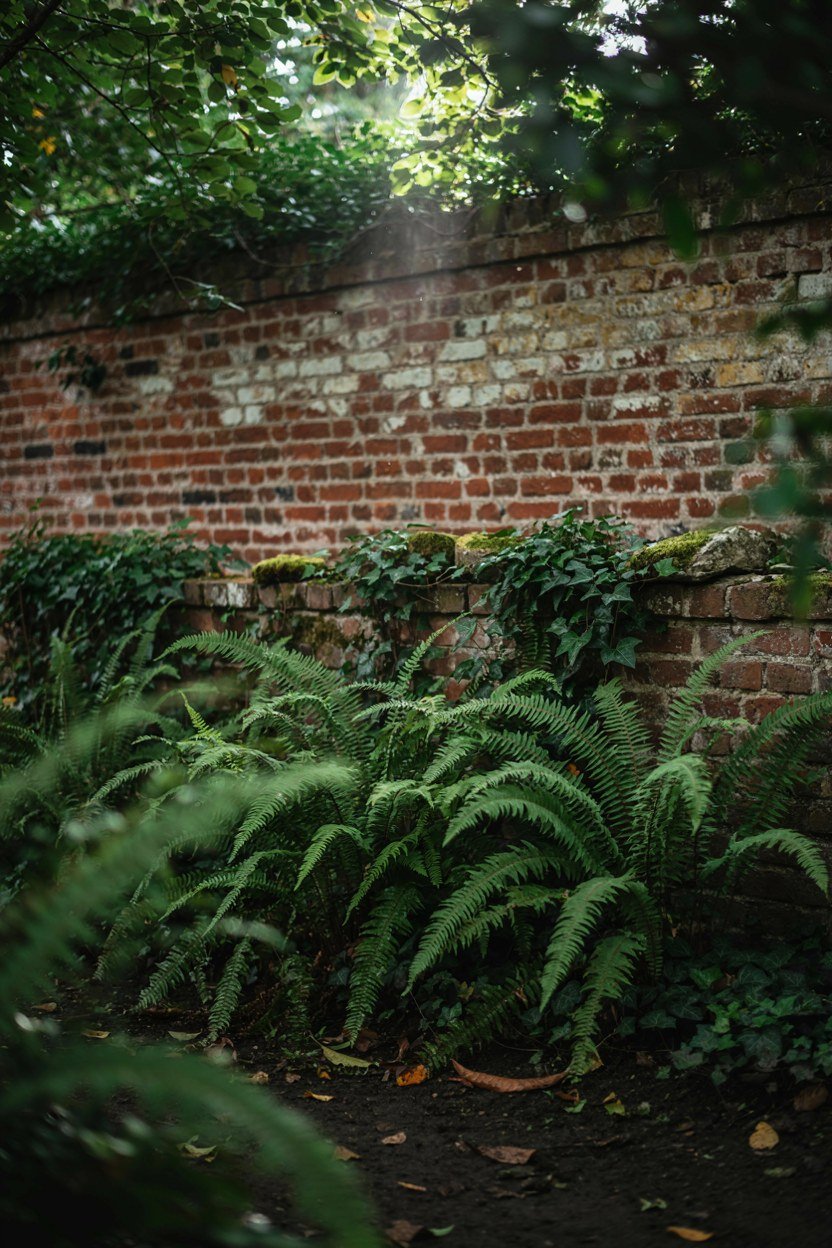
The wall planting is what makes the garden feel established. Ferns, ivy and climbing hydrangea all suit shade, all read as period and all soften hard surfaces without needing much attention. This is the backbone of the planting.
Use several of the same fern rather than one of each. A drift of one variety looks intentional and generous, while a collection of singles looks like a garden centre trolley. Buy three or five of one thing.
Ivy has a poor reputation and it is unfair on sound masonry. It will damage soft lime mortar and loose render, so check the wall first, but on modern pointing it is well behaved and it is the fastest route to a green wall. Keep it off gutters and roof tiles whatever the wall is made of.
Ferns That Cope With Real Gardens
Dryopteris and polystichum are both tough, evergreen and widely available. Both tolerate dry shade near a wall, which is the hardest position in most small gardens. Neither needs feeding once established, which suits a wall base.
Water new ferns through the first two summers even in shade. The base of a wall is far drier than open ground because the wall sheds rain away from it, and this is where most wall planting fails. A watering can twice a week through July is enough.
7. Add Deep Colour Rather Than Bright Colour
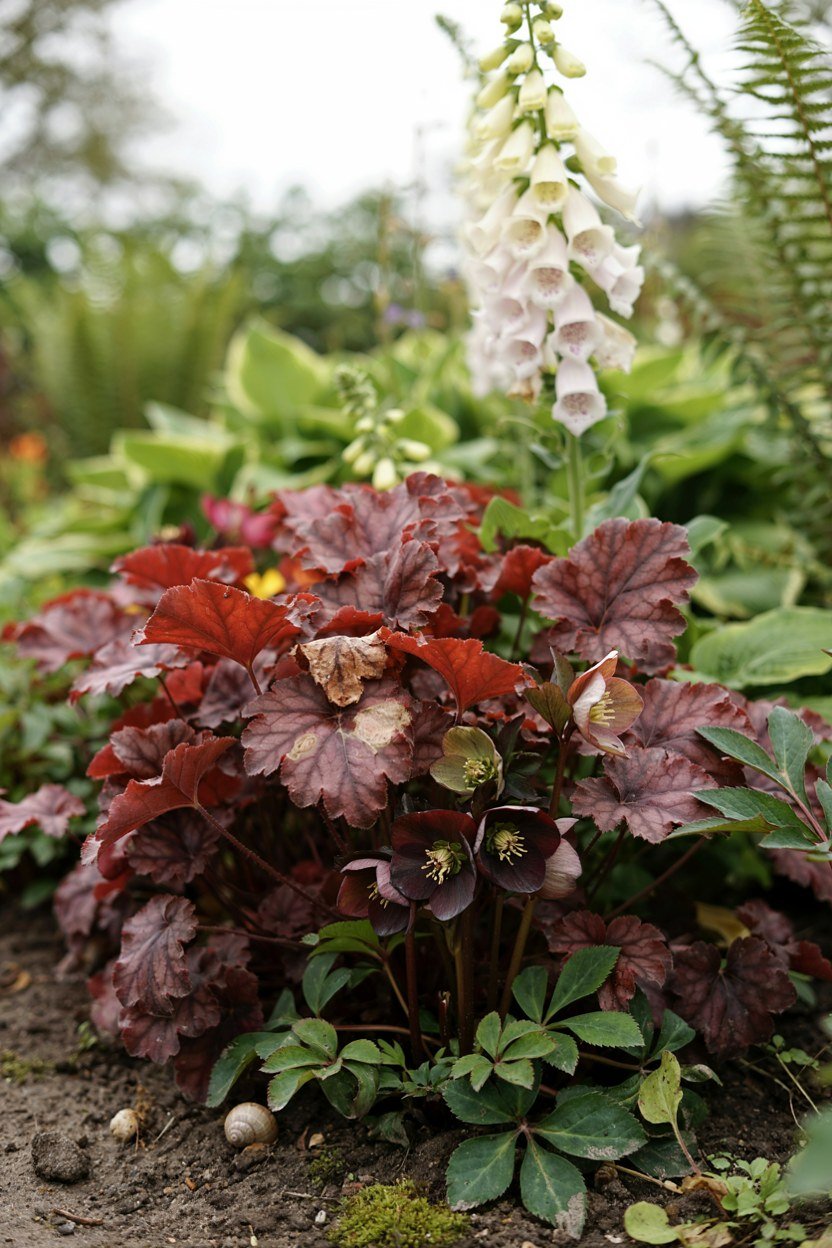
The planting palette should stay in the dark half. Burgundy heuchera, black hellebores, deep purple aquilegia and dark leaved sambucus all give colour without breaking the mood. Bright bedding destroys the scheme instantly.
Add one pale flower for contrast, ideally white or cream. A white foxglove or a pale rose against dark foliage reads as luminous at dusk, which is exactly the effect the style wants. One pale note, repeated.
Foliage should carry the garden rather than flowers. Flowers come and go, and a scheme that depends on them is bare for eight months. Leaf shape and colour is what makes a moody garden work in February.
Plants That Glow At Dusk
Pale flowers and silver foliage both hold light after the sun goes, which is when this garden is at its best. White nicotiana, pale roses and silver artemisia all do it. Position them where you look from the back door.
Scent matters more at night as well. Night scented stock, honeysuckle and jasmine all release in the evening, and in an enclosed patio the effect is strong. Plant them near the seating rather than at the boundary.
8. Put In One Warm Light Source At Low Level
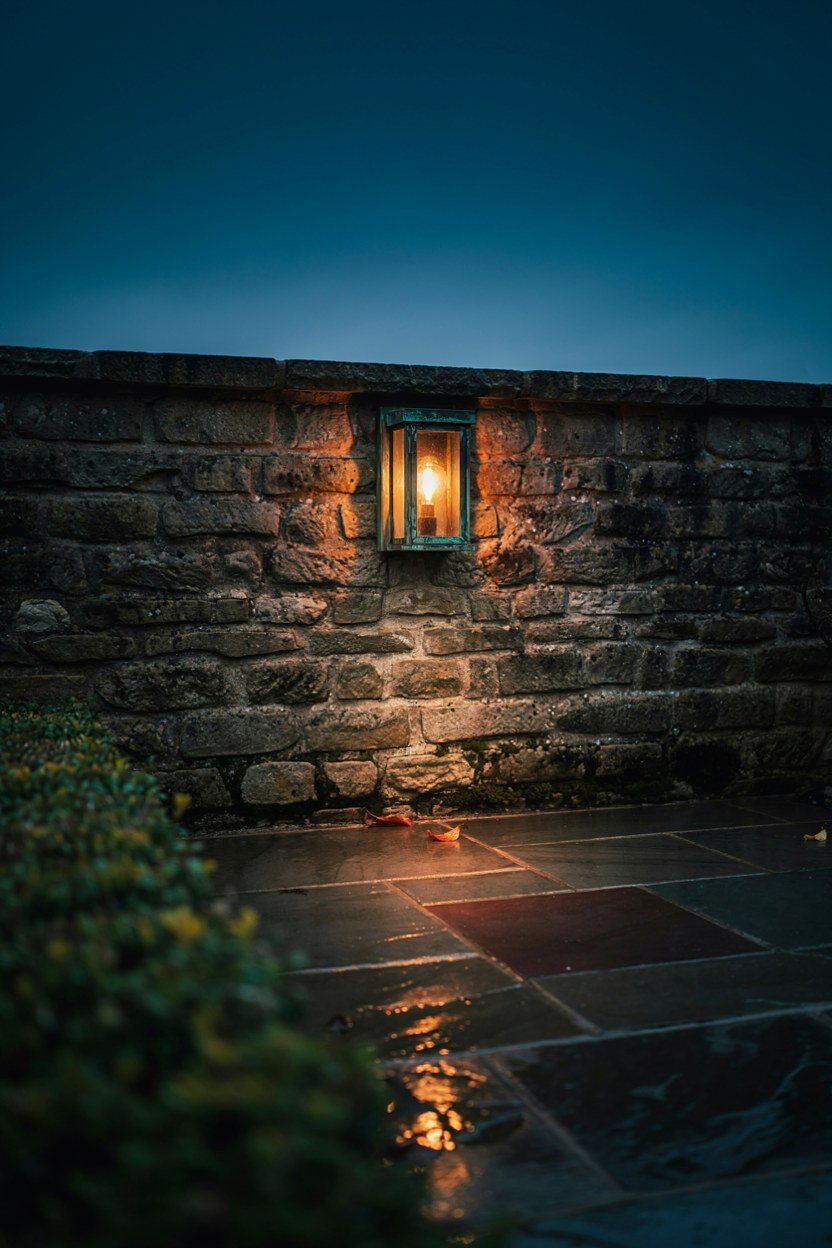
Lighting is where a moody patio succeeds or fails. One warm source at low level does more than any number of spotlights, because it creates pools of light and leaves the rest in shadow. Shadow is the point.
A lantern on a wall bracket, a string of warm bulbs along a wall, or a couple of candle lanterns on the ground all work. Keep everything at 2200K to 2700K and nothing higher. Start with one and add a second only if the first is not enough.
Never uplight the whole garden. Floodlighting a small space removes every shadow and turns a moody garden into a car park. If you light a plant, light one, and leave the rest dark.
Getting Power Outside Safely
Any permanent outdoor electrics need an RCD protected circuit and appropriately rated fittings, which is an electrician’s job rather than a weekend one. Get it done properly or use battery and solar instead. It is also notifiable work in most cases, so keep the certificate.
Low voltage garden lighting kits are the sensible middle ground. They run from a transformer indoors, the cable is safe to bury shallow, and you can extend them yourself without notifiable work. Buy a transformer rated above your current load so you can add to it.
9. Choose An Iron Bistro Set Over A Lounge Suite
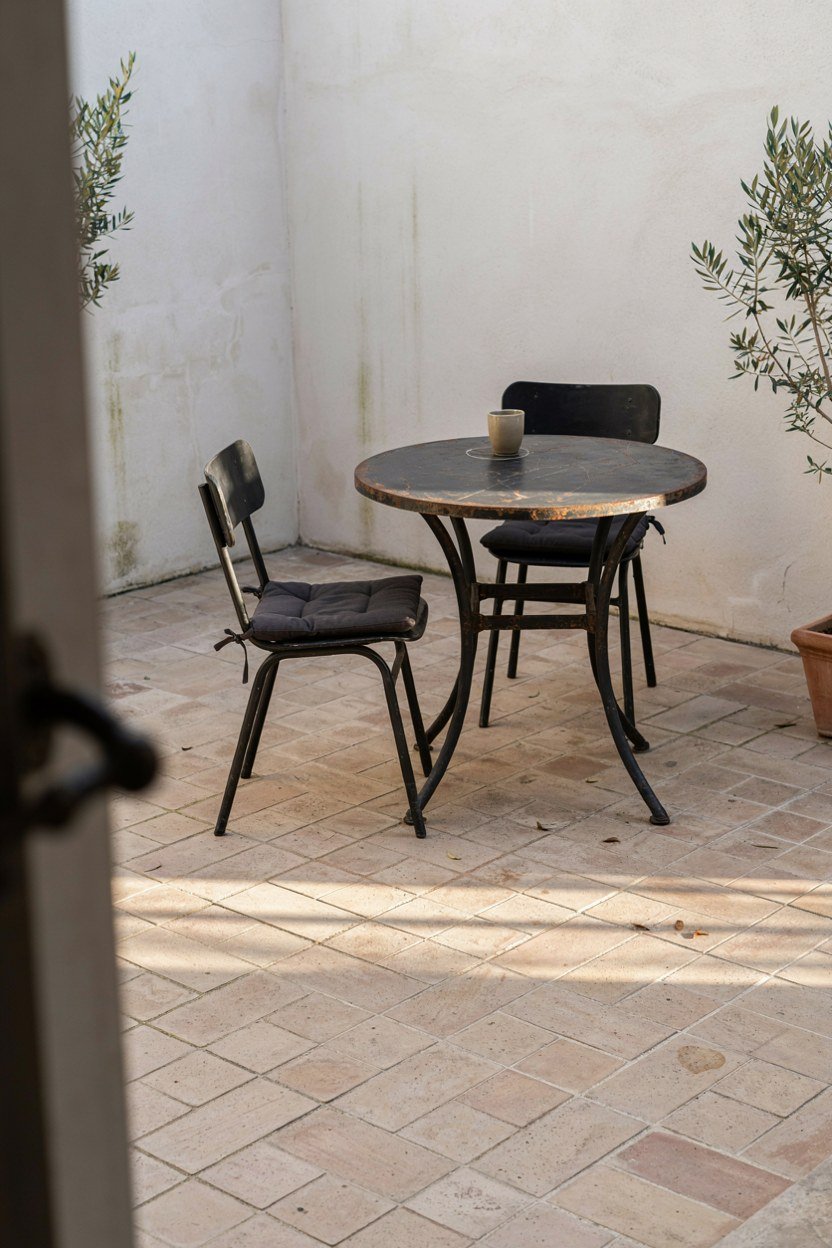
Furniture scale is where small patios usually go wrong. A large rattan lounge set swallows a town garden, while a small iron table and two chairs leaves room for planting and reads correctly for the period. Measure the space and subtract the planting beds before choosing.
Old French bistro sets and Victorian style cast aluminium both work, and the aluminium versions are considerably lighter to move. If the set is aluminium, make sure it is painted black rather than left silver. Check the chairs stack or fold if storage is tight.
Add a cushion for comfort and take it in when it rains. Iron furniture is punishing to sit on bare, and a wool or acrylic cushion in a dark colour makes the difference between a patio you look at and one you use. A lidded box by the door makes that habit far more likely to stick.
Where To Put The Seating
Put the table in the warmest corner rather than the centre. A table marooned in the middle of a small patio wastes the space around it and never feels sheltered. A corner position also gives you a wall to put a lantern on.
Leave at least 70cm behind each chair for someone to push back and stand. Getting this wrong is the most common reason a small outdoor table stops being used. Chalk it on the ground before the paving goes down.
10. Add A Water Feature, Small And Still
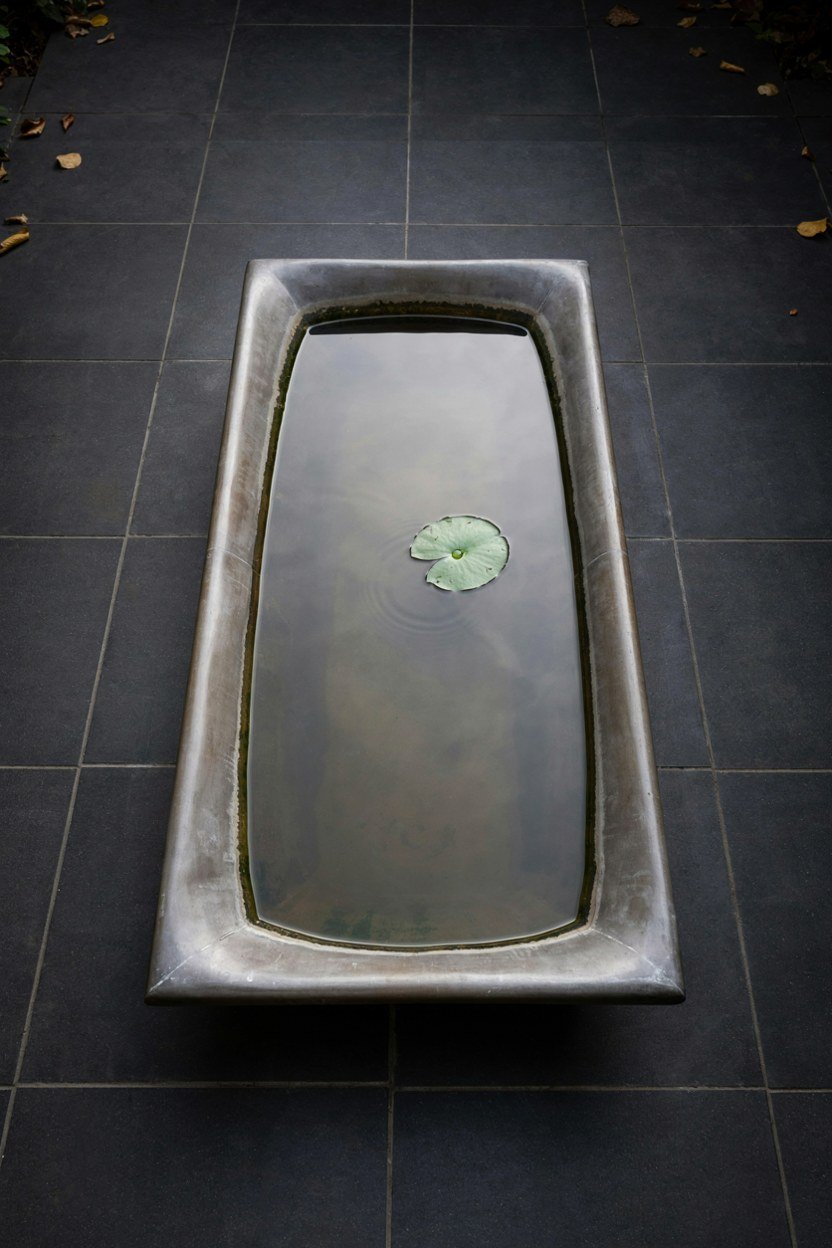
Victorian gardens used water constantly, usually as a small formal pool or a wall spout rather than a bubbling feature. Still water is more period appropriate and it reflects the sky, which brightens a dark garden without adding light. Scale it to the garden rather than to a catalogue photograph.
A half barrel, a lead effect trough or a small raised pool all work. Keep the shape geometric rather than naturalistic, because a kidney shaped pond belongs to a different era entirely. Line a timber barrel properly, since they rarely hold water unlined.
Still water needs plants to stay clear. A small water lily and a couple of oxygenators will keep a container pool balanced without a pump or a filter. Top it up in summer and leave it alone.
Keeping It Safe And Clean
Any open water needs thought if children use the garden. A rigid mesh set just below the surface makes a shallow pool safe and disappears visually within a season as algae softens it. Check what your insurer and your own judgement say before building it.
Site it away from deciduous trees. Leaf fall into a small body of water turns it foul within weeks, and netting a small pool every autumn is a job nobody keeps up. A wall corner well clear of overhanging branches is usually best.
11. Grow Something Upwards On Every Wall
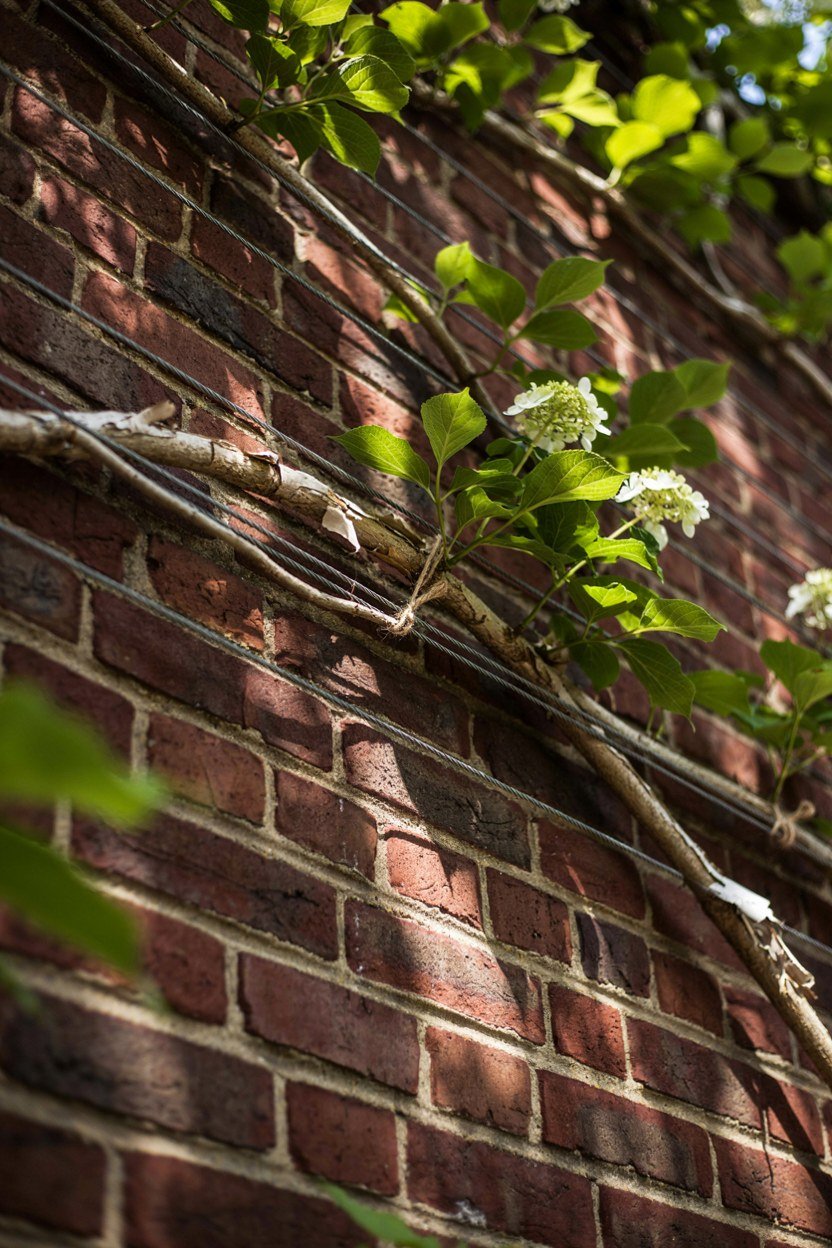
Vertical planting is what makes a small garden feel enclosed and mature. Climbing hydrangea, clematis, ivy and climbing roses all suit the period, and between them they cover almost any aspect. It also uses the one surface a paved garden has plenty of.
Fix wires horizontally at 45cm intervals rather than using trellis panels. Wire is nearly invisible, it costs very little and it lets the plant read as growing on the wall rather than on a frame. Use vine eyes into the mortar joints rather than the brick face.
Choose by aspect honestly. Climbing hydrangea and ivy handle a north wall, clematis wants its roots shaded and its head in sun, and most roses need real sunlight. Planting the wrong thing on the wrong wall wastes two years.
Getting Climbers Established
Plant at least 45cm out from the base of a wall, not against it. The strip directly beside a wall is in a rain shadow and stays dry even in a wet winter, which kills more climbers than anything else. Angle the rootball back towards the wall as you plant.
Tie in new growth every few weeks through the first two seasons. Climbers that are allowed to sprawl early never train well later, and ten minutes a fortnight saves the whole shape. Soft twine beats wire, which cuts into the stem as it thickens.
12. Use Pots In Groups Of Three
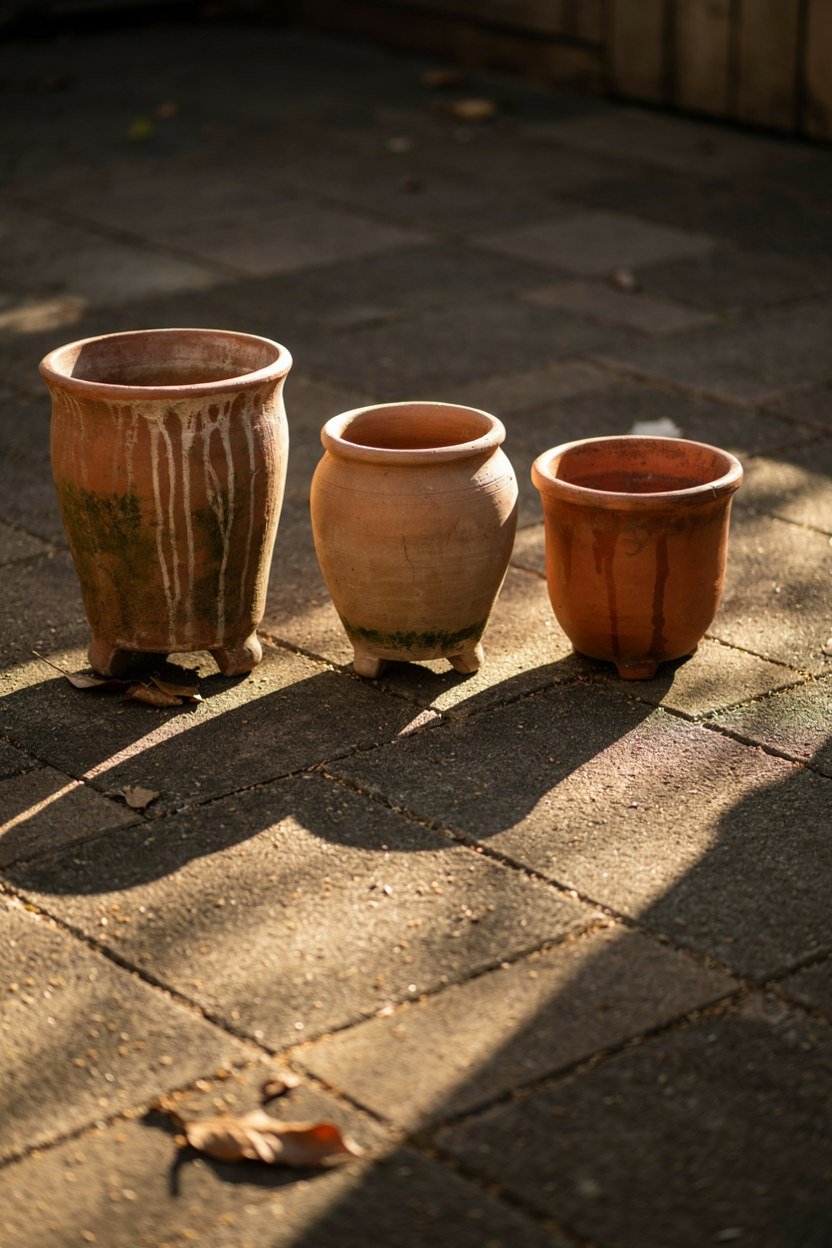
Pots let you add planting where there is no soil, which in a paved town garden is most of it. Terracotta, dark glazed and lead effect all suit the period. Plastic in any finish does not.
Group them in odd numbers at different heights. Three pots of varying size read as an arrangement, while a row of matching pots along a wall reads as a garden centre display. Three is usually the right number for a small patio corner.
Raise every pot on feet. It keeps the drainage hole clear, prevents a permanent damp ring on the paving and stops the pot cracking if the compost freezes solid. Proper pot feet are cheap, and two offcuts of slate do the same job.
Choosing What Goes In Them
Evergreen structure first, seasonal colour second. A clipped box ball, a fern or a small holly gives the pot a shape all year, and bedding can be added around it if you want the colour. One good evergreen per pot is worth more than a full pot of bedding.
Use a soil based compost rather than a peat free multipurpose in permanent pots. Multipurpose composts break down within a season and the plant sits in wet sludge by the second winter. Top dress the surface each spring rather than repotting every year.
13. Keep The Boundary Dark

Whatever your boundary is, painting or staining it a very dark colour is the single highest impact change available. Dark fences recede, making a garden feel larger, and they turn planting into the thing you see rather than the panel behind it. It is also the fastest change on this list, taking a weekend at most.
Near black, very dark green and deep charcoal all work. Avoid mid greys and browns, which read as a fence that has been painted rather than a background that has disappeared. Test a patch on the least visible panel before committing to the lot.
Use a proper exterior stain rather than masonry paint on timber. Stain moves with the wood, while paint cracks and flakes within two seasons and then has to be stripped. Two thin coats last considerably longer than one heavy one.
Doing The Job Properly
A sprayer is worth hiring for anything over about six panels. Brushing a fence takes an entire weekend and gives a worse finish, particularly on rough sawn timber. Mask anything you do not want stained, since overspray travels far.
Do it before the planting goes in. Staining a fence behind an established climber is a miserable job and the plant usually suffers for it. If the planting is already there, tie it forward and cover it first.
14. Add One Ornamental Object With Age
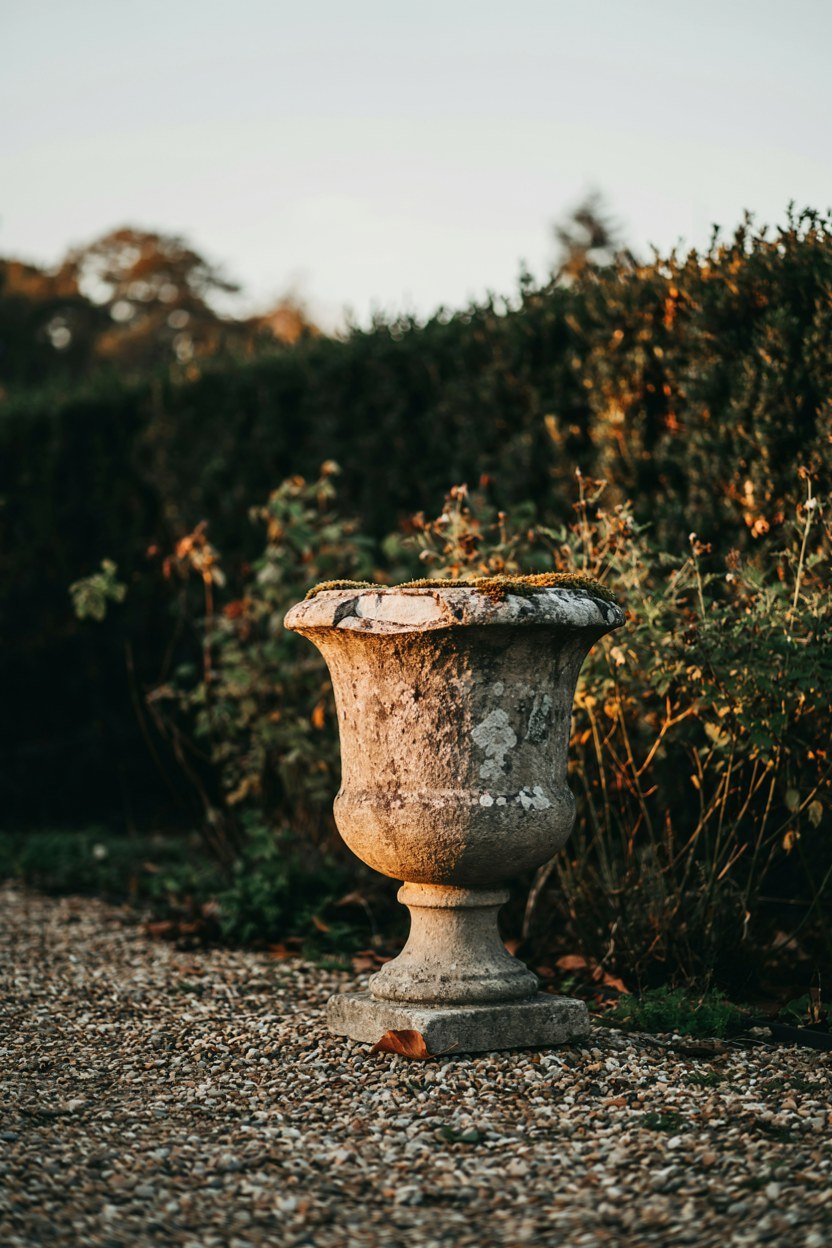
Victorian gardens were full of objects: staddle stones, urns, sundials, old chimney pots. One genuinely old piece gives the garden a focal point and a sense that it has been there a while. One is plenty in a small garden, and two start to look like a collection.
Put it at the end of a sightline rather than in the middle of the space. Something to look at from the back door, or at the far end of a path, does far more work than the same object in the centre. Stand at the back door and see where your eye stops.
Let it weather. Moss and lichen on stone are the point, and scrubbing an urn clean removes exactly what makes it look right. Leave it alone.
Finding Pieces Without Overpaying
Reclamation yards, farm sales and house clearances all turn up garden objects at a fraction of specialist prices. Chimney pots in particular are common and cheap and make good plant containers. Prices vary between yards, so it is worth visiting two or three.
Check the weight and how you will move it before buying. A stone urn that takes four people to lift is a serious problem in a garden with no side access. A sack truck and a scaffold plank solve more of these problems than expected.
15. Plan For Winter From The Start
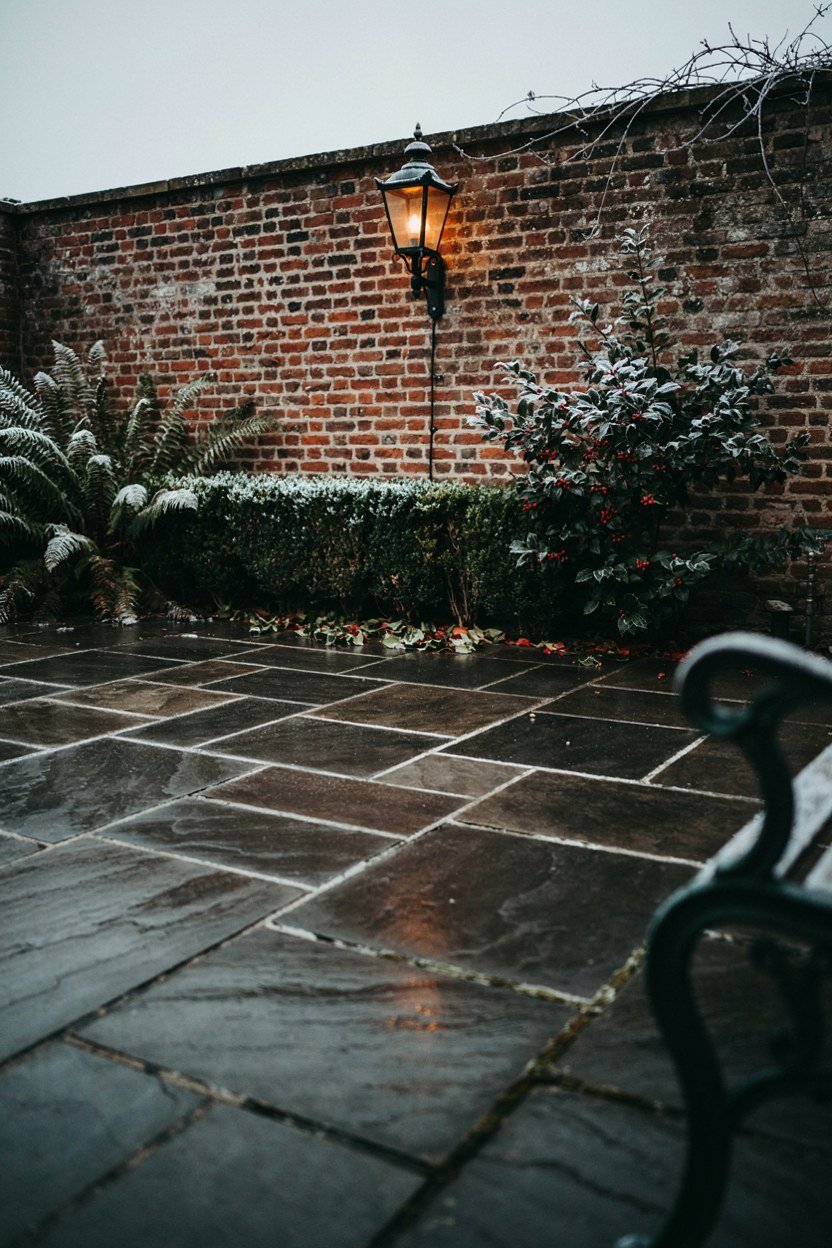
A moody garden should look better in winter than a bright one, and that only happens if you plan for it. Evergreen structure, dark hard landscaping and one lit corner will carry the garden through December. Winter is when this palette has the clear advantage over a pastel scheme.
Evergreens should make up around half the planting. Ferns, box, holly, ivy and hellebores all hold through winter, and hellebores flower when nothing else does. Count them when you plan rather than hoping it works out.
Make sure one seat stays usable. A sheltered corner with a lantern and something evergreen beside it gives you somewhere to stand with a drink in January, which is more than most gardens offer. Position it out of the prevailing wind rather than simply out of the rain.
Protecting The Hard Landscaping
Sweep leaves off paving through autumn rather than letting them rot in place. Leaf mould stains clay and slate and makes both dangerously slippery by January. A stiff brush once a week through November is enough.
Check the pointing each spring. Frost lifts joints in small unit paving, and refilling a few joints early is a morning’s work where leaving it becomes a relay. Keep a small bag of jointing compound for the joints that go each year.
What A Moody Victorian Patio Costs
The paving is the largest single cost and the one hardest to change later, so it deserves the budget. Reclaimed clay pavers cost more than concrete slabs and they are the difference between the look working and not working. Spend here and economise on the furniture instead.
Planting is the best value on the list and it improves every year. A hedge, a few ferns and three climbers cost very little and they do more for the atmosphere than any object you could buy. It is also the part you can start before anything else is decided.
Lighting and furniture sit in the middle and both can wait. A patio with good paving, dark boundaries and dense planting already reads correctly with a single candle lantern on it. Add them once the planting has had a season to settle.
| Element | Priority | Rough Cost |
|---|---|---|
| Dark clay or slate paving | Sets the whole scheme, do it properly | High |
| Dark boundary stain | Highest impact per pound spent | Low |
| Hedging and climbers | Improves every year | Low |
| Brick or rope tile edging | Turns laid paving into finished paving | Low to mid |
| One warm low level light | Makes the garden usable at night | Low |
| Iron bistro set | Right scale for a town garden | Mid |
| Reclaimed ironwork or an urn | Gives the garden a focal point | Low if hunted |
The Mistakes That Ruin A Moody Patio
The most common mistake is lighting it like a car park. Floodlights or cool white spots remove every shadow, and shadow is the entire basis of the scheme. One warm lantern beats six bright spots every time.
The second is pale paving. A moody garden with buff concrete slabs cannot be rescued by planting or furniture, because the largest surface is fighting everything else. Get the ground right first.
The third is furniture at the wrong scale. A six seat lounge set in a five metre garden leaves no room for the planting that makes the space feel enclosed. Smaller furniture, more greenery.
The Check That Catches All Three
Stand at the back door at dusk with the lights on. Every one of these problems shows immediately at that time of day, and none of them is obvious at noon. Take a photograph as well, since a camera is less forgiving than the eye.
Photograph the garden in the rain as well. Wet paving is when this scheme looks its best, and if it still looks flat when wet, the material is wrong rather than the styling. A wet November afternoon is the honest test of this scheme.
Conclusion: Three Decisions That Carry The Garden
Lay dark paving, stain the boundaries near black, and light it with one warm source at low level. Those three decisions establish a moody Victorian patio, and everything else on this list refines what they set up. Those three will read correctly even before the planting fills in.
Then plant densely and let it spill. The contrast between formal paving and unruly greenery is the period detail that matters most, and it costs less than any hard landscaping. Resist the urge to cut it back into neatness every spring.
Finally, plan the winter before the summer. A garden built on evergreen structure and dark materials looks better in January than most gardens do in June, and that is the real advantage of working in this palette. It is the season this style was made for.
Frequently Asked Questions About Moody Victorian Patios
What paving suits a Victorian style patio?
Dark clay pavers, riven slate or aged York stone, ideally reclaimed. All three go darker when wet, which is when the scheme looks strongest.
Does a dark garden make a small space feel smaller?
No, the opposite. Dark boundaries recede visually and push the planting forward, which makes a small garden read as larger than a pale fence does.
Which plants suit a moody Victorian scheme?
Ferns, ivy, hellebores, dark heuchera and climbing hydrangea. Keep the palette in the dark half and add one pale flower for contrast at dusk.
How should I light a moody patio?
One warm source at low level, between 2200K and 2700K. Floodlighting removes the shadow the whole scheme depends on.
Can I use ivy on my house wall?
On sound modern pointing, yes. On soft lime mortar or loose render it will cause damage, so check the wall condition before planting.
What furniture works in a small Victorian patio?
A cast iron or painted aluminium bistro set for two. Large lounge sets swallow a town garden and leave no room for planting.
How do I keep the garden looking good in winter?
Make about half the planting evergreen, keep the hard landscaping dark, and leave one sheltered seat with a lantern beside it.