
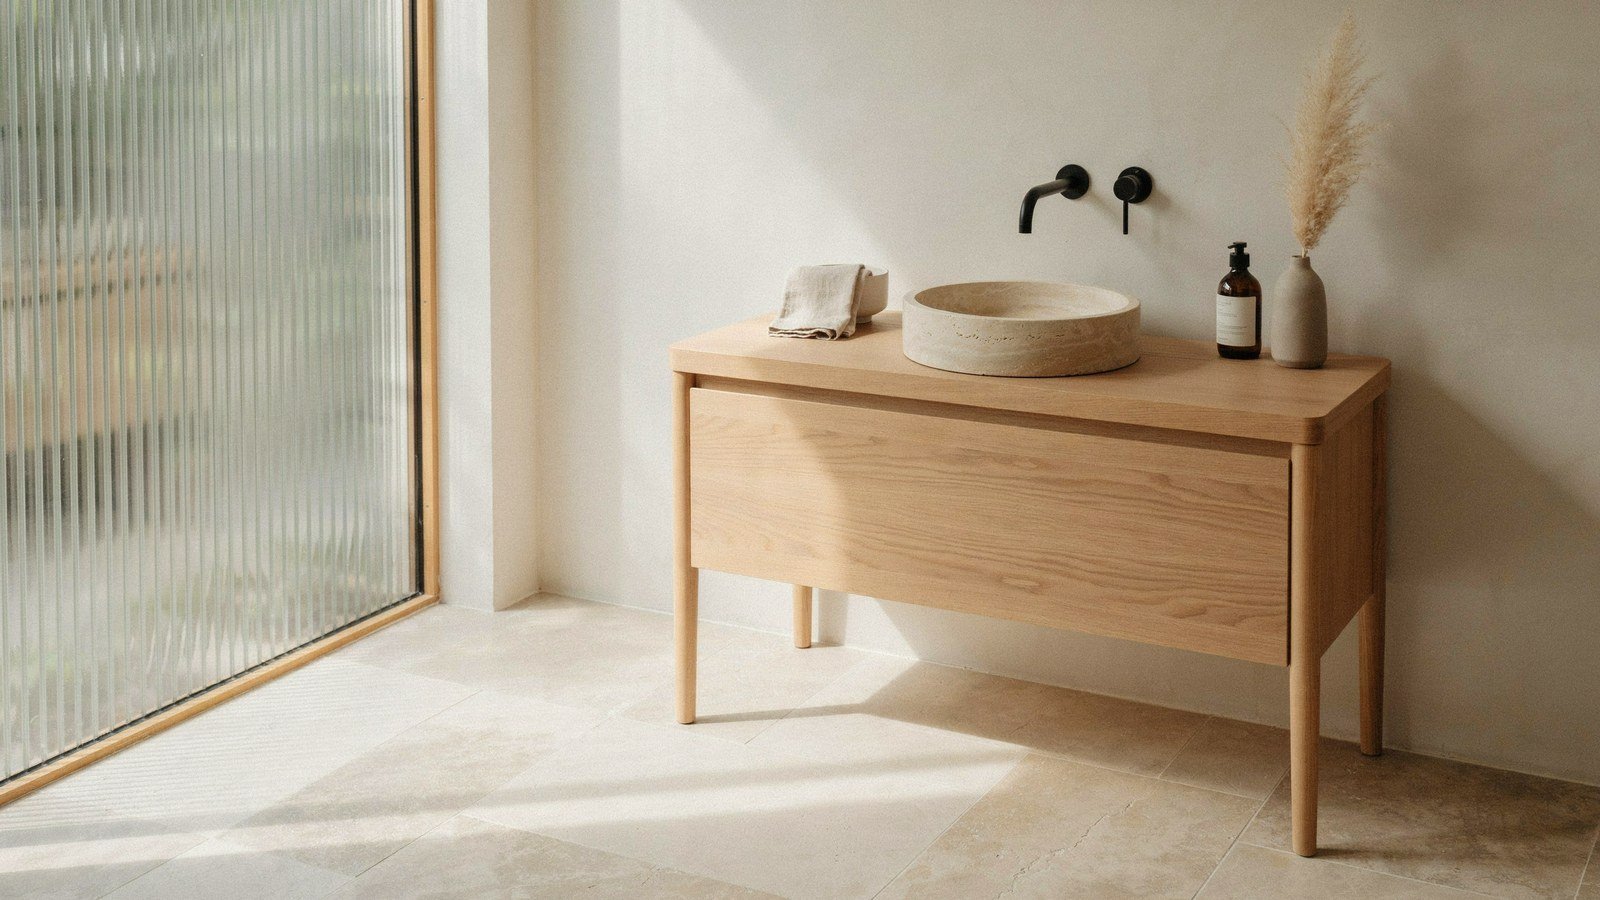
A Japandi bathroom works when the oak and the stone do all the talking and everything else gets out of the way. Two materials, one quiet colour, and no chrome anywhere near it. Get that combination right and the room feels calm the moment you walk in.
I redid mine over a long winter and the biggest surprise was how much I removed rather than added. Out went the tile border, the mirrored cabinet and the towel warmer nobody used. What was left needed better materials, not more of them.
Below is the whole process in fifteen steps, running from the stone selection through to ventilation. Some steps are decisions you make on paper, others are things you buy. Follow them roughly in order and the room comes together without expensive backtracking.
What Japandi Actually Means In A Bathroom
Japandi is Japanese restraint married to Scandinavian warmth, and in a bathroom that translates into a very short material list. You get one wood, one stone, one metal finish and a great deal of empty surface. The restraint is the style, not a side effect of it.
The Scandinavian half is what keeps it from feeling cold. Pale oak, soft wool and a warm light temperature stop the stone reading as clinical. Without that warmth you end up with a spa reception rather than a room in a house.
The Japanese half is where the discipline comes from. Low horizontal lines, hidden storage, natural edges left visible, and a strong preference for showing how something is made. A visible oak joint is decoration in this style, which is convenient because it costs nothing.
| Element | Japandi Choice | What To Avoid |
|---|---|---|
| Wood | One pale oak, repeated | Three woods, or a red toned timber |
| Stone | Honed limestone or travertine | High polish marble with heavy veining |
| Metal | Matt black, bronze or brushed brass | Chrome, which reads instantly modern |
| Tile | Large format, fine matching grout | Small mosaic, contrast grout, borders |
| Storage | Closed, low, handleless | Open shelving full of bottles |
| Textiles | Waffle cotton or linen, muted | Bright towels, patterned mats |
How Oak And Stone Behave In A Wet Room
Oak and stone both move, stain and change colour, and pretending otherwise leads to a disappointing second year. Oak swells with humidity and shrinks again, so anything fitted tight in December will bind in July. Leave expansion gaps and use fixings that allow a little movement.
Stone is porous unless you seal it, and honed limestone drinks anything you spill on it. A penetrating sealer applied before first use, then topped up every couple of years, prevents almost all of it. This is twenty minutes of work that saves a permanently marked floor.
Neither material should sit inside the shower enclosure unless you have thought hard about it. Oak in a constantly wet zone needs a marine grade finish and regular attention. I keep the oak outside the splash line and let porcelain handle the wet areas.
1. Start With The Stone, Not The Tiles
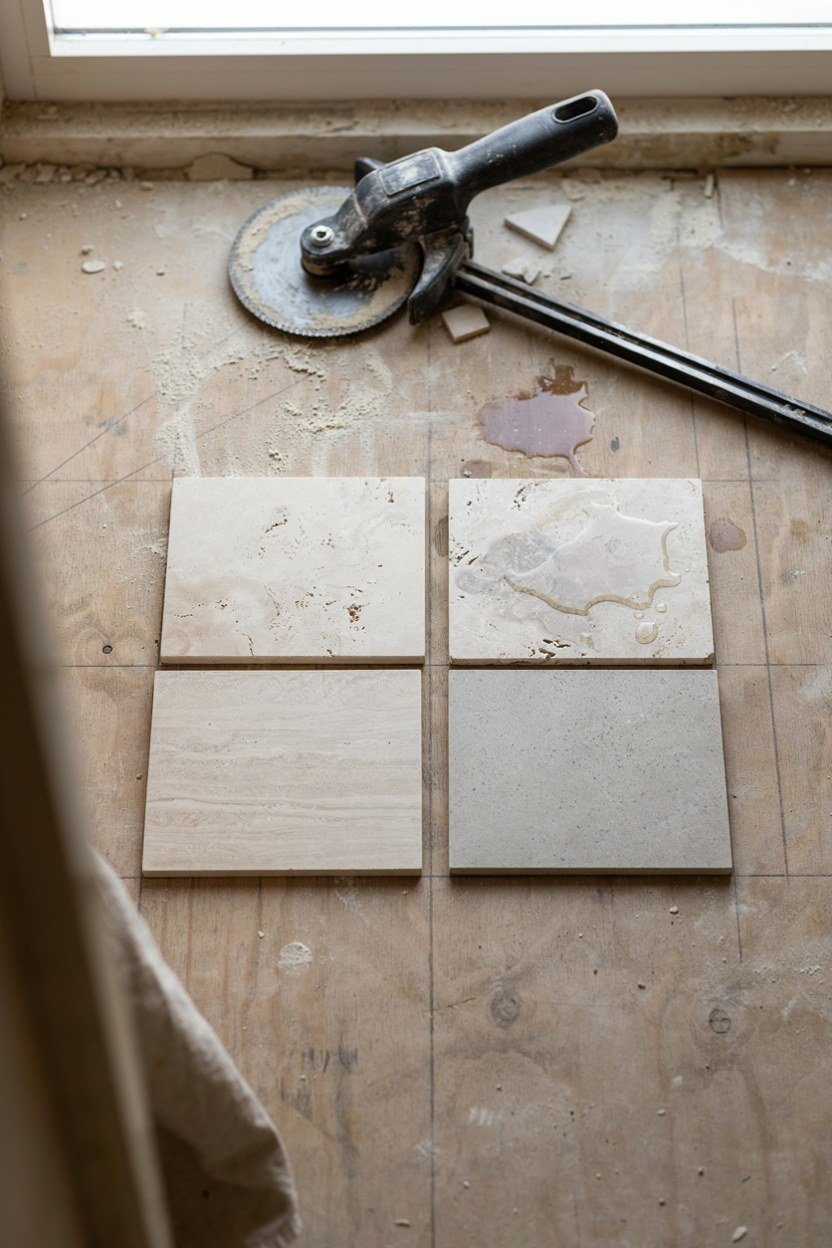
Choose the stone first because it sets the temperature of everything else in the room. Limestone runs cool and grey, travertine runs warm and beige, and the oak you pick has to sit against whichever you choose. Getting this backwards means buying oak twice.
Order samples and wet them, because stone changes colour considerably when damp and that is how it will look every morning. A pale limestone can go two shades darker and slightly green when wet. The dry sample in a showroom tells you very little about the finished room.
Look at the sample on the floor rather than holding it up. Stone reads differently underfoot, and the flecks and fossils that look busy in your hand disappear at standing distance. Walk around it for a few minutes before deciding.
Buy more stone than the calculation says, because natural material varies and a second order rarely matches the first. Ten percent over is the usual advice and fifteen is safer with a stone that has visible variation. Offcuts also give you spares for the day a tile cracks.
Honed, Tumbled Or Brushed
Honed gives a flat matt surface that suits the style and shows water marks least. Tumbled has softened edges and a slightly rustic feel that leans more Mediterranean than Japandi. Brushed sits between the two and holds a little more grip underfoot.
Slip resistance matters on a bathroom floor and the finish decides it. Ask for the wet slip rating rather than trusting how a dry sample feels. Anything below R10 is a poor idea in a room where people step out of a shower.
2. Choose One Oak And Repeat It
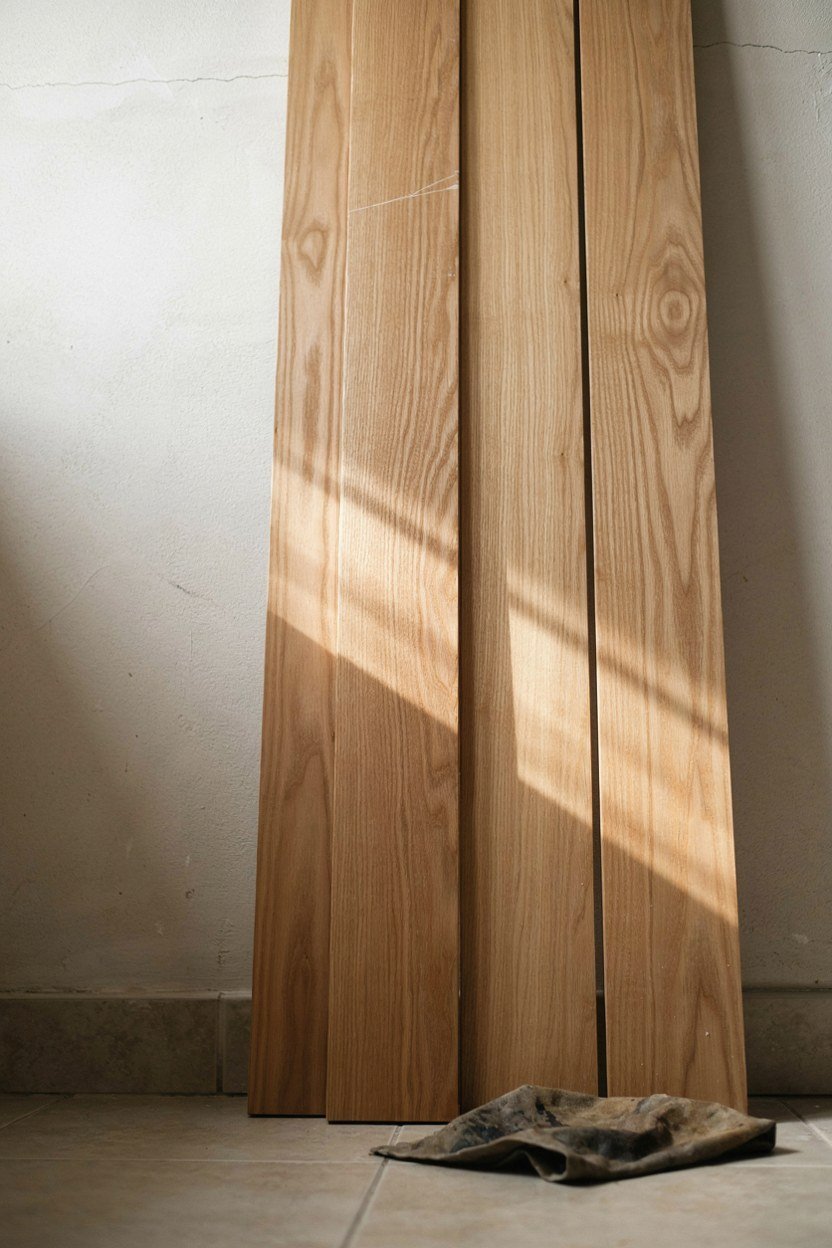
Pick a single oak and use it for the vanity, the bench and any slatted panel. Repetition is what makes the material read as a decision rather than an accumulation. Two oaks that nearly match look like a mistake, and they always will.
White oak with a clear matt oil is the safest choice for this style. It stays pale, it does not yellow the way lacquered pine does, and it takes a scratch without looking damaged. European oak works equally well and is usually easier to source.
Avoid anything with a heavy grain pattern or a strong stain. Japandi wants the wood to read as a quiet surface, not a feature. If the grain is the first thing you notice, the timber is too loud for the room.
Order the oak early and let it sit in the room for a fortnight before anything is cut. Timber arrives at whatever moisture content the warehouse held it at, and it will move as it settles to your house. Fitting it straight off the van is how gaps appear in March.
Finishes That Survive A Bathroom
Hardwax oil is the finish I would use, because it can be repaired in place with a cloth and a small amount of oil. Lacquer looks good for two years and then has to be stripped completely when it starts lifting. In a humid room that day arrives sooner than you expect.
Oil the underside and the back of every oak panel, not only the faces you can see. Moisture enters through unsealed surfaces and cups the board. This is the single most common reason a bathroom vanity warps.
3. Keep The Palette To Three Tones
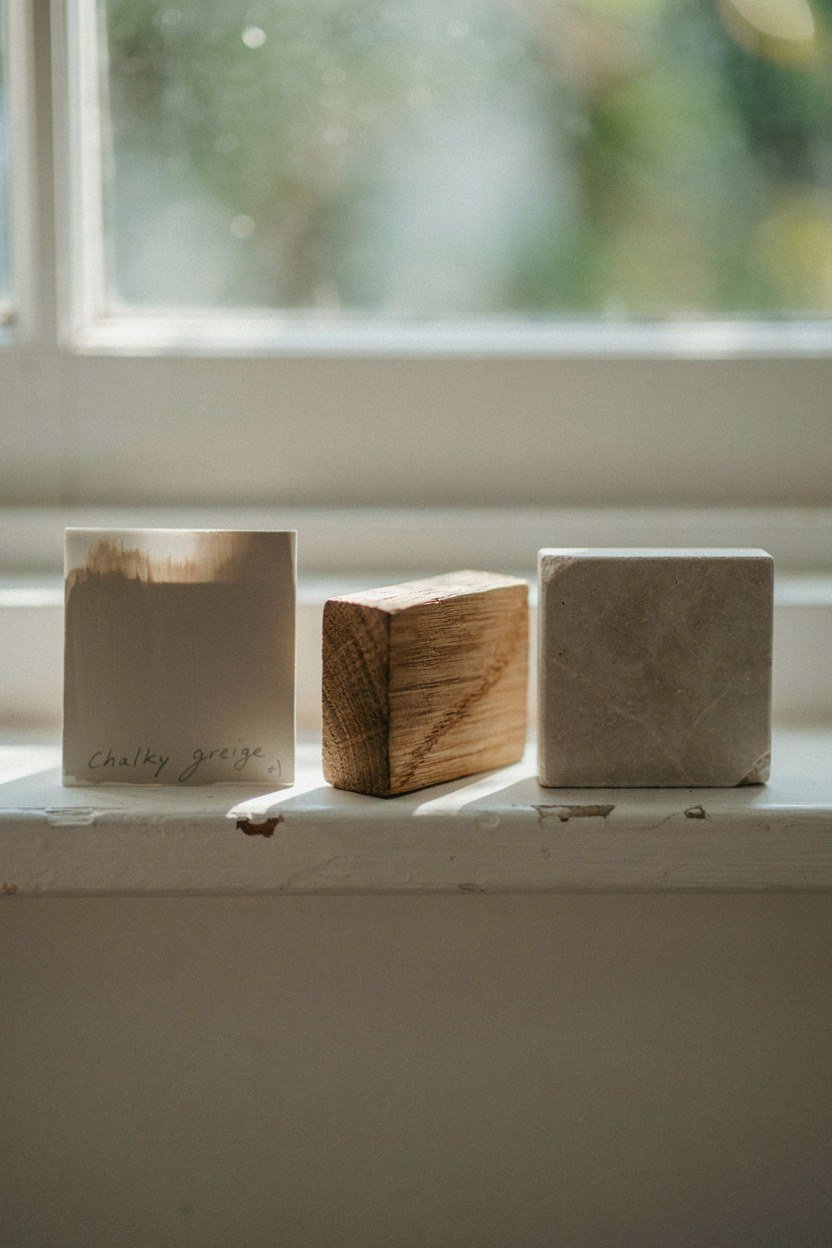
Three tones is the whole colour scheme: the stone, the oak, and one soft neutral for the walls. Adding a fourth is where most Japandi bathrooms start to unravel. The discipline feels severe on paper and looks calm in the room.
The wall colour should sit close to the stone rather than contrasting with it. A warm off white, a soft greige or a chalky clay tone all work. What you want is for the eye to move across the wall without stopping.
Save any contrast for the metalwork, which is small enough to be a punctuation mark. Matt black taps against pale stone give you all the contrast the room needs. Anything more and the calm goes.
Look at the three tones together at the scale they will actually appear, not as equal squares. The wall is most of what you see, the stone is underfoot, and the oak is a smaller warm object in between. A palette that works as three equal chips can fail badly at real proportions.
Testing Colour Against Wet Stone
Paint a test board and hold it against a wet stone sample rather than a dry one. Bathrooms are wet rooms, and the stone spends a good part of the day darker than its showroom colour. Matching to the dry sample gives you a wall that looks slightly off.
Check the colour again under the lighting you plan to fit. A warm 2700K bulb pushes greige towards beige and a 4000K bulb pushes it grey. Choose the bulb first, then the paint.
4. Plan The Layout Around The Window
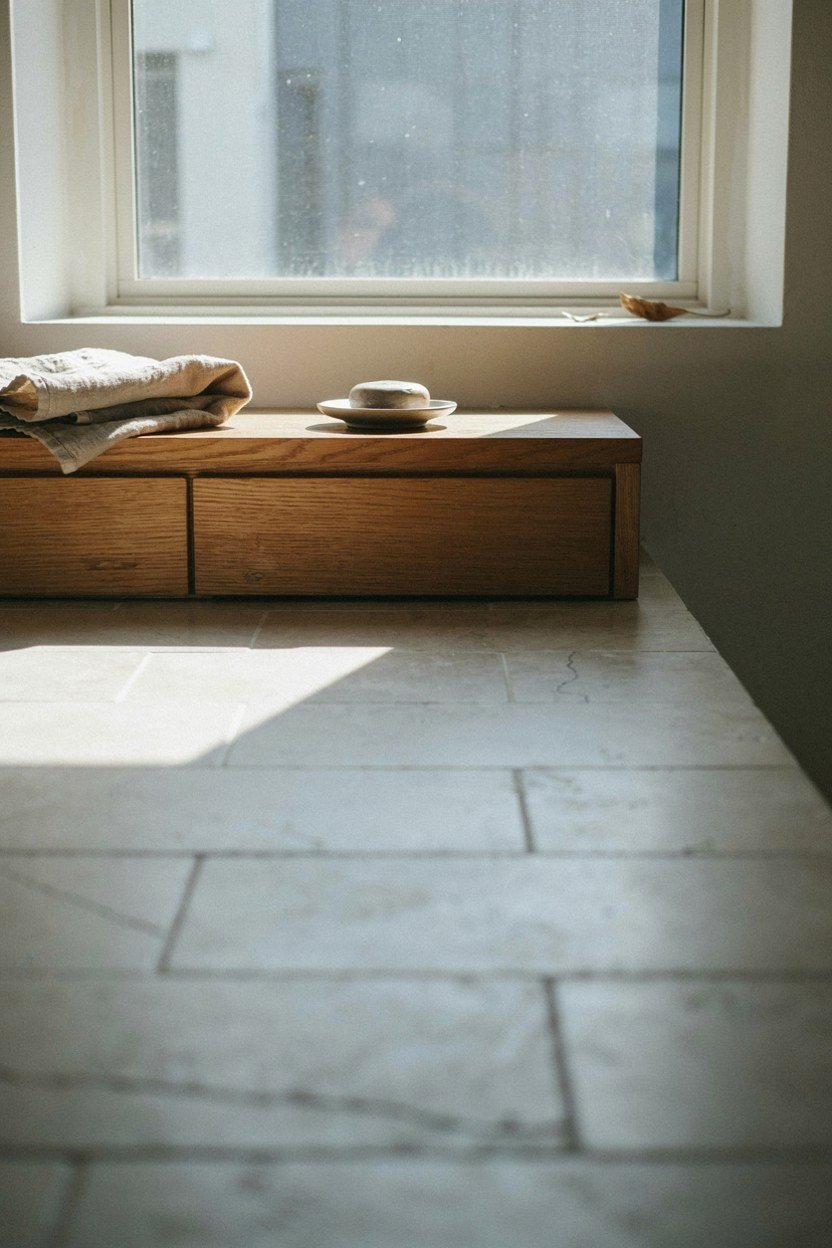
Natural light is the most valuable thing in a bathroom and the layout should protect it. Put the bath or the vanity where the light lands and push the storage into the darker corner. Most bathrooms do the opposite and put a cabinet in front of the only window.
Low horizontal elements suit both the style and the light. A vanity that sits below the window sill keeps the glazing clear and reinforces the horizontal lines Japandi depends on. It also makes a small room feel wider than it is.
If there is no window, the room needs a different strategy entirely. Concentrate on layered artificial light and lean harder on the oak for warmth. A windowless bathroom in a cool grey stone is a difficult room to enjoy.
Think about where the mirror goes in relation to the window as well. A mirror facing the glazing doubles the daylight and lights a face from the front, which is the single best position for it. A mirror on the same wall as the window leaves you lit from the side.
Privacy Without Losing The Light
Reeded or acid etched glass keeps the light and removes the view, which is exactly what a bathroom window needs. A blind blocks both and usually stays down permanently. Replacing the glass costs more upfront and solves the problem for good.
If a blind is unavoidable, choose a top down bottom up style. It covers the lower half where privacy is needed and leaves the upper half open to the sky. That single detail keeps a small bathroom feeling bright.
5. Choose A Low Vanity With Visible Legs
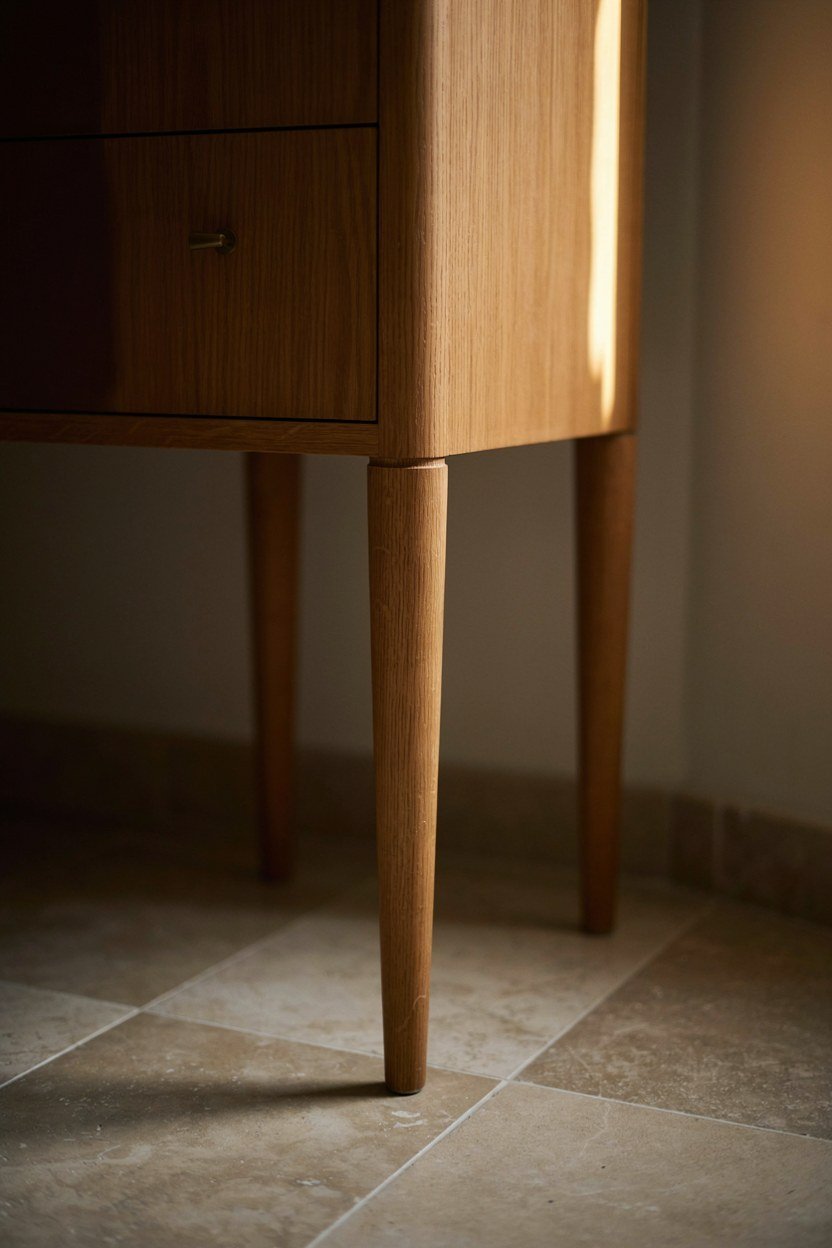
A vanity raised on legs shows floor underneath and makes the room read as larger. It also fits the Japandi preference for furniture that looks like furniture rather than built in boxes. The visible floor is doing real work here.
Keep it low. A vanity top at around 850mm suits most people and sits below a standard window sill, which keeps the horizontal line running. Taller units start to dominate a small room.
Solid oak legs with a visible joint are worth paying for. That joint is the decorative detail in a room with almost no decoration. A cheap butt joint with a screw through it undoes the effect entirely.
Check the plumbing position before choosing either, because a wall hung unit has to hide the trap inside the carcass. That usually means moving the waste up the wall, which is a first fix job. Floor standing units are far more tolerant of whatever pipework already exists.
Wall Hung Versus Floor Standing
Wall hung units make cleaning the floor trivial and reinforce the floating look, but they need solid fixing into masonry or a properly built stud. A plasterboard wall with basic fixings will not hold a stone topped vanity. Check before ordering.
Floor standing on legs is more forgiving and easier to fit. It also lets you adjust for an uneven floor, which most older bathrooms have. I went floor standing for exactly that reason.
6. Fit A Stone Or Concrete Basin
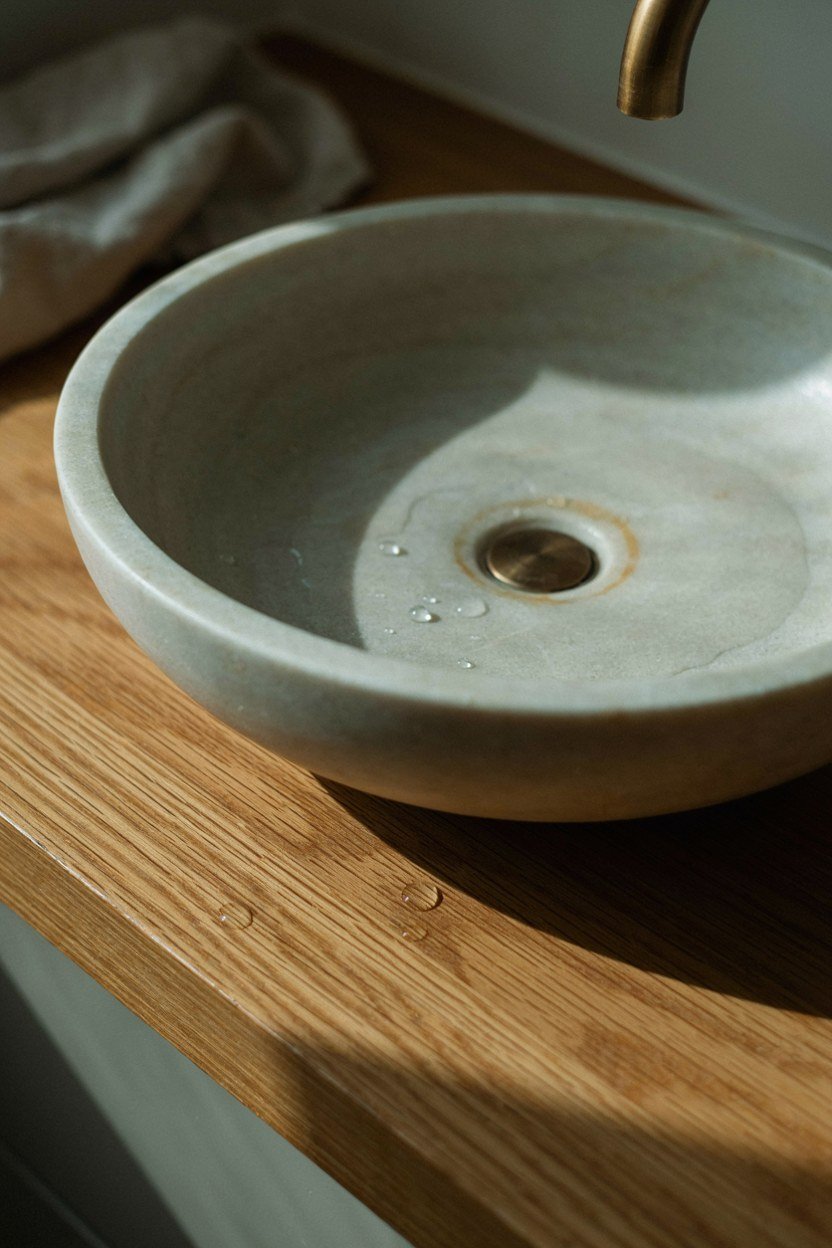
A solid basin in stone or cast concrete is the piece that anchors the whole room. It gives you mass against all that pale timber and it reads as one considered object rather than a fitting. This is where a good part of the budget belongs.
Choose a shallow, wide bowl rather than a deep narrow one. Wide bowls suit the horizontal language of the style and they splash considerably less. A narrow bowl with a high tap throws water at the mirror every morning.
Check the weight before committing, because a stone basin on a slim oak vanity needs the carcass to be built for it. Some of these weigh forty kilograms empty. The supplier will publish the figure if you ask.
Match the waste to the basin material rather than the tap where the two disagree. A slotted waste in a basin with no overflow will leak, and an unslotted waste in a basin with one will not drain properly. The supplier should say which the bowl needs.
Sealing And Daily Care
Seal a stone basin before it is plumbed in, including the underside and the drain hole. Toothpaste, soap and hard water all mark unsealed stone within weeks. A second coat after a fortnight is worth the effort.
Wipe it dry after use if you have hard water. Limescale on honed stone is far harder to remove than on porcelain, and the descalers that shift it will etch the surface. A cloth on the shelf solves this permanently.
7. Use Vertical Slatted Oak Sparingly
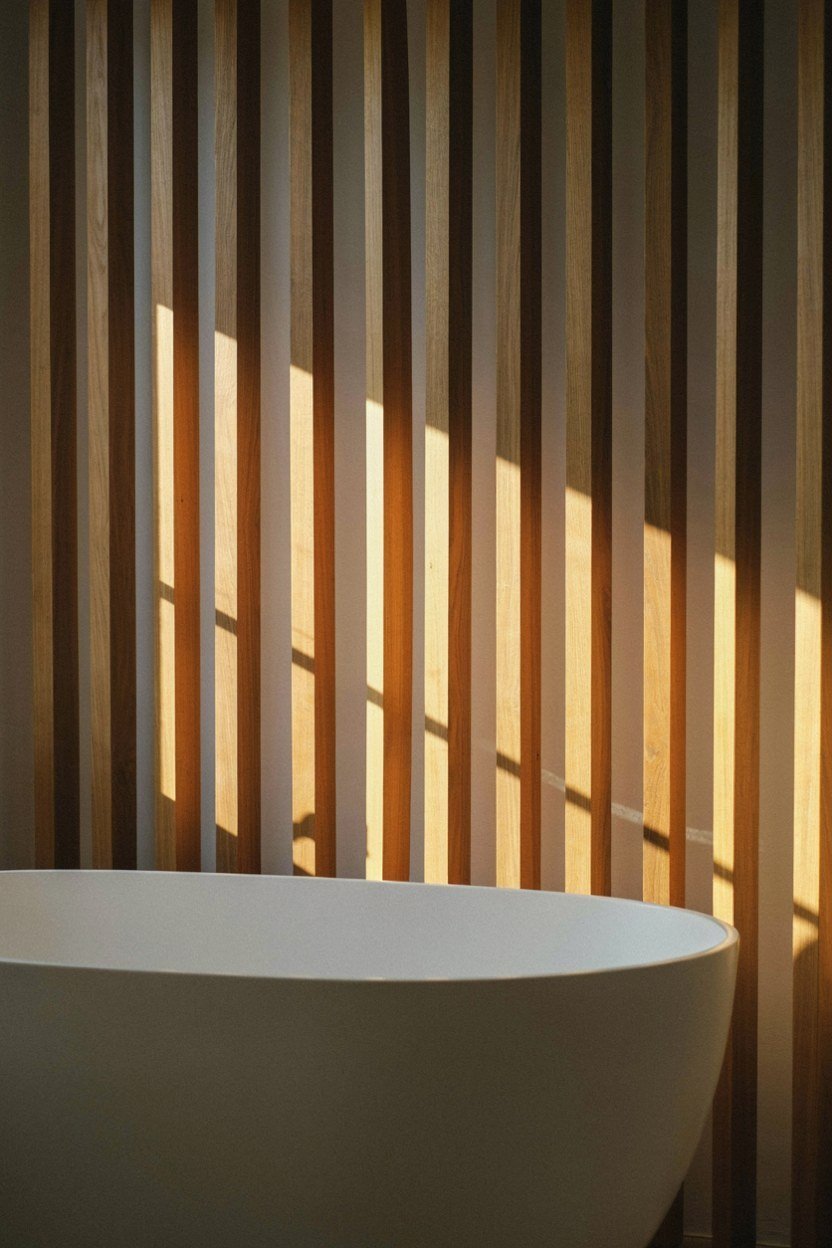
Slatted oak is the detail everyone associates with this style, which is exactly why it needs restraint. One panel behind the bath or beside the vanity is enough. A whole room of slats reads as a sauna rather than a bathroom.
Keep the slat spacing generous and the depth shallow. Narrow gaps collect dust and are miserable to clean in a humid room. Around 20mm between slats is easy to wipe and still reads as a rhythm.
Fix the panel with a gap behind it so air can move on both faces. Sealed against a wall, the back of each slat stays damp and the timber cups within a year. Battens behind the panel solve it.
Finish the ends of the slats as carefully as the faces, because end grain drinks moisture far faster than the sides. Two extra coats of oil on every cut end adds twenty minutes and prevents the dark swollen tips that give cheap panels away. Do it before the panel goes on the wall.
Where Slats Actually Belong
Behind a freestanding bath is the classic position and it works because you see it from the door. Beside a vanity is the other good spot, where it hides an awkward return. Both give you one panel, not four.
Never put slatted timber inside a shower enclosure. It traps water in every gap, grows mould in the shadows and cannot be cleaned properly. Porcelain or full stone is the only sensible material in the wet zone.
8. Pick Matt Black Or Bronze Brassware
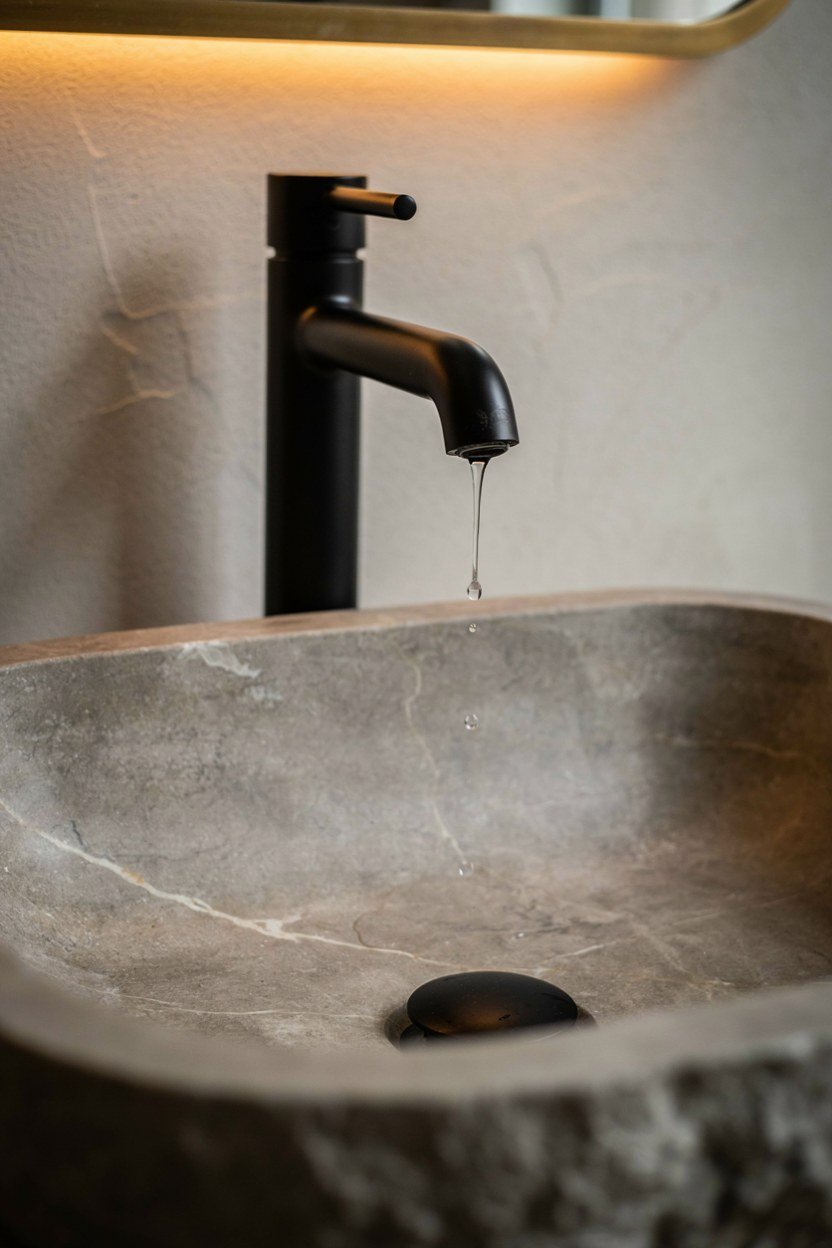
Chrome is the fastest way to make a Japandi bathroom look like a standard new build. Matt black, brushed bronze or aged brass all suit the palette and none of them shout. Choose one and use it on every tap, waste and handle in the room.
Matt black is the easiest to source and the hardest to keep looking clean in a hard water area. Bronze and brass hide limescale better and develop a patina that suits the style. I would choose bronze again given the choice.
Buy the whole set from one range if you can, because black from two manufacturers is rarely the same black. Mixed blacks look like a repair rather than a scheme. This is worth checking before ordering piecemeal.
Check the flush plate at the same time, since it is the largest piece of metal in most bathrooms and it defaults to chrome or white plastic. Matt black and bronze plates exist for every common cistern. It is a cheap part that makes a visible difference.
The Finish On The Shower Screen
Shower screen brackets are the detail that ruins a good scheme, because most come in chrome as standard. Matt black brackets are available for almost every screen and cost very little extra. Specify them at the time of ordering.
The same applies to the shower waste and the bath overflow. Both arrive in chrome by default and both are visible. Swapping them later means pulling the trap apart.
9. Hide The Cistern In A Half Height Wall
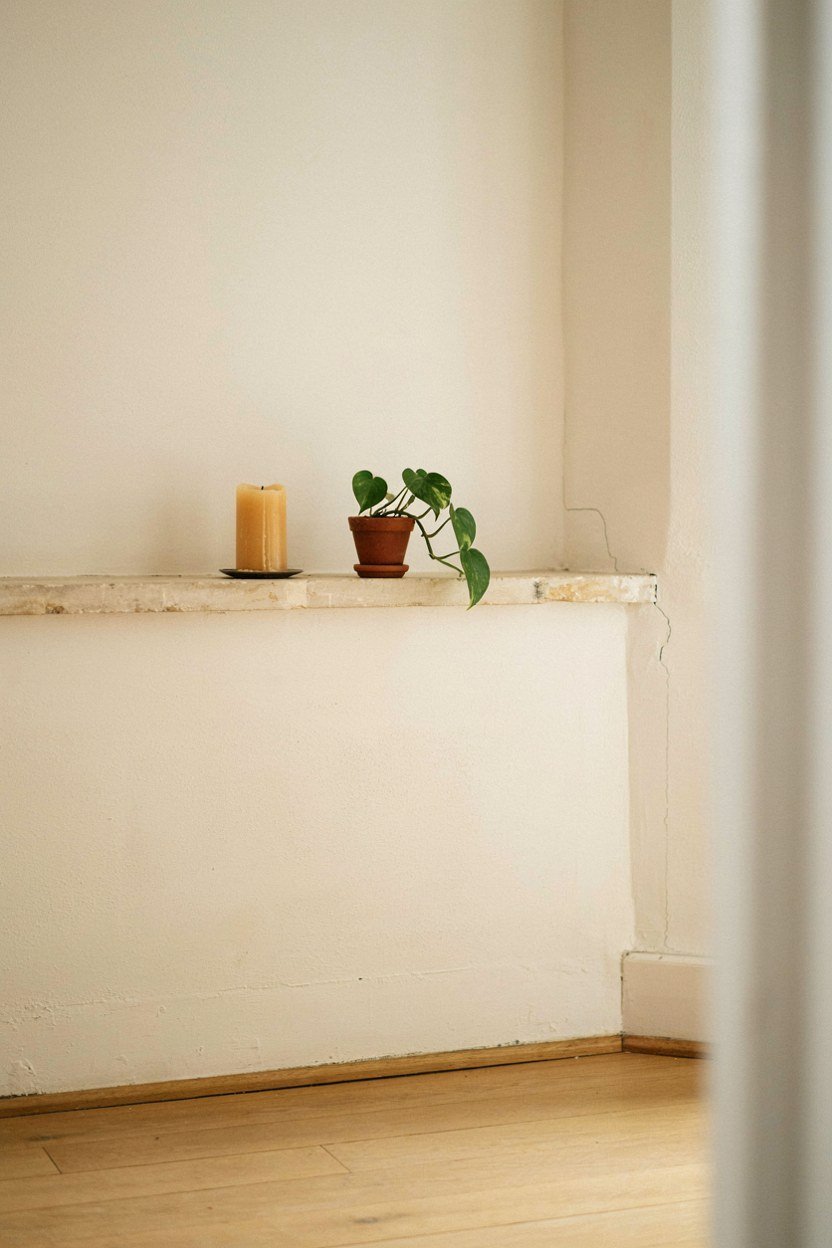
A concealed cistern behind a half height wall removes the visual clutter of a traditional toilet and gives you a shelf. That shelf then becomes the only place in the room where anything sits out. This is the tidiest solution available.
Build it to around 900mm high so the shelf works as a surface without dominating. Full height boxing swallows floor area and makes a small room feel smaller. Half height keeps the horizontal line going.
Fit an access panel that you can actually open, and make it part of the design rather than an afterthought. A magnetic push panel finished in the same material disappears completely. A screwed plastic hatch does not.
Getting The Shelf Depth Right
Around 200mm of shelf is enough for a plant, a candle and a folded towel. Any more and it collects clutter, which is precisely what the wall was built to prevent. Restraint applies to the shelf as much as anywhere else.
Slope the shelf very slightly forward if you can, no more than a couple of millimetres. Water lands on it constantly and a dead flat shelf holds a puddle behind whatever is standing on it. Nobody notices the slope.
10. Get The Lighting Off The Ceiling
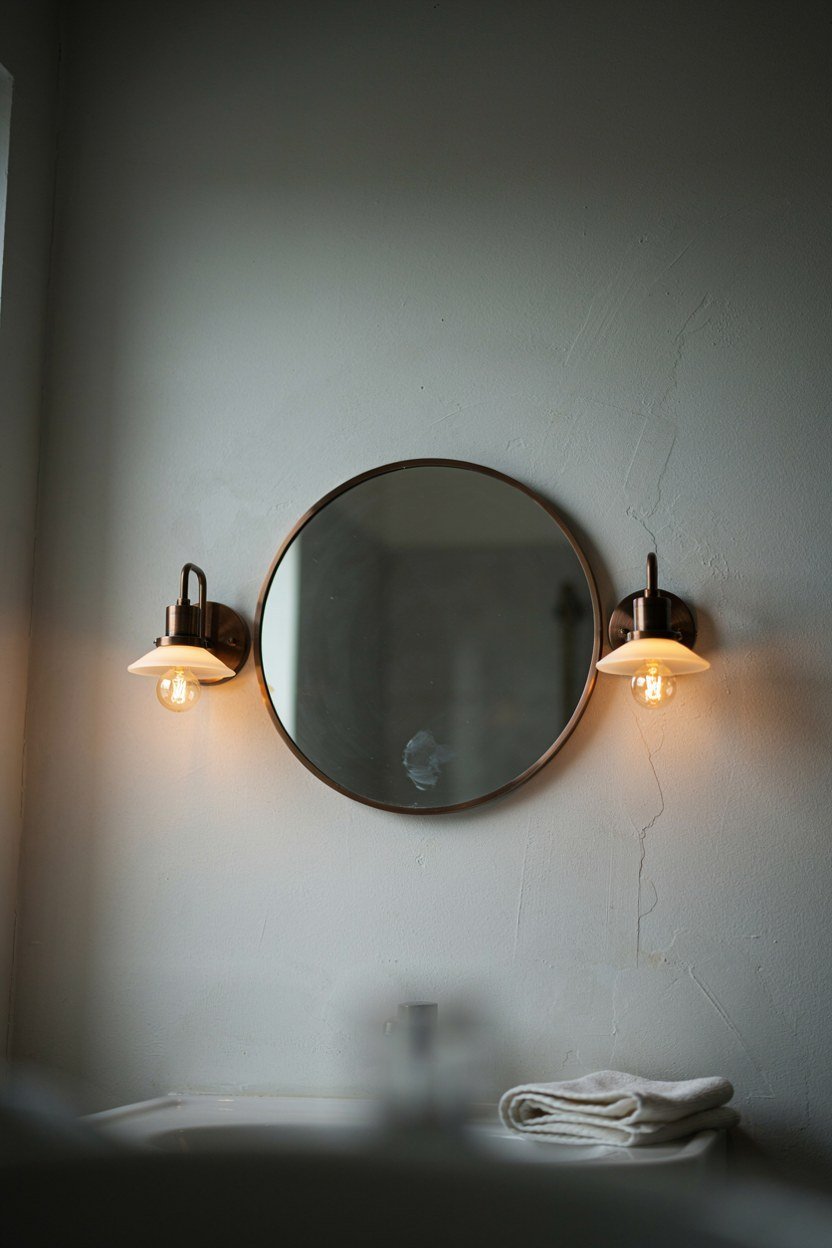
Downlights in a grid are the enemy of this style. They flatten the stone, throw shadow onto faces at the mirror and make the room feel like an office. Layered light at different heights is what the room needs.
Two wall lights either side of the mirror at eye level do more for a bathroom than any ceiling fitting. They light a face evenly, which is what a mirror is for. Add one low level source for the evening and the ceiling can stay empty.
Warm bulbs, around 2700K, keep the oak looking like oak. Cool light turns pale timber grey and makes stone look like concrete. This single choice affects the room more than the fittings themselves.
Adding A Dimmer And A Night Light
A dimmer on the main circuit turns a bathroom into somewhere you can take a bath in the evening without staring into a spotlight. Bathroom rated dimmers exist and are worth fitting. It costs very little at first fix.
A low level light near the floor, on a separate switch or a sensor, handles the middle of the night without waking anyone properly. This is the sort of small idea that gets used every day. Fit it while the walls are open.
11. Choose Large Format Tiles With Fine Grout
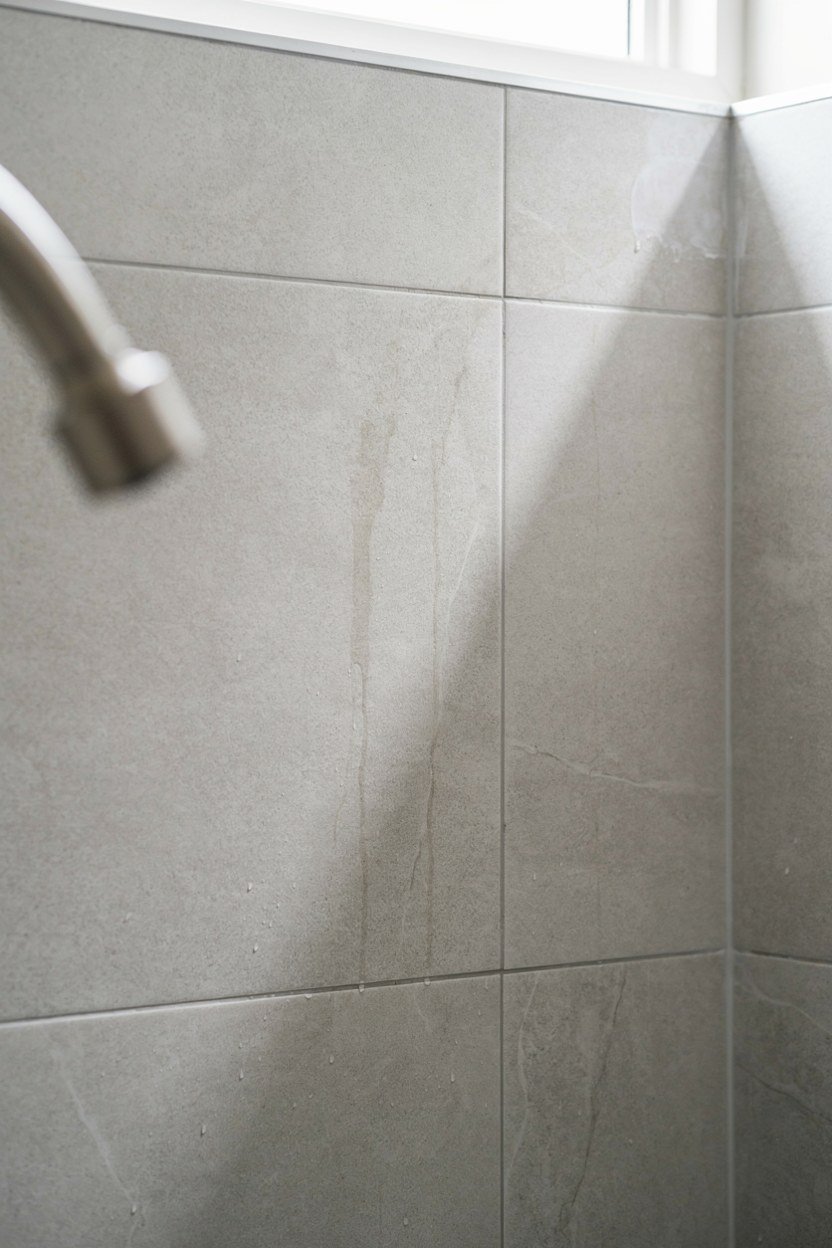
Large tiles mean fewer grout lines, and grout lines are what break up the calm surface this style depends on. A 600 by 1200 porcelain in a honed stone finish gives you a nearly continuous plane. That continuity is most of the effect.
Match the grout to the tile as closely as you can. Contrast grout turns a quiet wall into a grid and pulls the eye straight to the pattern. The grout should be invisible from two paces away.
Rectified tiles allow a 2mm joint instead of the usual 3mm, which makes a visible difference across a wall. They cost slightly more and need a flatter substrate. In a small bathroom the extra is minor.
Where Porcelain Beats Real Stone
Porcelain that imitates stone has become genuinely good, and inside a shower it is the sensible choice. It does not need sealing, it does not etch and it handles daily water without complaint. Save the real stone for the floor and the basin.
Buy from a single batch and check the shade code on every box. Tiles from two batches can differ noticeably and the difference only shows once they are on the wall. Order ten percent extra at the same time.
12. Add A Bench Or Stool In Solid Oak
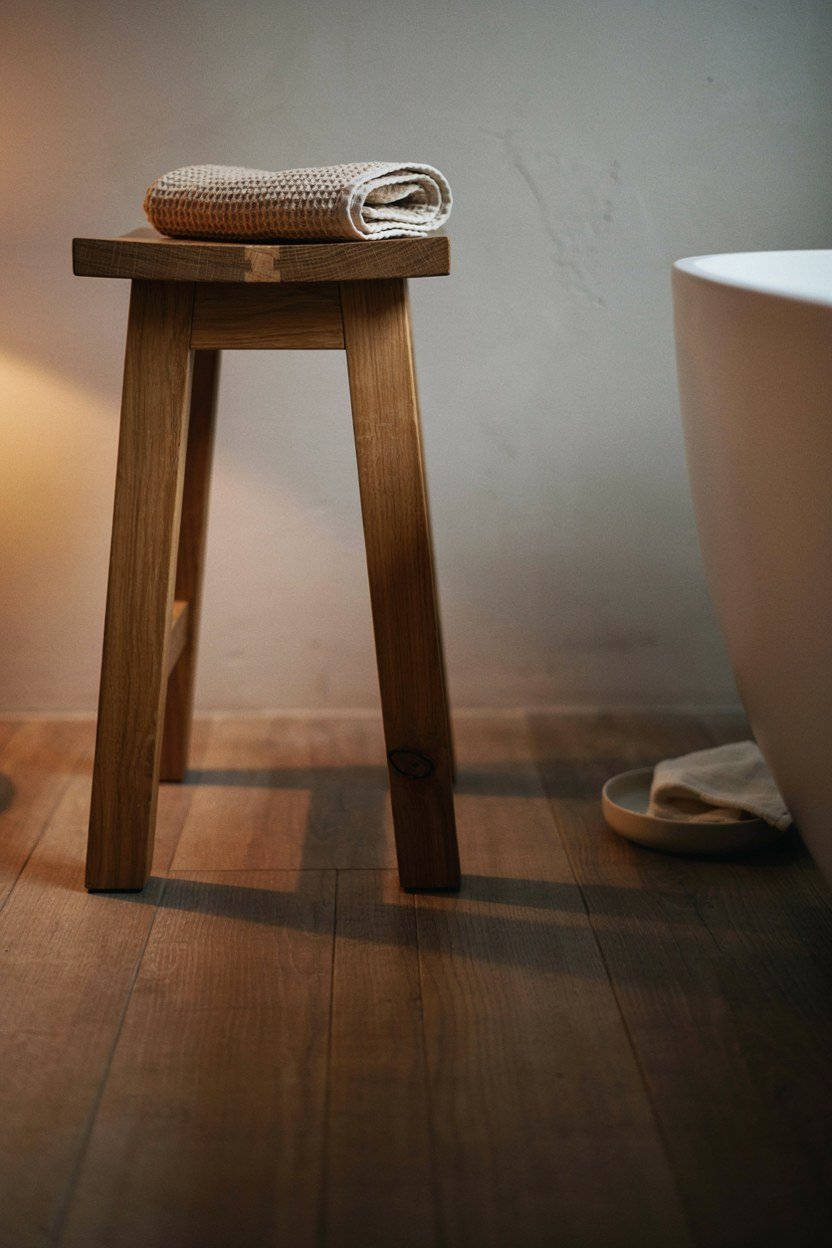
A simple oak stool beside the bath is the most Japandi object you can put in a bathroom. It holds a towel, it gives the eye somewhere to land, and it does not need plumbing. It is also the easiest item to add later.
Choose something with visible joinery and no finish beyond oil. A pegged joint or a through tenon is the kind of detail this style is built on. Anything glossy or upholstered fights the room.
Keep it small. A bench that seats two turns a bathroom into a changing room and takes floor space a small room cannot spare. A single stool is the right scale.
Making It Earn Its Place
A stool that holds a rolled towel and nothing else looks staged. Let it hold what you actually use, which is usually a towel and a book. Function keeps it from becoming a prop.
Raise it on small feet if the floor gets wet. Solid timber standing in a puddle will darken at the base and eventually rot. A few millimetres of clearance prevents it entirely.
13. Keep Storage Closed And Low
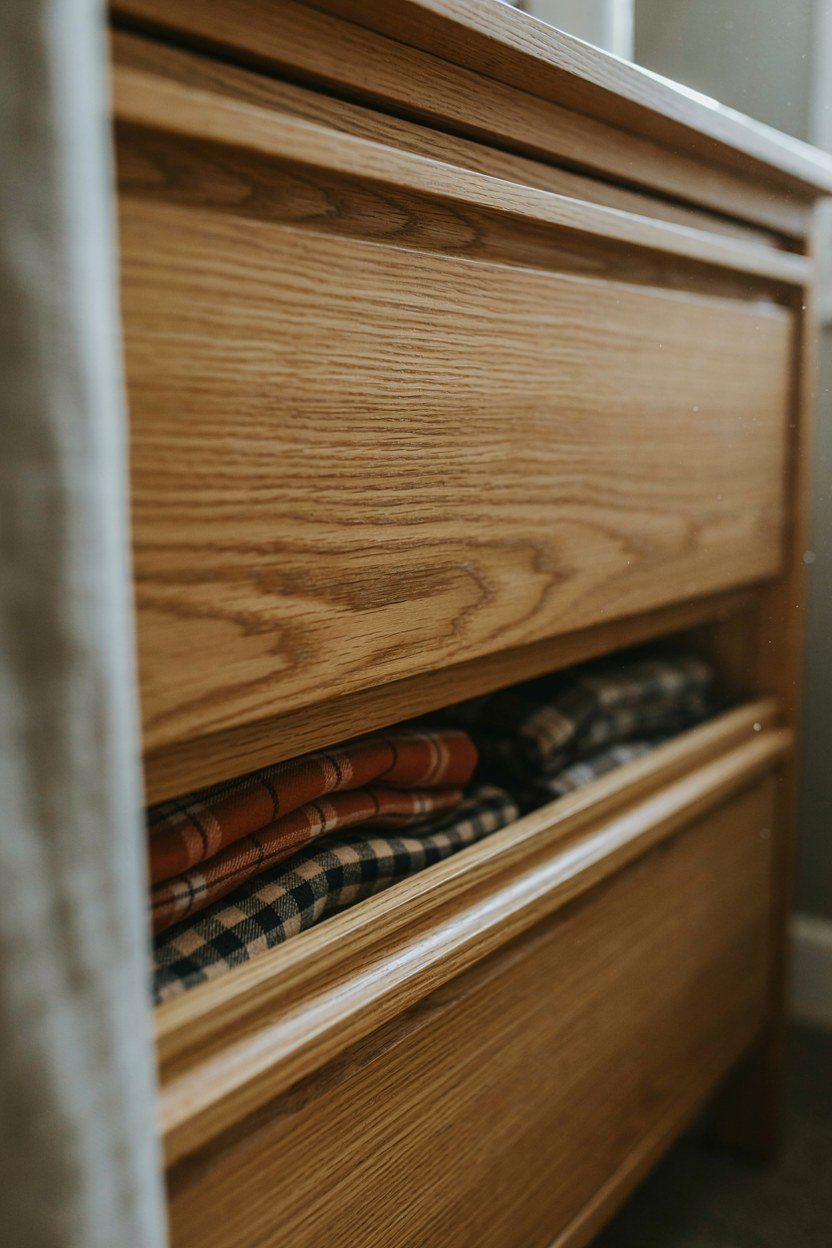
Open shelving fills with bottles within a month, and bottles are the enemy of a calm bathroom. Closed storage at low level keeps everything out of sight and preserves the empty wall the style depends on. This is a discipline more than a purchase.
Drawers work better than cupboards because you can see everything at once. A shallow top drawer for daily items and a deeper one below handles most households. Cupboards turn into caves where things get lost.
Handleless fronts with a push catch or a routed finger pull keep the run clean. Every handle you add is another metal object competing with the taps. The fewer interruptions, the calmer the wall.
The One Thing To Leave Out
Leave a small area of surface deliberately empty and protect it. An empty corner of a vanity top is the visual rest that makes the rest of the room work. It fills up unless you decide it is empty on purpose.
Decant the things that have to stay out. Soap and hand wash in a plain refillable bottle removes most of the visual noise from a basin. It is a small change with a disproportionate effect.
14. Add One Living Thing
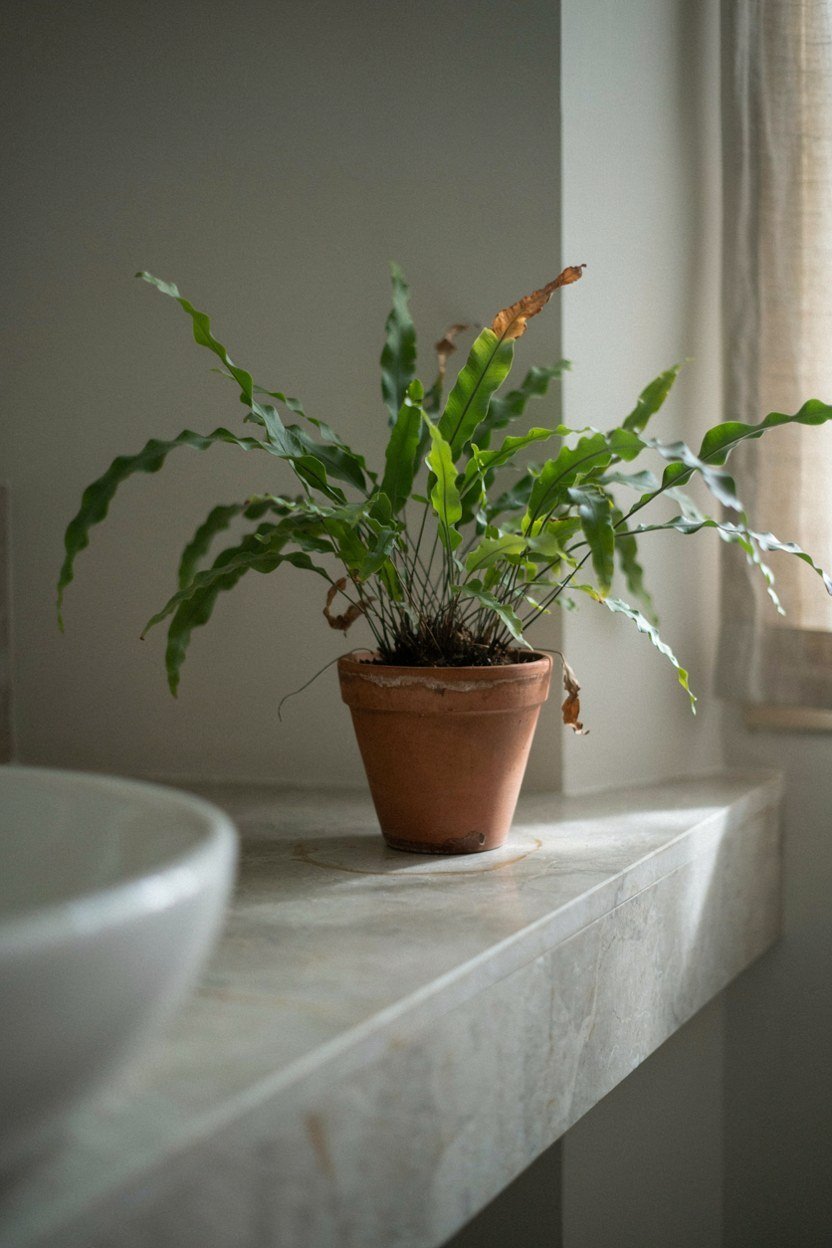
A single plant stops a Japandi bathroom feeling like a showroom. It brings the only irregular shape into a room made entirely of straight lines. One is enough, and two is usually one too many.
Choose something that tolerates humidity and low light, because most bathrooms offer both. A fern, a pothos or a small aspidistra all cope. Anything that wants full sun will sulk and die within a season.
Put it where it gets whatever light there is, usually the cistern shelf or the window sill. Then leave it alone. The most common way a bathroom plant dies is over watering in a room that is already damp.
Choosing The Pot
The pot matters as much as the plant here, because it is another object in a very edited room. Unglazed terracotta or a plain stoneware in the wall colour both disappear correctly. Anything glossy or patterned becomes the loudest thing in the room.
Match the pot to the stone rather than the oak. Stone to stone reads as one material family, while a ceramic pot against timber introduces a third texture. Small decisions like this are the whole style.
15. Sort Out The Ventilation Properly
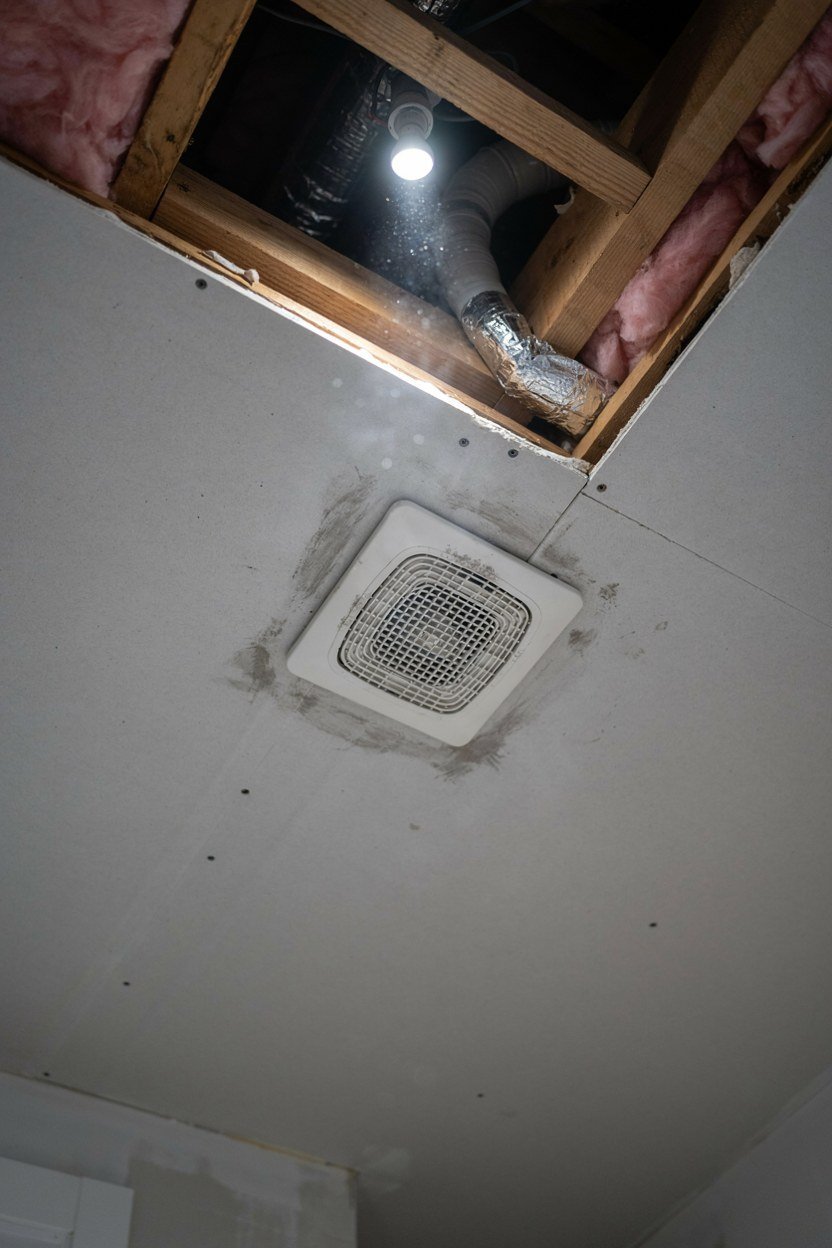
Ventilation is the least interesting item on this list and the one that decides whether the oak survives. A bathroom with poor extraction will cup the timber, lift the finish and grow mould in the slat gaps. Solve it before you install anything expensive.
Size the fan to the room rather than buying whatever the merchant stocks. Most domestic fans are undersized for a bathroom with a shower in it. Look at the extraction rate in cubic metres per hour and match it to the room volume.
Fit a humidity sensing model with an overrun timer. It runs when the room is actually damp rather than only while the light is on, which is when the moisture is still in the air. This is the difference between a fan that works and one that makes noise.
Ducting Is Where Most Fans Fail
A good fan on bad ducting performs worse than a cheap fan on a short straight run. Every bend and every metre of flexible hose costs you airflow. Use rigid duct and the shortest route to outside that the building allows.
Insulate any duct that runs through a cold loft. Warm wet air hitting a cold pipe condenses and runs back into the fan, which is the source of most mysterious ceiling stains. Insulated duct costs very little.
What A Japandi Bathroom Costs To Build
The stone and the brassware are where the money concentrates, and both are worth it because both are touched daily. A honed limestone floor and a solid basin will take a large share of the budget. Everything else is comparatively modest.
Oak joinery sits in the middle and can be phased. A simple vanity now and a slatted panel later is a perfectly reasonable order of work. The room reads correctly with the vanity alone.
The cheap items make a disproportionate difference. Warm bulbs, a dimmer, matt black screen brackets and a decent fan together cost very little and each one prevents a visible mistake. I would do all four before buying anything decorative.
| Element | Priority | Rough Cost |
|---|---|---|
| Honed stone or porcelain floor | Sets the temperature of the room | Mid to high |
| Solid stone or concrete basin | The anchor object | Mid to high |
| Oak vanity with visible legs | Carries the warmth | Mid |
| Matt black or bronze brassware | Keeps it out of new build territory | Mid |
| Warm bulbs, dimmer, wall lights | Best value on the list | Low |
| Humidity sensing fan and rigid duct | Protects everything else | Low |
| Slatted oak panel, stool, plant | Add over time | Low to mid |
The Mistakes That Make A Japandi Bathroom Look Like A Showroom
The most common mistake is treating Japandi as a shopping list rather than a discipline. Buy the slatted panel, the black tap and the stone basin without editing anything and you get a catalogue page. The empty surfaces are as much a part of the style as the objects.
The second is mixing timber tones. A pale oak vanity beside a mid brown slatted panel and a walnut stool reads as three separate purchases. One oak, repeated, is the rule that holds the room together.
The third is chrome creeping back in through the details nobody specifies. Screen brackets, wastes, the shower riser and the toilet flush plate all arrive in chrome unless you say otherwise. Each one is small and together they undo the scheme.
The Test That Catches All Three
Stand in the doorway and count the materials you can see. If the answer is more than four, something needs to go, and it is usually the third timber or the fourth metal. This takes ten seconds and catches most of it.
Then count the objects on horizontal surfaces. More than five and the room has drifted from calm to lived in, which is fine as a way to live but not what the style promises. A basket under the vanity absorbs the difference.
Conclusion: The Three Decisions That Make The Room
Choose the stone first, pick one oak and repeat it, and keep every metal finish the same. Those three decisions carry a Japandi bathroom, and no amount of styling rescues a room that gets them wrong. Everything else on this list refines what they set up.
Then protect the calm. Closed storage, one plant, empty surfaces left deliberately empty, and warm light at eye level rather than a grid of downlights. A room this pared back shows every object you add to it.
Finally, spend on the ventilation and the sealing even though neither is visible. Oak that cups and stone that stains will ruin a good bathroom within two years. The unglamorous half of this list is what makes the rest of it last.
Frequently Asked Questions About Japandi Bathrooms
Can I use real oak in a bathroom?
Yes, outside the direct splash zone and finished with hardwax oil on every face including the back. Good ventilation matters more than the finish you choose.
What stone suits a Japandi bathroom?
Honed limestone or travertine in a pale, quiet tone. Avoid high polish and heavy veining, which pull attention away from the calm surfaces.
Is chrome ever acceptable in this style?
Not really, because it reads as standard new build. Matt black, bronze or aged brass all sit better against oak and stone.
How many wood tones should the room have?
One, repeated across the vanity, bench and any panel. Two similar oaks look like a mistake rather than a mix.
Do I need a slatted oak panel?
No, and most rooms are better with a single panel or none. A whole room of slats reads as a sauna and is difficult to clean.
What lighting works best?
Two wall lights at eye level beside the mirror, warm at 2700K, on a dimmer. Keep the ceiling clear of downlight grids.
How do I stop the room feeling cold?
Warm bulbs, pale oak repeated, and one soft textile such as a waffle towel or a wool mat. Stone alone will always read clinical.