
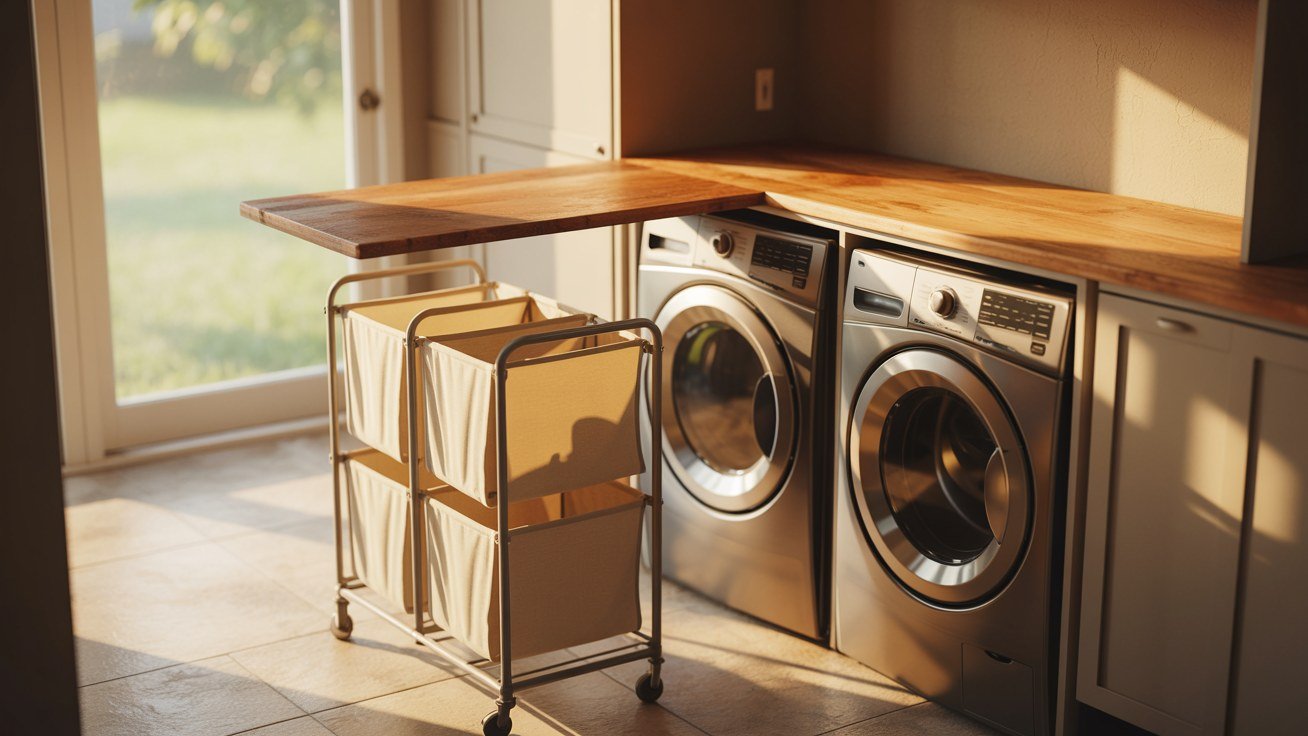
A laundry room only feels chaotic when sorting has nowhere proper to happen. The washing machine and dryer do their job regardless of how tidy the room looks, but sorting, the step before and after, is where most laundry rooms actually fall apart. Build the sorting system first and the rest of the room tends to organise itself around it.
My own laundry room used to be one hamper by the door that swallowed everything, whites, darks, delicates and towels, all in one pile waiting to be separated on the floor come wash day. Adding three labelled bins on wheels, at the exact spot where clothes first land, cut my actual sorting time to almost nothing. The room did not get bigger. The system just stopped fighting the way the room was actually used.
Below are fifteen ways to build a streamlined sorting system into a laundry room, starting with the bones of the space and moving to the small daily habits that keep it working. The first few ideas shape where sorting physically happens. The later ones are quick wins you can add without any construction at all.
Why Sorting Fails In Most Laundry Rooms
Sorting fails first because there is no dedicated spot for it to happen. Clothes get dropped wherever is closest, a chair, the floor, the top of the machine, and from there they get washed as one indiscriminate load rather than sorted properly by colour and fabric. A dedicated sorting zone, even a small one, removes that default and gives dirty clothes exactly one place to go.
The second failure is too few categories. Most households genuinely need at least three separate piles, lights, darks and a delicates or special care group, yet many laundry rooms only have space for one hamper. Adding categories without adding physical capacity just creates more piles on the floor, so the fix has to include storage as well as intention.
The third failure is timing. A sorting system that only works when someone has fifteen free minutes to stand and separate a mountain of clothes will fail on a busy week, every time. The systems that actually last are the ones where sorting happens gradually, a few items at a time, right at the moment clothes come off.
| Sorting problem | Root cause | Fix |
|---|---|---|
| One giant pile | No dedicated sorting zone | A defined station near the hamper |
| Piles on the floor | Too few sorting categories | Multiple labelled bins or bags |
| Sorting only on wash day | No gradual sorting habit | Sort at the point clothes are removed |
| Mismatched socks | No small item catch point | A dedicated sock or small item bin |
| Clean clothes re-piling | No folding surface nearby | A counter within reach of the dryer |
What To Decide Before You Build A Sorting Station
Count how many categories your household genuinely needs before buying anything. A single adult living alone might manage with two, lights and darks, while a family with young children in sports kit and school uniforms may need five or six, including a separate bin for anything needing hand washing or dry cleaning. Buy bins to match the real number, not a generic three.
Then measure the space honestly, including the swing of the washer and dryer doors. A sorting station crammed into a spot where an open dryer door cannot fully clear is a station nobody will use consistently, since every load becomes an awkward two-step manoeuvre. Chalk the footprint on the floor before ordering any bins or building anything permanent.
Finally, decide where clothes actually get undressed in your house, since that is where sorting should begin, not necessarily where the washing machine sits. A bedroom hamper that gets carried to the laundry room once a week defeats gradual sorting entirely, so consider whether a small satellite sorting point near bedrooms could feed the main station more efficiently. A short trial week usually reveals the answer.
1. Install A Three Bin Sorting Station On Wheels
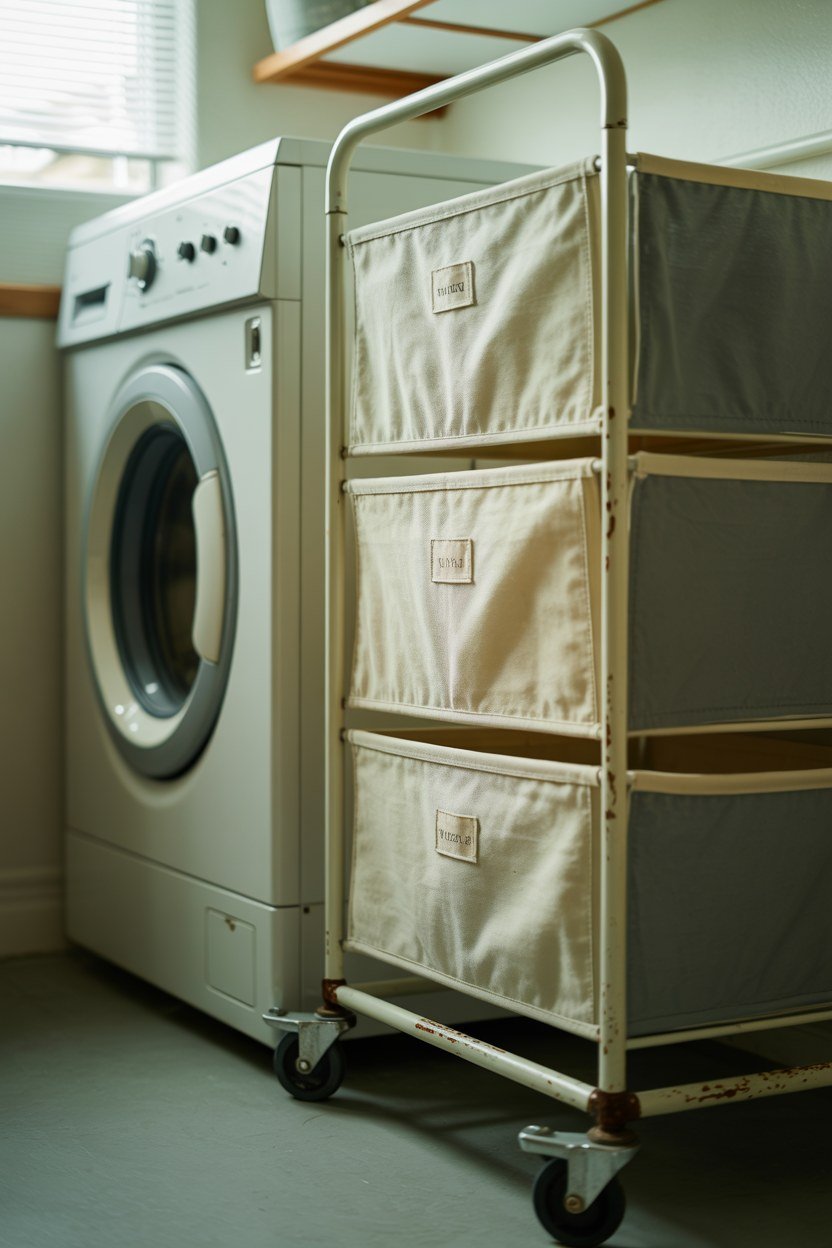
A rolling three bin unit is the single most useful addition most laundry rooms can make. Positioned directly beside the washing machine, it gives every dirty item exactly one obvious destination, sorted by colour, the moment it leaves the body. The wheels matter because a bin that can roll directly under a load line saves the extra step of carrying an armful across the room.
Choose bins with a minimum useful width, generally at least 30 centimetres each, since narrower compartments fill and overflow within days for anything but a single occupant household. Canvas or mesh bins breathe better than solid plastic, which matters for anything damp like gym kit or swimwear left too long before washing. Solid plastic bins trap that moisture instead of letting it evaporate.
Label each bin clearly, even in a household without young children, since consistent placement habits break down within weeks without a visual reminder. A simple fabric tag or a stencilled label on the bin itself removes any ambiguity about which pile a grey item that could be either light or dark should join. Pick a default rule for borderline colours and stick with it.
What It Costs
A quality three bin rolling sorter costs a moderate amount but replaces what would otherwise be three separate baskets bought individually, often for a similar total outlay. The wheeled frame is the part worth spending on, since a unit with weak casters becomes unusable within a year of regular loaded movement. Look for locking casters if the floor has any slope at all.
Building your own from a simple frame and canvas bags costs considerably less if you have basic tools and twenty minutes to spare. This is a genuinely easy weekend project, and the result performs identically to a bought unit for a fraction of the price. An old shelving trolley works just as well as a frame built from scratch.
2. Add A Fold Down Counter Above The Machines
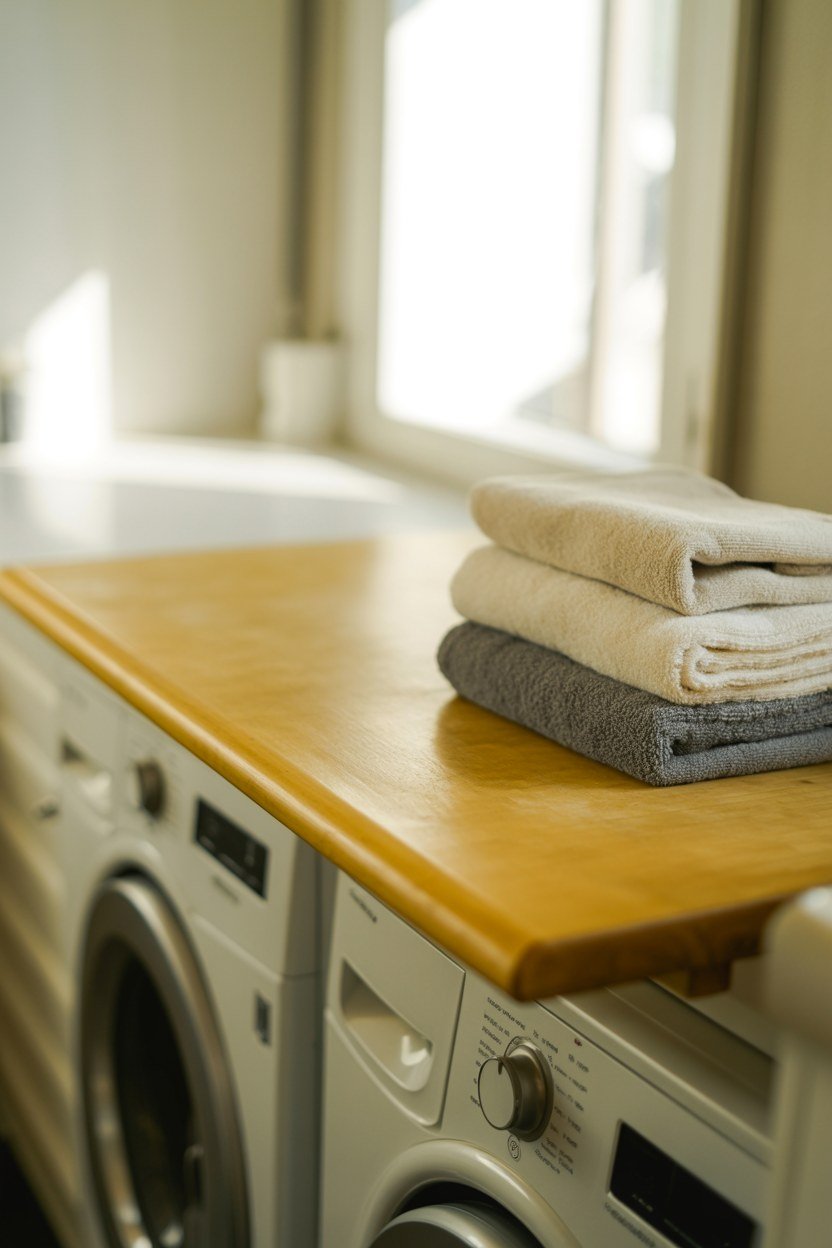
A counter that folds flat against the wall when not needed solves the single biggest complaint about small laundry rooms, which is nowhere to fold clean clothes without walking them to another room. Positioned directly above a front loading washer and dryer, it uses space that would otherwise sit entirely empty. Top loading machines need a different, freestanding solution instead.
Choose a counter depth of at least 45 centimetres to comfortably fold a bath towel without it draping onto the floor. Anything shallower forces awkward folding technique and defeats much of the counter’s purpose, since folding on an undersized surface is barely faster than folding on a bed. A shallow counter also cannot hold a stack of folded items waiting to be put away.
Fit sturdy folding brackets rated for real weight, not just the counter’s own weight but a stack of wet towels being folded on top of it. A bracket that flexes under load will eventually fail, and a laundry counter needs to survive years of exactly this kind of daily pressure. Cheap brackets are the one place not to economise on this project.
How To Judge It Before You Build
Measure the exact height of your machine tops and add clearance for lids or doors that open upward, typically another 15 to 20 centimetres, before fixing the counter height. A counter mounted too low will not clear an open lid, making the whole installation useless on wash day. Measure with the lid open, not closed.
Test the fold down mechanism with a full load of wet laundry sitting on it before considering the job finished. Many brackets that feel solid when empty reveal a worrying flex once genuinely loaded, and that is far better discovered before the counter is permanently fixed to the wall. A test load also confirms the folding height feels comfortable.
3. Fit Labelled Pull Out Bins For Small Item Sorting
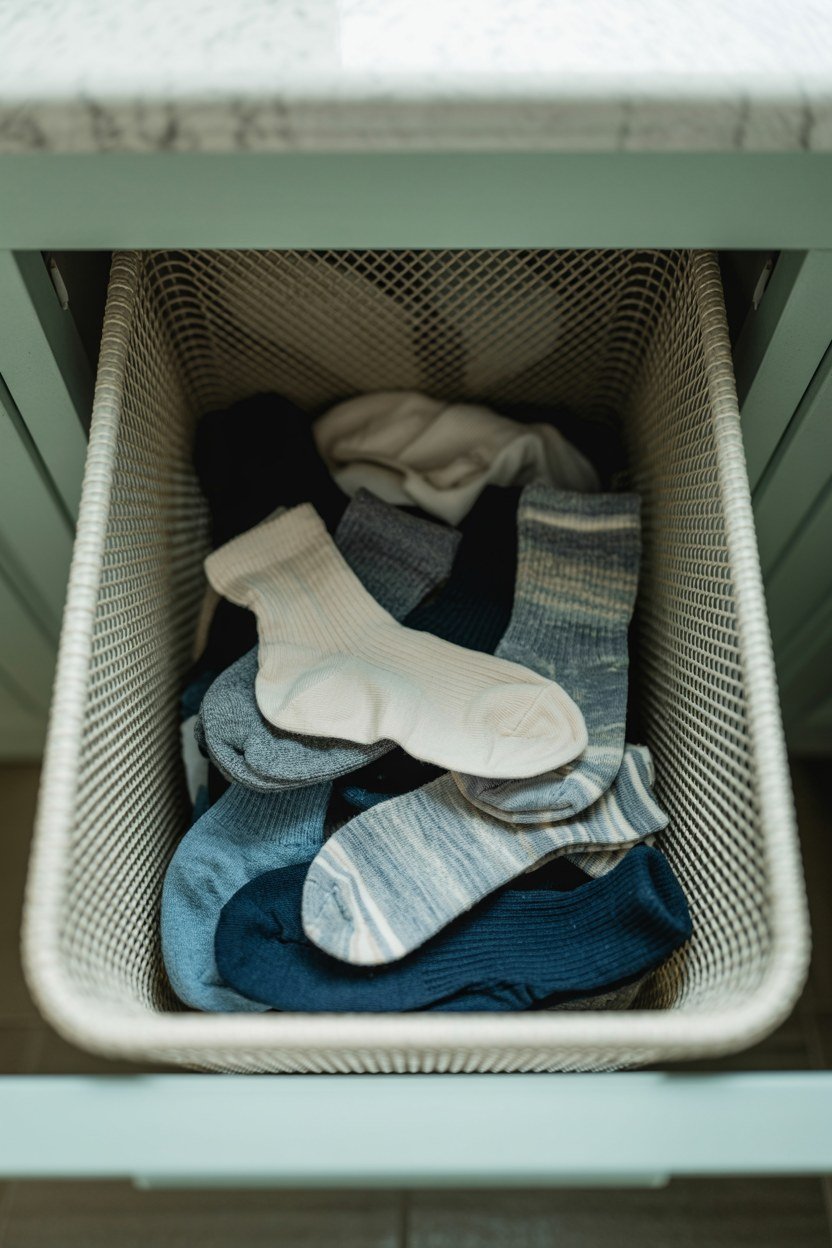
Socks, underwear and other small items are the category that derails most sorting systems, since they are too numerous to sort individually every single time yet too easily lost if simply thrown in with everything else. A dedicated pull out bin, sized specifically for small items, solves this without adding another full sized hamper to the room. It keeps a genuinely small category from taking up disproportionate space.
Position it at counter height rather than floor level, since floor level bins for small items get forgotten and overlooked in a way that eye level ones do not. A drawer style pull out beneath a folding counter is the ideal spot, keeping small items visible every time the counter is used. That visibility is what actually keeps the habit going.
Use a mesh or perforated bin rather than solid plastic for anything that might be even slightly damp when tossed in, since solid bins trap moisture and create a mildew smell that spreads to everything else stored nearby. This single choice prevents one of the most common laundry room odour complaints. A quick wipe of the bin every few weeks keeps it fresh.
What Goes Wrong
Bins that are too deep become a black hole where small items sink and are never seen again until the bin is fully emptied. A shallow, wide bin lets you see the full contents at a glance, which matters enormously for a category defined by small, easily lost items. Depth under 15 centimetres works well for most households.
The other common failure is placing this bin somewhere inconvenient enough that people simply stop using it after the first few weeks. If reaching the small item bin requires more effort than just dropping socks on the floor, most households will default to the path of least resistance every single time. Convenience beats good intentions in a busy laundry routine.
4. Build A Dedicated Stain Treatment Station

A stain treatment station gives the most time sensitive laundry task, treating a fresh stain before it sets, a proper home rather than relying on remembering where the stain remover bottle is currently stored. Position it directly above or beside the sorting bins so a stained item never has to travel far before treatment. Distance is the enemy of a task this time sensitive.
Stock it with a small, curated set of products rather than every stain remover ever purchased, since a cluttered station slows down exactly the task that needs to happen fast. A pre-wash spray, a bar of stain soap and a soft bristle brush cover the vast majority of household stains without overwhelming the shelf. Add specialty products only once a genuine need appears.
Keep a small laminated card or printed guide nearby listing which product suits which stain type, since even experienced launderers forget the correct treatment for blood versus grease versus grass under the pressure of a genuinely urgent stain. This tiny addition saves ruined garments more often than people expect. Print it once and it lasts for years.
What To Buy First
If space or budget only allows one product, choose a versatile enzyme based pre-wash spray, since it handles the widest range of common stains, from food to grass to light blood stains, better than any single specialised product. Add the specialised items as the budget allows. Most households never need more than three or four products total.
Avoid buying stain treatment products in bulk before confirming they actually work on your household’s most common stains. A large bottle of the wrong product wastes both money and the shelf space that a genuinely useful small station depends on. Buy small quantities first and scale up only what actually works.
5. Use Clear Labelled Containers For Detergent And Supplies

Clear containers let you see at a glance when detergent, fabric softener or stain remover is running low, removing the frustration of discovering an empty bottle mid-cycle. Decanting from bulky retail packaging into uniform containers also frees up shelf space, since matched containers stack and store far more efficiently than a random assortment of brand packaging. A uniform set also looks considerably tidier on open shelving.
Choose containers with a wide enough opening to refill easily without spilling, since a narrow neck designed for pouring becomes genuinely annoying when it is you doing the refilling from a large bulk container. A pump dispenser works well for liquid detergent specifically, controlling portion size and preventing overuse. Overuse is a surprisingly common source of washing machine buildup.
Label each container clearly with both contents and, if relevant, dosing instructions, since a household member unfamiliar with the system should be able to run a load correctly without asking. This small addition prevents both wasted product from overdosing and poor wash results from underdosing. A permanent marker on the container lid works fine for this.
How To Judge Scale
Match container size roughly to how often you restock, since an oversized container for infrequently used items just takes up unnecessary shelf space, while an undersized one for daily use products means constant refilling. A one litre container suits most households for regularly used liquid detergent. Larger households may prefer a two litre size to reduce refill frequency.
Consider the shelf depth available before choosing container shape. Square or rectangular containers use shelf space more efficiently than round bottles, fitting more product into the same footprint, which matters considerably in a smaller laundry room where every centimetre of storage counts. A quick measurement before buying avoids an awkward return.
6. Add A Drying Rack That Folds Flush To The Wall
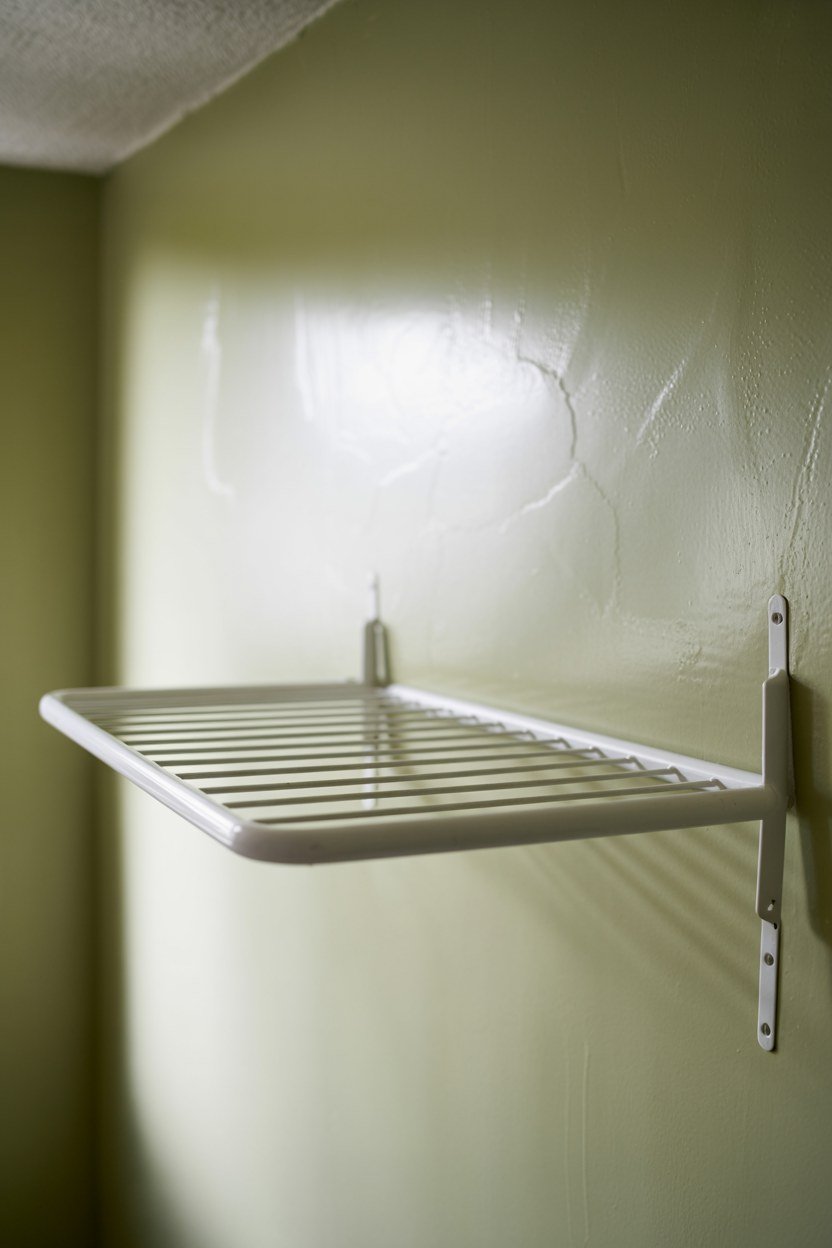
A wall mounted drying rack that folds flat when not in use solves the perpetual problem of where delicate items that cannot go in the dryer actually dry. Positioned near the sorting station, it keeps the entire garment care process, from dirty to sorted to washed to dried, within the same small area rather than scattered across the house. Keeping every stage in one zone is what actually saves time day to day.
Choose a rack with multiple horizontal bars rather than a single rail, since a single rail concentrates all drying items into one overlapping layer that takes far longer to dry properly. Multiple bars spread items out, letting air circulate around each piece individually. That circulation is what actually shortens drying time.
Check the weight rating before mounting, particularly for a rack intended to hold heavier wet items like jeans or towels. A rack rated only for light delicates will sag or eventually pull from the wall under a genuinely heavy wet load, and that failure tends to happen at the worst possible moment. Check the manufacturer’s weight rating before hanging anything heavy.
When To Skip It
Skip a wall mounted rack if the laundry room has poor ventilation or no window, since drying items indoors in a humid, unventilated space encourages mould rather than efficient drying. A dehumidifier or better ventilation should come before adding more indoor drying capacity in that situation. A small dehumidifier is often the simpler fix.
Consider a freestanding rack instead if wall space is genuinely at a premium but floor space periodically opens up, since a foldable freestanding rack can be stored elsewhere between uses and only brought out for actual drying sessions. This suits a laundry room that doubles as a mudroom or storage space. It keeps the floor clear the rest of the week.
7. Create A Hanging Zone For Straight From The Dryer Items
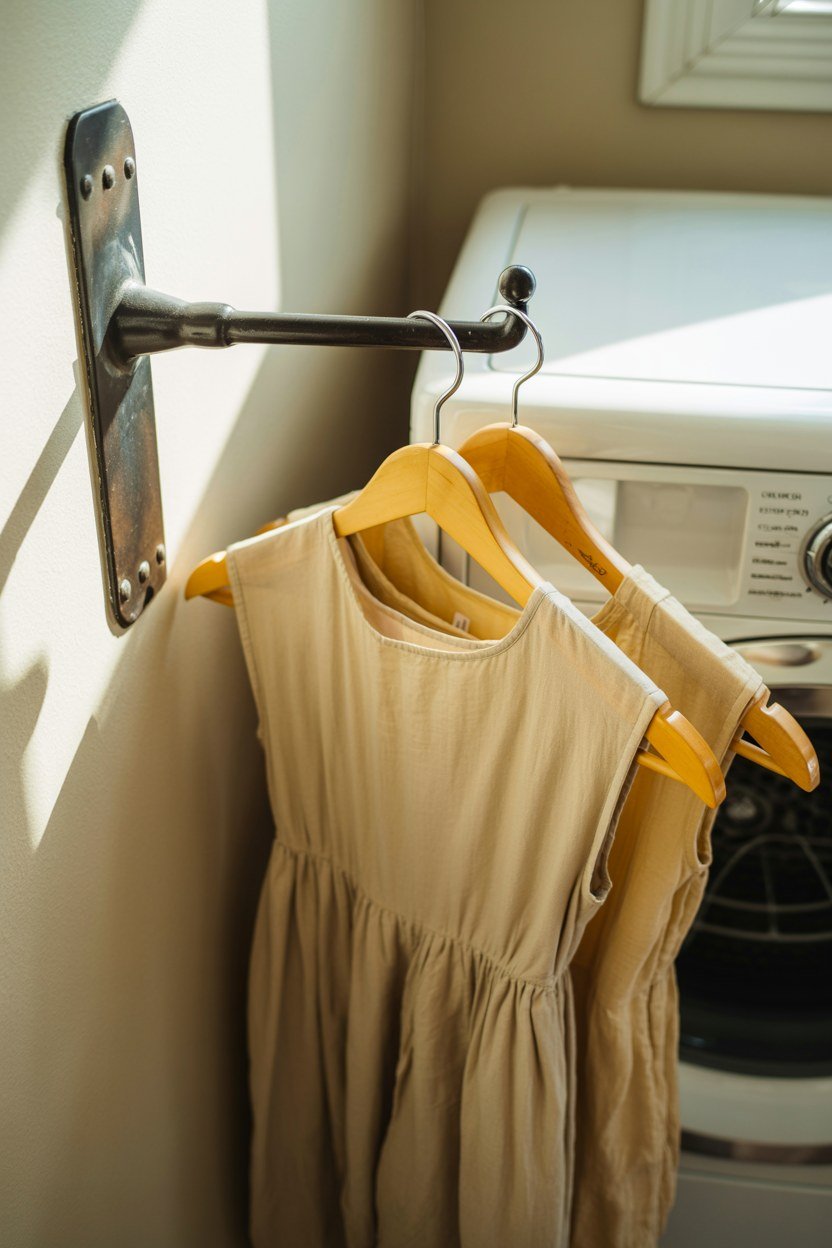
A short hanging rail positioned right beside the dryer catches items that should never be folded, shirts, dresses and anything prone to wrinkling, the moment they come out warm and pliable. This single habit change eliminates a huge amount of ironing, since hanging warm items lets gravity pull out wrinkles that would otherwise set in a folded pile. It is one of the easiest habits to build into an existing routine.
Size the rail to the realistic volume of hanging items your household generates weekly, generally 60 to 90 centimetres for most households, rather than a full closet length rail that invites items to accumulate rather than move promptly to their actual closets. This rail is meant to be a brief waypoint, not permanent storage. Treat a full rail as a signal to do a closet run.
Use sturdy, non-slip hangers rather than thin wire ones, since wire hangers let heavier wet items slide off and pool on the floor, defeating the entire purpose of the hanging zone. A set of matched, quality hangers also makes the small rail look considered rather than makeshift. A set of ten usually covers a typical week’s hanging items.
What Goes Wrong
The hanging rail becomes permanent storage rather than a waypoint if nobody actually moves items to their real closets promptly, and an overloaded rail eventually collapses under weight it was never designed to hold. Set a simple household rule that items move on within a day or two of landing there. A full rail on wash day is the easiest reminder to enforce it.
The other common failure is hanging genuinely heavy wet items, like a soaked winter coat, on a rail designed for light dryer output. Heavy wet items need their own drying solution, ideally the wall mounted rack from the previous idea, rather than adding strain to a lighter duty hanging rail. Match the item’s weight to the rail rated for it.
8. Install Open Shelving Above The Machines For Category Bins
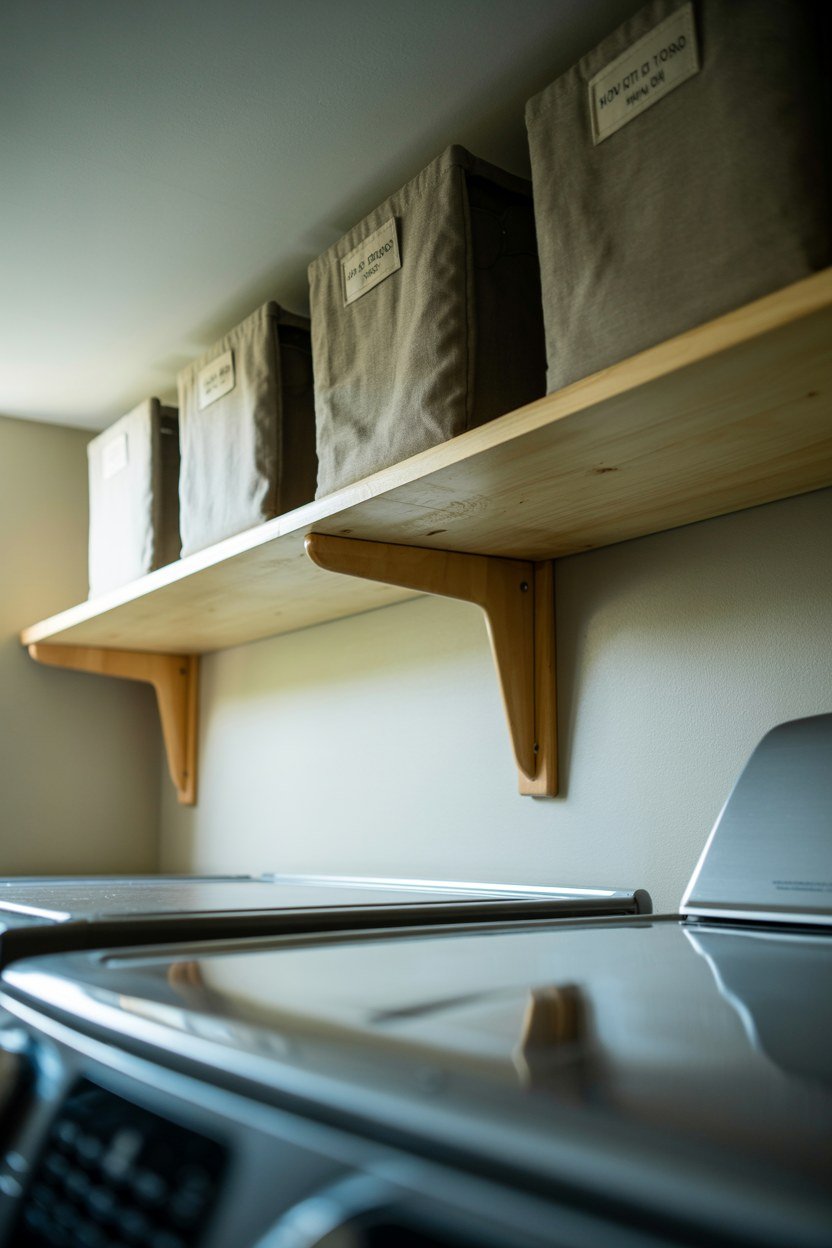
Open shelving above the washer and dryer maximises vertical storage in a room where floor space is almost always at a premium. Used specifically to hold labelled category bins, sports kit, bedding, cleaning cloths, it keeps frequently accessed laundry categories visible and within easy reach rather than buried in a cupboard elsewhere in the house. Visibility is what keeps a category actually maintained.
Choose adjustable shelving over fixed shelves wherever possible, since laundry needs change over time, a household with a new baby suddenly needs far more space for small, frequent loads than one with older children. Adjustable brackets let the storage adapt without any rebuilding required. A single afternoon of reconfiguring beats a full rebuild.
Keep the heaviest items on the lowest shelves within this system for both practical reach and genuine safety, since a heavy bin stored above head height becomes both awkward to access daily and a real hazard if it were ever to fall. Lighter, less frequently used items belong on the topmost shelves instead. A step stool nearby makes the top shelf genuinely usable.
What It Costs
A basic adjustable shelving system costs relatively little compared to built in cabinetry, and installation is generally a straightforward job with a stud finder, a level and a few hours of time. This is one of the better value structural changes on this entire list relative to the storage capacity it adds. Most hardware stores stock the brackets needed as a standard item.
Custom built cabinetry costs considerably more but offers a fully finished look and can be designed around specific bin sizes for a perfectly tailored fit. Consider this upgrade once you know exactly which bins and categories work for your household, rather than building custom storage around a system that might still change. Six months of real use tells you far more than guessing up front.
9. Add A Lint And Debris Catch Point Near The Dryer

A small dedicated container or drawer for collecting lint, loose coins, receipts and the odd stray button turns an ongoing minor irritation into a five second habit. Positioned right beside the dryer, emptying the lint trap becomes an automatic moment to also deposit whatever else surfaces from pockets during that load. Checking pockets before washing also protects the machine itself.
Choose a small, lidded container specifically for lint rather than an open one, since loose dryer lint is genuinely flammable and should be disposed of properly and promptly rather than accumulating loosely in an open dish near a heat source. Empty it into an actual bin at least weekly rather than letting it build up. Lint accumulation is a genuine and often overlooked fire risk.
Add a small dish or tray specifically for the coins, buttons and other small objects that inevitably turn up, separate from the lint container itself. This tiny addition prevents these items from being swept away with the lint or, worse, left sitting loose on top of the machine where they eventually get knocked to the floor. A small dish costs almost nothing and solves the problem completely.
What To Buy First
A simple metal or heat resistant container for lint should be the priority purchase here, given the genuine fire safety consideration around accumulated dryer lint. The coin and button dish, while useful, is a lower priority convenience item that can be added whenever convenient. Even a spare jar from the kitchen will do the job.
Position both containers where they will actually be seen and used during the routine dryer emptying motion, typically right on top of or immediately beside the dryer itself. A catch point stored in a cupboard defeats its own purpose, since the habit only forms through visibility and proximity. Position matters more than the container itself.
10. Use A Pegboard For Frequently Used Tools And Supplies
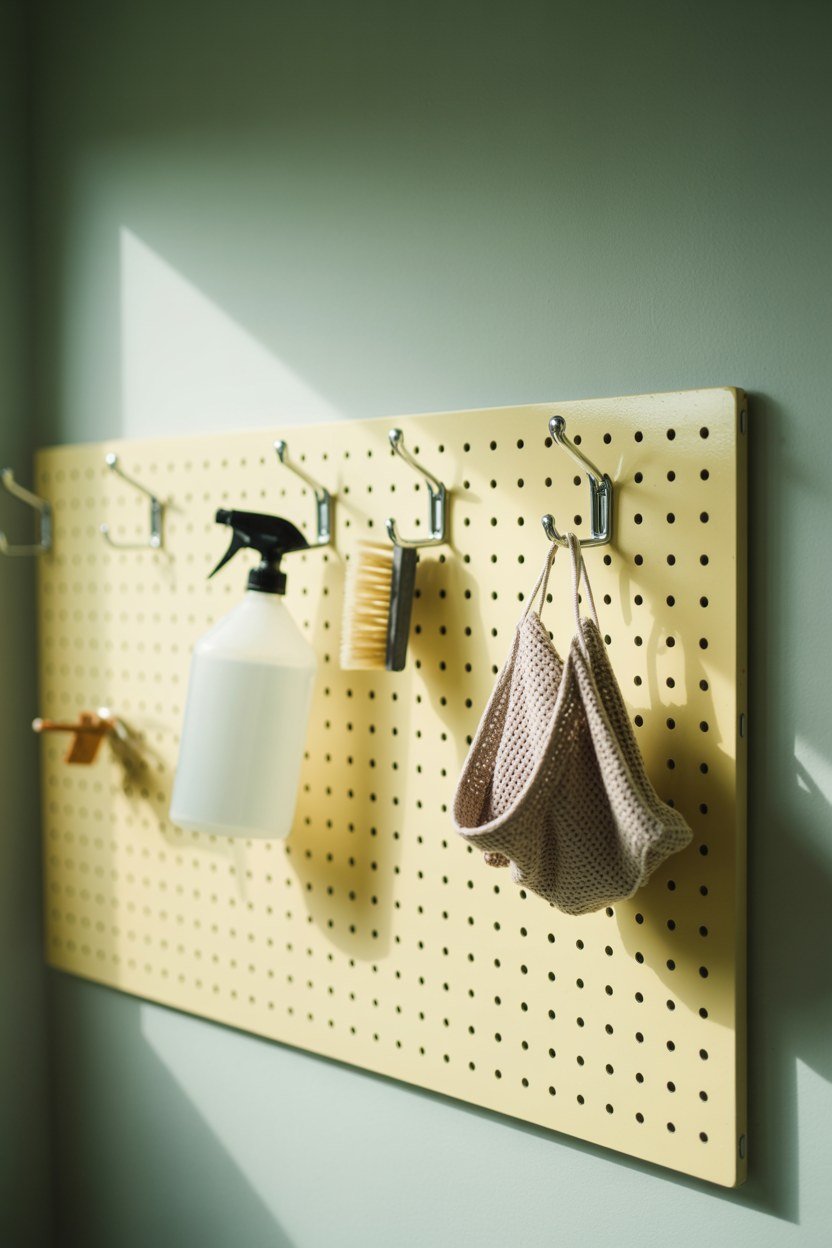
A pegboard mounted on an otherwise unused wall section turns awkward, hard to store items, a spray bottle, a small brush, a mesh laundry bag, into an organised, visible display rather than a cluttered drawer. This works particularly well in laundry rooms with limited cabinet space but some spare wall area. Even a metre of unused wall is enough to make a real difference.
Choose hooks and holders specific to each item’s actual shape rather than generic S-hooks throughout, since a purpose matched holder keeps items secure and easy to grab quickly, whereas everything hung on identical hooks tends to slide, tangle and fall. A specific bracket for a spray bottle, for instance, holds it far more securely than a simple hook. A few purpose made clips cost very little and prevent constant re-hanging.
Arrange the board with the most frequently used items at the most easily reachable height, saving the top and bottom rows for occasional use items like a spare iron or a specialty stain kit. This small consideration in arrangement makes a real difference to how often the pegboard actually gets used correctly. Group items by task rather than by size or shape.
How To Judge The Arrangement
Live with a rough, unlabelled arrangement for a week or two before committing to a final layout, since the items you reach for most in actual practice often surprise you compared to what you expected when first setting up the board. Adjust the arrangement based on real use rather than an assumed hierarchy. Real habits rarely match the plan made on day one.
Photograph the finished board once it feels right, and keep that photo as a reference for restocking or resetting the arrangement after it inevitably gets disrupted. This small habit makes maintaining a pegboard system considerably easier over the following months and years. It takes seconds and saves real guesswork later.
11. Add A Hamper Chute From Upper Floors
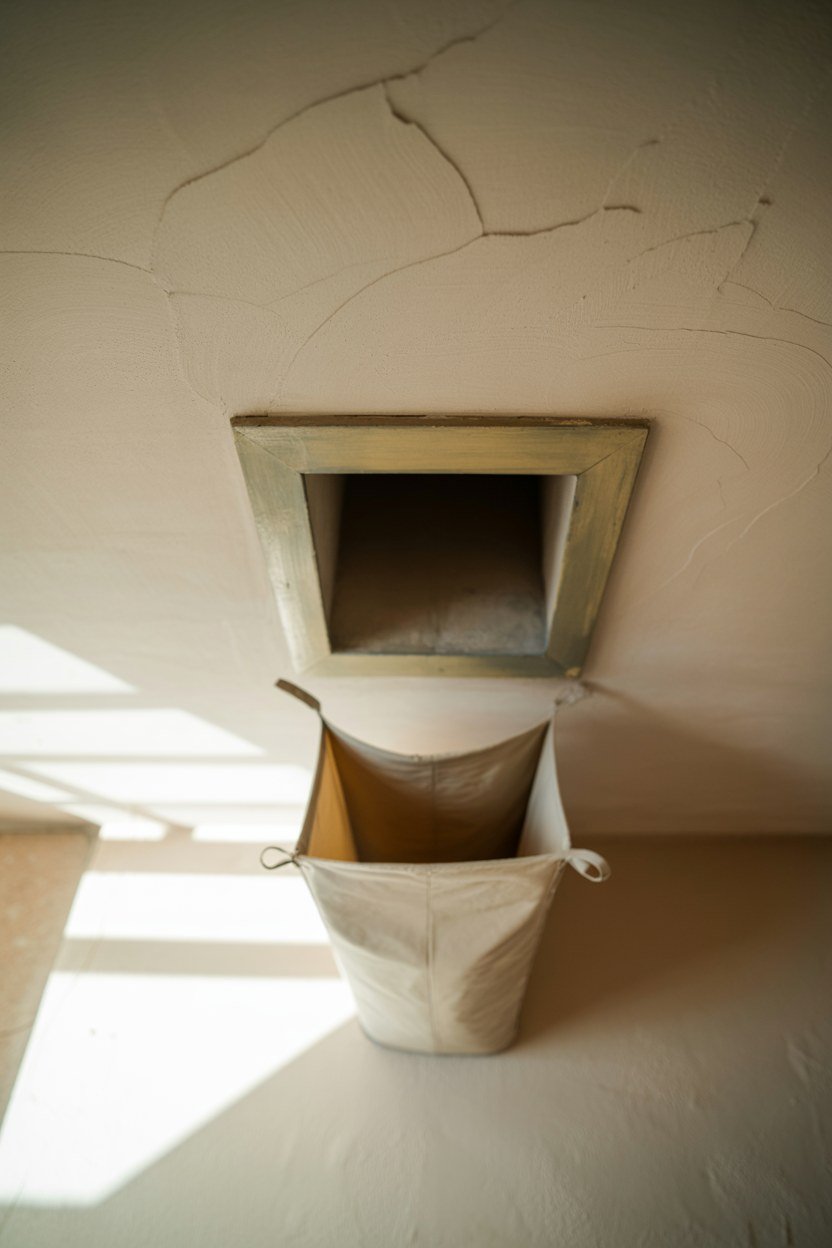
For multi-storey homes, a laundry chute connecting an upper floor hamper directly to a collection point near the laundry room removes the single biggest physical barrier to consistent sorting, which is simply carrying heavy loads down stairs regularly. This is a bigger structural project than most items on this list but transforms the daily habit for the household. Consider it during any larger renovation rather than as a standalone job.
Position the chute opening at a height and location that genuinely gets used, typically inside a bathroom or hallway closet on the upper floor, rather than somewhere so inconvenient that people default back to carrying baskets down anyway. The chute only helps if it is actually easier than the alternative it replaces. Walk the actual route before committing to a location.
Fit the lower collection point with sorting capability built in from day one, ideally feeding directly into the same three bin system described earlier, so items arriving via the chute join the existing sorting habit rather than creating an entirely separate pile that still needs manual sorting later. One continuous system beats two systems bolted together. Test the full route from chute to bin before relying on it daily.
What It Costs
A proper laundry chute installation involves cutting through floor structure and requires either a confident, experienced DIY approach or a professional contractor, making this a genuinely significant cost compared to almost everything else on this list. It suits a considered renovation project rather than a weekend addition. Get at least two quotes before committing to the work.
Weigh the cost against the years of daily convenience gained, particularly in households with mobility considerations or simply a lot of stairs and a lot of laundry. For the right household, this remains one of the highest satisfaction additions despite the upfront investment required. Households with stairs and young children see the fastest payoff.
12. Create A Pre-Treatment Soak Station With A Utility Sink
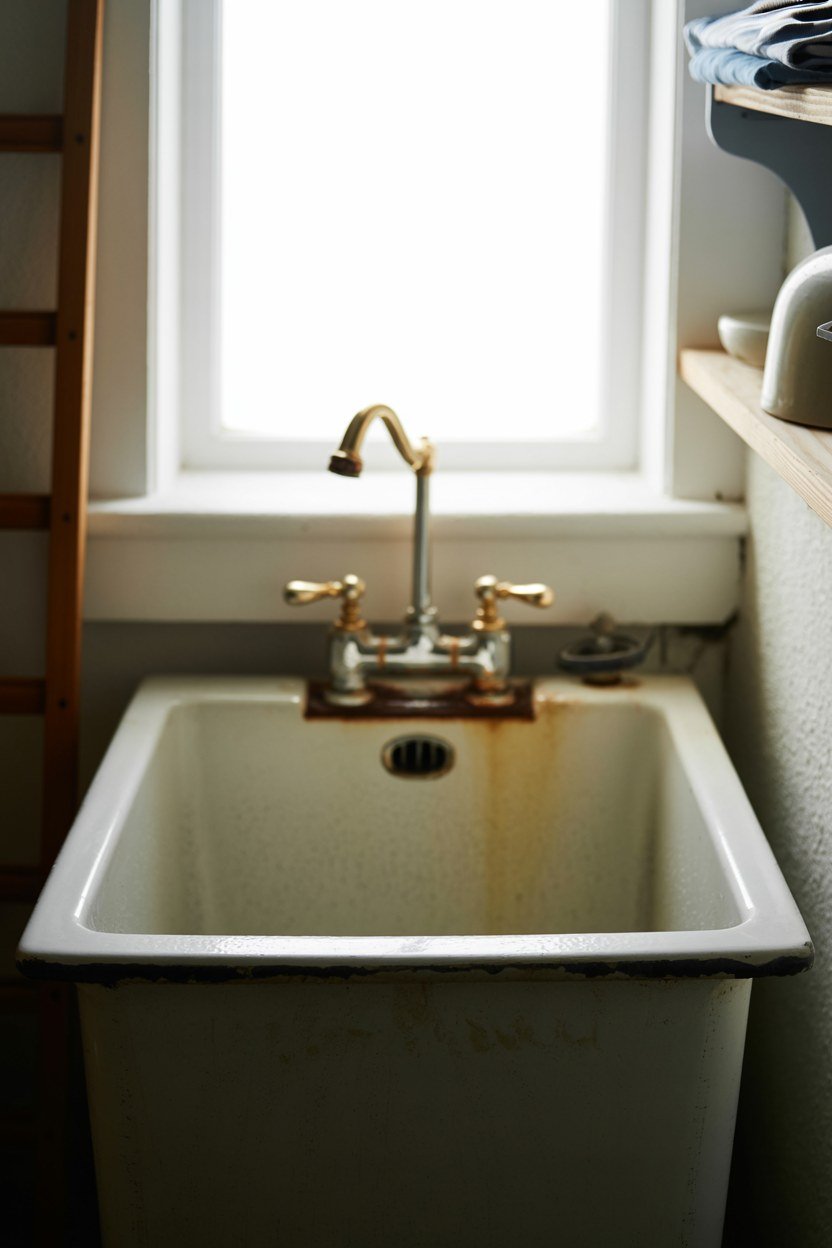
A dedicated utility sink gives heavily soiled items, sports kit, cloth nappies, anything needing a proper soak, somewhere to sit that is not the main sorting bins or, worse, the household’s kitchen sink. This single addition solves a genuine hygiene concern that many laundry rooms simply route around rather than address directly. A proper sink solves it in a way a bucket never quite does.
Choose a deep basin over a shallow one, since a genuinely useful soak station needs enough depth to fully submerge larger items like a duvet cover or several days of muddy sports kit at once. A basin under 25 centimetres deep will constantly compromise on what it can actually hold. Measure your largest regular soak item before choosing a basin.
Fit a mixer tap with reasonable pressure rather than the most basic option available, since filling a deep basin with a weak trickle turns a quick pre-soak into a genuinely tedious wait. This is one detail worth spending slightly more on relative to its daily impact on how the station actually gets used. A weak trickle turns a quick task into a genuine chore.
When To Skip It
Skip a full utility sink installation if plumbing access is genuinely difficult or prohibitively expensive in your specific laundry room location, since a large freestanding basin with a simple hose connection can achieve much of the same function at a fraction of the installation cost and complexity. A garden hose adapter often solves the fill problem entirely. It costs a fraction of a proper plumbing job.
Consider whether the household actually generates enough heavily soiled laundry to justify this addition before committing to it, since a household without young children or messy sports commitments may find the space better used for additional sorting or folding capacity instead. Be honest about actual laundry habits before committing floor space. A month of observation beats a guess made in advance.
13. Install A Retractable Line For Air Drying Delicates

A retractable clothesline that extends from one wall to a hook on the opposite wall, then tucks completely away when not needed, gives delicate air drying items somewhere to hang without permanently occupying floor or wall space. This suits smaller laundry rooms particularly well, where a fixed drying rack might feel too permanent or take up too much room. It disappears completely between uses.
Position the anchor points at a height that clears the tallest hanging garment while still allowing the door to open fully, since a line positioned too low creates a constant obstacle course every time someone needs to pass through the room. Test the fully extended line before finalising the mounting height. Hang a wet towel on it as a real world check.
Choose a retractable model with a locking mechanism rather than one relying purely on tension, since a line that slowly sags under the weight of wet clothes over several hours defeats the purpose of proper air drying and can leave items touching the floor by the time they are actually dry. A locking mechanism costs little extra and avoids the whole problem. It is worth the small upgrade over a basic tension model.
What Goes Wrong
Retractable lines mounted into weak plasterboard without proper anchors will eventually pull free under the combined weight of a full load of wet clothing, often at the worst possible moment. Locate a stud or use rated heavy duty anchors on both ends without exception. A stud finder is a worthwhile purchase for this job alone.
The other common failure is forgetting the line is extended and walking into it at head height, particularly in a room used by multiple household members who may not all remember it was pulled out that day. A brightly coloured line or a small reminder habit near the door helps prevent this minor but genuinely startling mishap. A short strip of coloured tape works just as well as a dedicated product.
14. Add A Small Bench Or Stool For Seated Sorting Tasks

A simple stool or small bench gives anyone matching socks, checking pockets or doing detailed sorting somewhere to sit rather than crouching or bending over a floor level pile for an extended period. This small ergonomic addition makes a genuinely tedious task noticeably more bearable, which in turn makes people more likely to actually complete it properly. Comfort genuinely changes whether a chore gets done well.
Choose a stool with a washable, water resistant seat material, since a laundry room stool inevitably ends up damp from wet clothing or spilled detergent at some point. A simple wipeable surface keeps the seat presentable without requiring special care beyond an occasional wipe down. Vinyl or treated fabric both work well for this.
Position it near the sorting bins rather than the folding counter, since sorting tasks generally benefit more from a seated position than folding does, which people typically prefer to do standing at counter height. Matching the seating to the task it actually supports makes the addition genuinely useful rather than purely decorative. Function should decide the choice before appearance does.
What To Buy First
A simple, sturdy stool without arms or a back generally suits this purpose better than a more elaborate chair, since the goal is a quick, functional seat for occasional use rather than a comfortable spot for extended sitting. Save budget for other sorting system elements before investing heavily in laundry room seating. A basic stool costs very little relative to its daily use.
Consider a stool with some internal storage, a lift up seat over a hollow base, if floor space is genuinely at a premium and every piece of furniture needs to earn its footprint twice over through dual function. A hollow base under the seat is easy to overlook when shopping. Check the listing details rather than assuming from the photo alone.
15. Leave One Surface Completely Clear At All Times

The final and most overlooked element of a working sorting system is a genuinely empty surface, somewhere with no permanent purpose beyond being available for whatever the current moment demands, a large item needing attention, a temporary sorting overflow, or simply space to set something down while dealing with something else. That flexibility is the entire point of leaving it clear. A surface with an assigned job stops being flexible the moment it is filled.
Resist the urge to fill this surface with additional storage or decoration, since its entire value comes from staying empty and available. A laundry room where every single surface has an assigned permanent purpose leaves no room for the inevitable moments when the system needs a little flexibility to handle something unexpected. Rigid systems break under exactly those moments.
Treat this clear surface as a genuine rule of the room rather than an accident of what has not yet been organised, and revisit it periodically to clear away whatever has inevitably started to accumulate there. This small discipline keeps the entire sorting system from slowly becoming as chaotic as the pile it originally replaced. A little discipline here protects the investment made everywhere else.
How To Hold The Line
Do a two minute reset of this surface at the end of each laundry session, moving anything that has landed there to its proper place rather than letting it slowly become a permanent dumping ground. This tiny habit, repeated consistently, is often the single difference between a system that lasts and one that quietly fails within a few months. It takes less time than a single load of washing.
Photograph the room when the system is working well and refer back to it periodically as a benchmark. It is far easier to notice creeping clutter against a clear reference point than to rely on memory of how organised the room once felt. Memory tends to be generous about how tidy things actually were.
What A Laundry Sorting System Costs To Build
The good news is that the highest impact changes on this list, a rolling sorting bin, labelled containers, a pegboard, cost relatively little and can be implemented in a single weekend without any structural work. These changes alone solve the majority of sorting frustration in most households. Start here before considering anything more involved.
Structural additions, a fold down counter, open shelving, a utility sink or a laundry chute, represent larger investments better suited to a planned renovation rather than a quick fix, and are worth prioritising based on which specific bottleneck causes the most daily frustration in your particular household. Solve the loudest complaint first. The smaller frustrations tend to fade once the main one is addressed.
The table below gives a rough sense of relative costs across a full sorting system overhaul, since actual prices vary considerably by region, materials and whether work is done professionally or as a DIY project. Get a rough quote before assuming a project is out of reach. Costs vary far more by region than most people expect.
| Item | Relative cost | Priority |
|---|---|---|
| Rolling sorting bins | Low | Do first |
| Labelled containers, pegboard | Low | Early addition |
| Fold down counter, shelving | Moderate | Mid project |
| Utility sink, retractable line | Moderate to high | As needed |
| Laundry chute | High | Considered renovation |
The Mistakes That Make A Sorting System Fail Within Weeks
Building a system with too few categories for the actual household is the most common mistake, forcing everything back into one or two overwhelmed piles almost immediately. Count the real categories your laundry generates before buying bins, rather than assuming a generic three will suit every household equally. A quick household conversation usually surfaces the real number fast.
Placing the sorting station somewhere inconvenient relative to where clothes actually come off is the second major mistake. A beautifully organised sorting system in the laundry room does nothing if everyone continues undressing in the bedroom and carrying items down only once a week in one overwhelming armful. The station has to sit where the habit already happens.
Ignoring the folding and hanging stage entirely is the third mistake, since a system that sorts and washes efficiently but then dumps clean laundry back into one unsorted pile to be folded later has only solved half the actual problem. Sorting has to extend through the entire process, not stop the moment the wash cycle finishes. Half a system still leaves half the chaos behind.
The One To Watch For Long Term
Household needs change, children grow, work patterns shift, and a sorting system perfectly suited to one stage of life can quietly stop working as circumstances change around it. A system nobody has adjusted in several years is worth a fresh look with genuinely current needs in mind. An hour of review can save months of quiet frustration.
Revisit the whole system roughly once a year, checking whether the categories, the bin sizes and the physical layout still match how the household actually generates and processes laundry today. A small adjustment made proactively beats discovering the system has silently failed months after the fact. A short annual check is all it usually takes.
Conclusion: The Decisions That Make A Sorting System Work
If this list distills to three decisions, they are these: give sorting a genuinely dedicated physical spot near where clothes actually come off, provide enough categories and capacity for your specific household’s real volume, and extend the system through folding and hanging rather than stopping at the wash cycle. Those three decisions carry the whole approach. Everything else on this list refines them.
Start with the cheapest, most flexible changes first, rolling bins, labelled containers, a small hanging rail, and let real use tell you where the system genuinely needs more permanent investment like a counter or additional shelving. Committing to expensive built in solutions before understanding your actual habits often means solving the wrong problem expensively. Cheap and flexible beats expensive and fixed at the start.
A laundry room built around genuine sorting habits should feel calmer within the first week of use, not just tidier on the day it was set up. The goal is a system that keeps working on a busy, ordinary Tuesday, not one that only photographs well the day everything was freshly organised. Real success shows up in the second month, not the first.
Frequently Asked Questions About Laundry Sorting Systems
How many sorting categories does a typical household actually need?
Most households function well with three to four categories, lights, darks, delicates and a separate bin for anything needing hand washing or special treatment. Larger families or households with specific needs, sports kit or cloth nappies, often benefit from adding one or two more targeted categories.
What is the single most useful sorting system upgrade?
A rolling three bin sorter positioned directly beside where dirty clothes are removed tends to deliver the biggest improvement relative to its cost and effort. It addresses the root cause of most sorting failure, which is the lack of an immediate, obvious destination for each item.
Can a small laundry room still run a genuinely useful sorting system?
Yes, through vertical storage, fold down counters and multi-purpose furniture that only occupies space when actually in use. Small rooms benefit particularly from foldable and retractable solutions over fixed, permanent installations that would otherwise dominate limited floor space.
How do I get other household members to actually use the sorting system?
Clear, consistent labelling and positioning the system exactly where clothes naturally come off both matter more than the sophistication of the system itself. A system that requires extra effort compared to the old habit will rarely get adopted, however well designed it looks.
Should sorting happen before or after washing?
Both matter, but pre-wash sorting into proper categories prevents colour bleeding and fabric damage, making it the more critical stage to get right. Post-wash sorting into folding and hanging zones then prevents clean laundry from simply becoming a new unsorted pile.
How often should a laundry sorting system be reviewed and adjusted?
Roughly once a year, or whenever household circumstances change significantly, a new baby, children starting sports, a change in work from home patterns. A brief annual check keeps the system matched to actual current needs rather than habits from several years earlier.