

The fastest way to give a large Sprinter van interior that open air feel is simple: put glass where your eyes actually land, not where the sheet metal looks convenient. Window placement decides the mood. Skylights finish the job.
I learned this the slow way, staring at a 170 wheelbase shell that felt like a very expensive metal hallway. The van was long, tall, and gloomy. Adding one window did almost nothing.
Then I mapped where I sat, cooked, and slept, and cut glass around those three spots instead. The change was immediate. Below I have laid out the window and skylight strategies that give a big Sprinter build real daylight without turning it into a rolling greenhouse.
Why Smart Window Placement Beats Window Count In A Big Sprinter Build
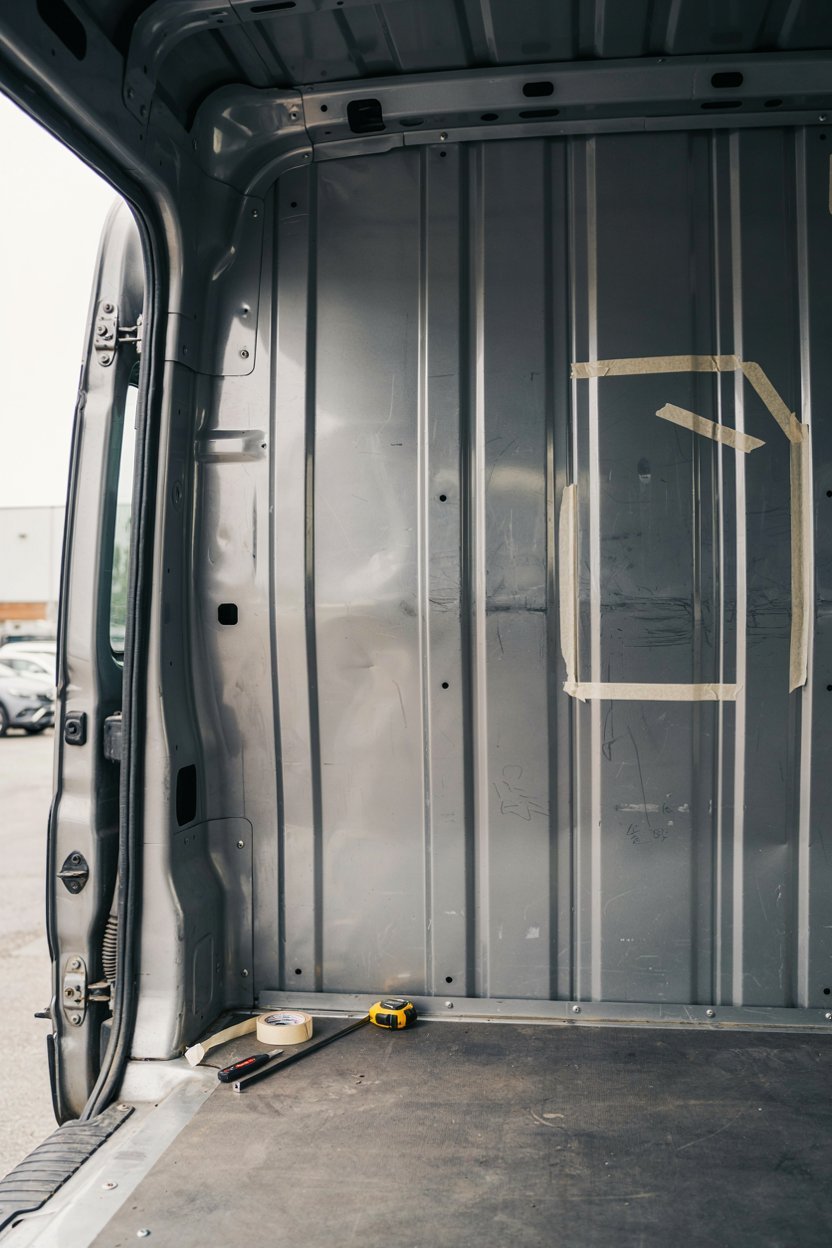
More windows do not automatically equal more light. Placement does. A 170 Sprinter has roughly 14 feet of usable interior length, so light needs to arrive from several heights, not one long strip on a single wall.
Think of daylight in three layers: low side glass for the view, mid wall glass for working light, and overhead glazing for the airy ceiling feel. Skip any layer and the van reads cave-like by mid afternoon. Most builders I follow online only realise this after the walls go up.
Roof ribs and factory reinforcements also decide a lot for you. On a Sprinter, the flat bays between ribs set your skylight width, and the sliding door frame sets your side window height. I plan glass around that structure first, then adjust the furniture, because steel does not negotiate.
| Glazing Layer | Best Location | What It Adds | Main Trade-Off |
|---|---|---|---|
| Low side window | Bench or dinette wall | Horizon view while seated | Privacy at campsites |
| Mid wall window | Galley or slider | Working light on counters | Loses cabinet wall space |
| Rear door glass | Barn doors | Morning light, open air feel | Blocks rear shelving |
| Fixed skylight | Between roof ribs | Bright ceiling, height feel | Heat gain in summer |
| Vent fan with lid | Over bed or galley | Light plus airflow | Smaller daylight opening |
Budget matters here too. Good bonded van windows run a few hundred dollars each, and a quality roof hatch lands in a similar range, so a full glass plan is a real line item. I would rather fit three windows in the right spots than five in lazy ones.
1. Seated Eye Level Side Windows: The Top Placement Upgrade

Cut your first side window at seated eye level, not standing eye level. In most Sprinter builds that means the glass centre sits around 40 to 46 inches off the floor, depending on your bench height. Get this wrong and you spend evenings looking at a wall.
I measured mine by sitting on a stack of plywood at my planned bench height and marking the wall with tape where my sightline hit. My build partner thought this looked ridiculous. The tape line ended up two inches lower than the “obvious” spot, and that small drop changed the whole room.
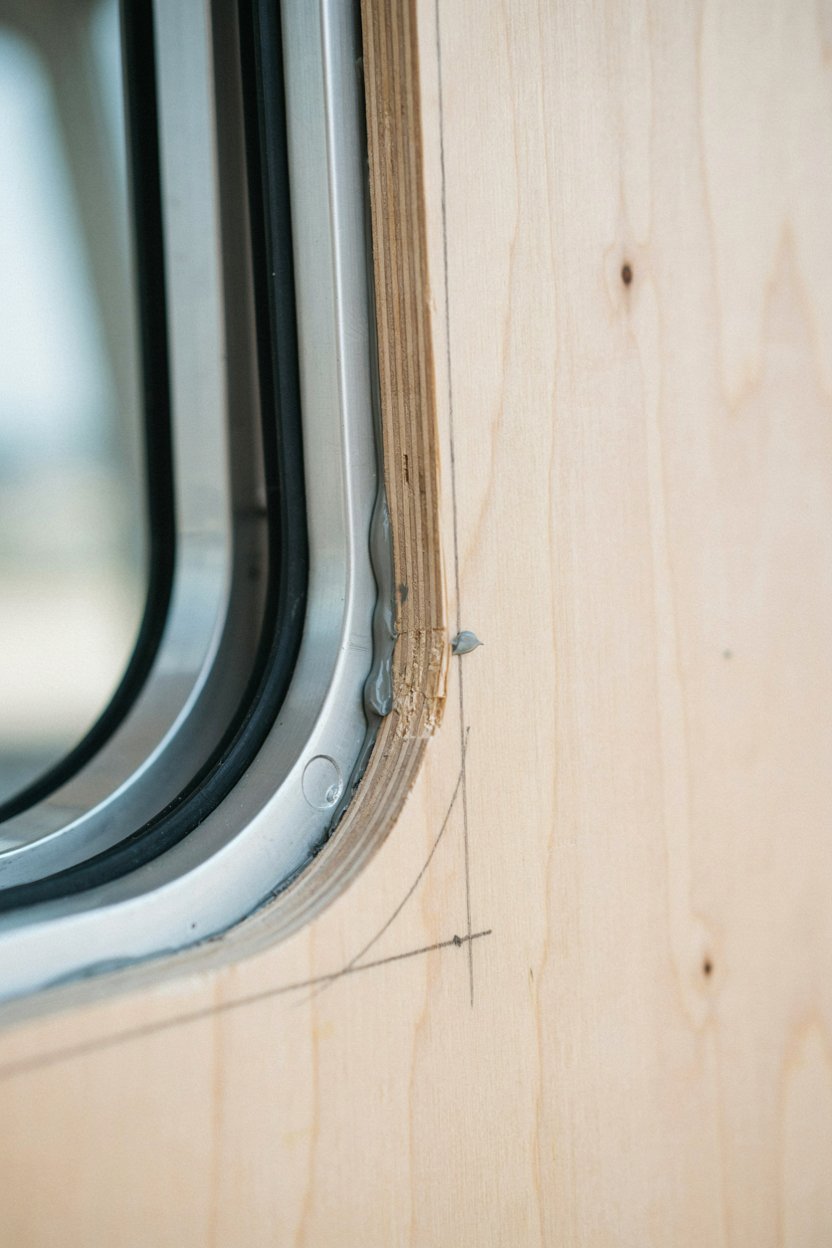
Bonded windows from brands like CR Laurence, AM Auto, and Arctic Tern all fit Sprinter panels, and the T-vent or awning styles let you keep them cracked in rain. Awning glass costs more but earns it on stormy nights. Fixed glass stays cheaper and leaks less, which suits a wall you rarely open.
2. Rear Door Windows For A Back Porch View

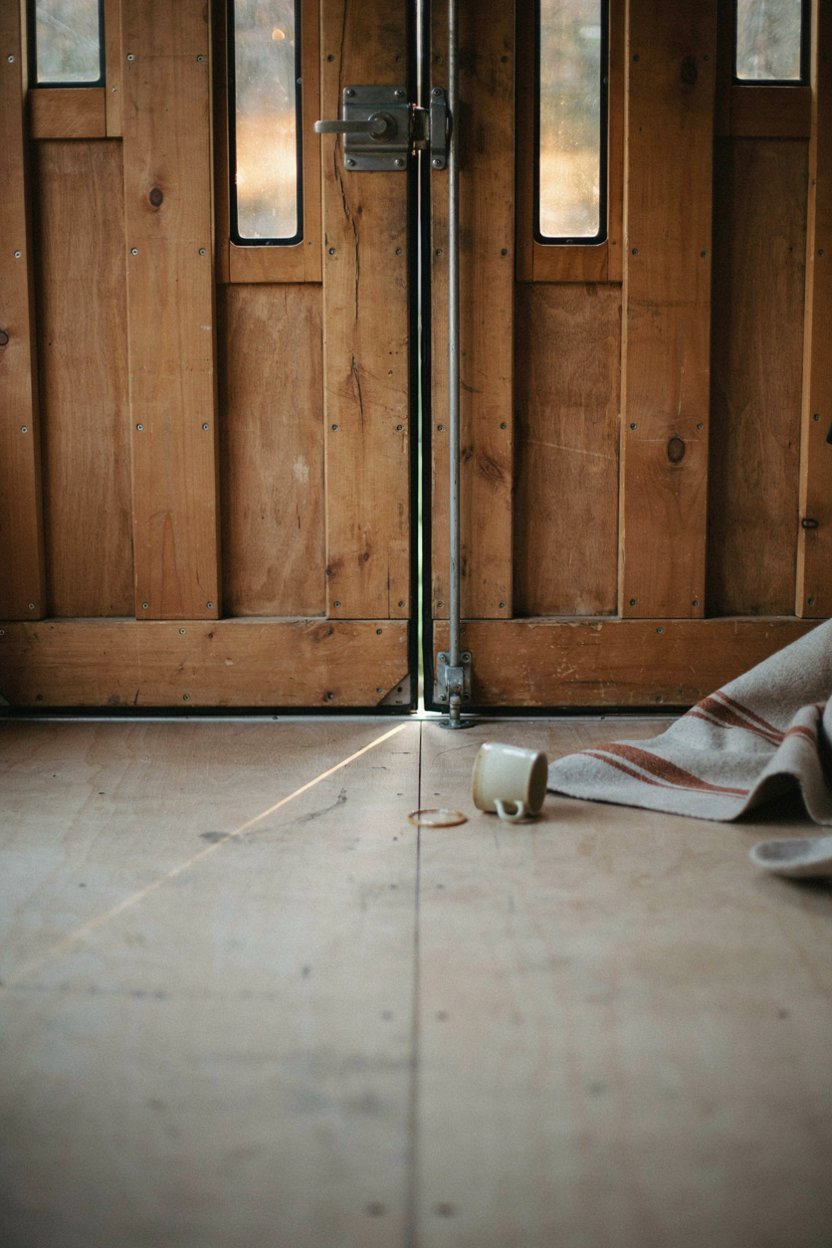
Rear door glass changes how a long Sprinter feels more than any other single cut. The van suddenly has a back wall you can see through, and the interior stops feeling like a tunnel with a dead end. Morning light arrives from behind you instead of straight overhead.
The catch is storage. Barn door glass rules out full height rear shelving and any garage bulkhead that reaches the ceiling. I gave up two shelves for it, and on the mornings I open both doors to a lake, the trade feels obvious.
You have two routes here. Factory Mercedes rear glass looks clean and seals well, while aftermarket bonded panels cost less and come in tinted or privacy versions. Tinted rear glass also keeps the sleeping area darker, which anyone who has woken at 5 a.m. in a bright van will appreciate.
3. Fixed Skylight Above The Bed: The Top Height Trick For Long Sprinter Builds

A skylight over the bed buys you the open air feel that side windows cannot deliver. You lie down, look up, and see sky instead of a low white ceiling. In a 170 Sprinter, that one opening does more for the sleeping area than any paint colour.
Sizing comes down to your roof ribs. The flat bay between Sprinter ribs takes most mid size hatches comfortably, and popular picks like the Dometic Midi Heki measure about 28 by 20 inches with a 45 degree opening. Smaller options such as the Mini Heki sit around 20 inches across and cost roughly $230, which suits tighter roof plans.
I keep hearing the same warning in forum threads, and it holds up: a skylight over the bed leaks heat in winter and gains it in summer. Double glazed domes help, and the built in blackout blind matters more than the glass itself. If you camp in snow, add a thermal cover and stop worrying about it.
4. A Vent Fan With A Clear Lid: Light And Airflow From One Roof Hole

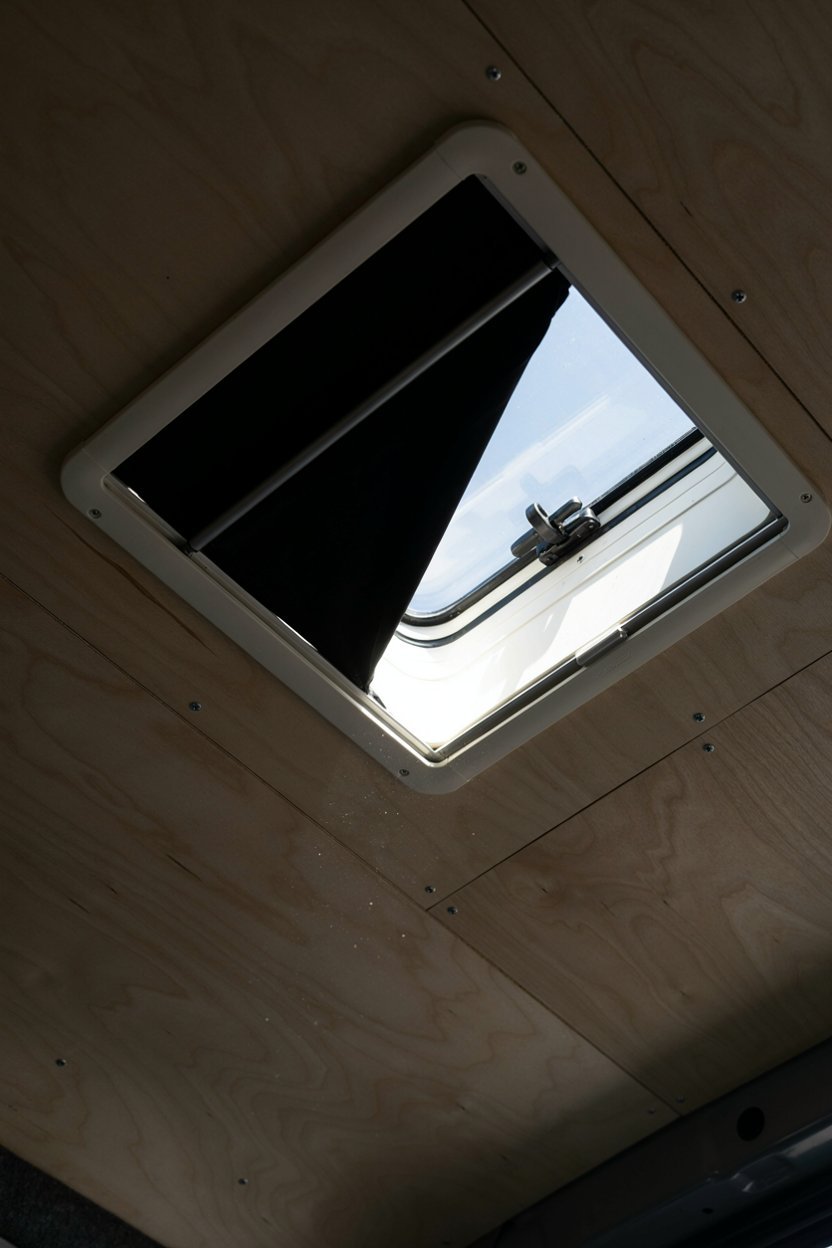
If you only cut one hole in the roof, make it a vent fan with a clear lid. You get daylight, airflow, and moisture control from a single 14 by 14 inch opening, which is a fair return for one nervous jigsaw session. Smoked lids look sharper but pass noticeably less light.
Placement beats size here. I put the fan over the galley so cooking steam leaves before it reaches the bedding, and that choice also drops working light straight onto the counter. Builders who mount the fan over the bed usually do it for sleeping airflow, which is a reasonable swap.
Running two roof openings is where large Sprinter builds pull ahead. A fan at the front pulling in and a fan or hatch at the rear pushing out gives you cross ventilation along the whole van. My rule is simple: one fan for airflow, one hatch for light, spaced far apart.
| Roof Opening | Typical Size | Approx. Cost | Best Use |
|---|---|---|---|
| Micro Heki | 11 x 11 in | Low | Shower or toilet nook |
| Mini Heki Plus | 20 in across | Around $230 | Compact galley or entry |
| Midi Heki | 28 x 20 in | Mid range | Main bed or lounge |
| Marine hatch (size 40) | Fits between ribs | Mid to high | Roof access and light |
| Polycarbonate long skylight | Up to 4 ft | Around $400 | Headroom over galley |
| Vent fan, clear lid | 14 x 14 in | Low to mid | Airflow plus daylight |

5. Sliding Door Window: The Best Daylight Where You Actually Stand

Glass in the sliding door lights the exact spot where you stand, cook, and pull on boots. That middle section of a long van goes dark first, and a slider window fixes it without touching your cabinet walls. Factory Sprinter sliders often come with glass already, which saves you a cut.
Ventilation is the bonus here. A slider window with a T-vent opening lets you park with the door shut and still catch a breeze, and a magnetic screen on the open door handles the rest. I use mine far more than the rear glass, which surprised me.
One warning from experience shared across van forums: think about where your fixed furniture lands before you commit. A tall pantry beside the slider will shade the window and waste it. I shifted my galley 8 inches rearward to keep that light path clear, and the layout still works fine.
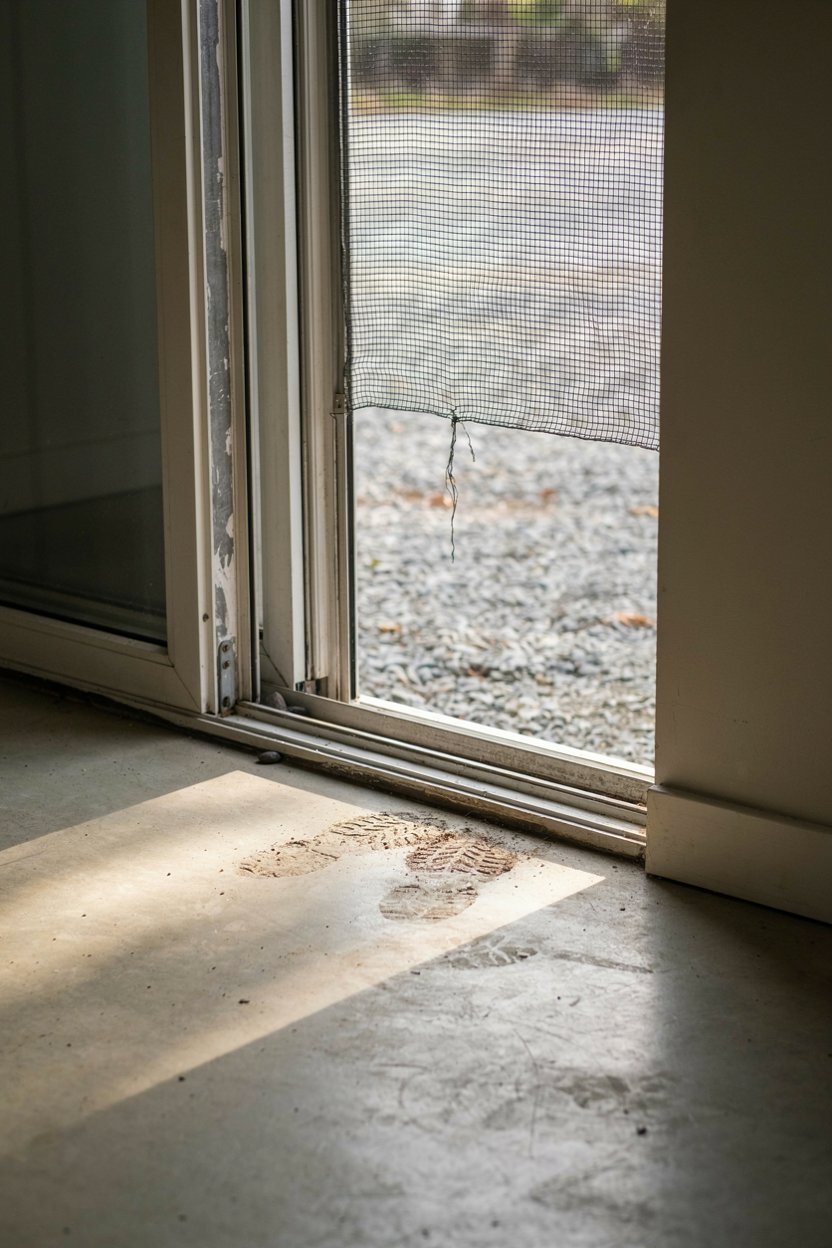
6. Galley Awning Windows: A Simple Fix For Dark Countertops

An awning window above the counter solves the darkest working surface in the van. Awning glass hinges at the top, so you keep it open in rain and get steady daylight while you cook. That single detail turns a headlamp dinner into a normal one.
Double pane awning windows from brands like Arctic Tern cut condensation on cold mornings, which matters if you cook inside often. They cost more than fixed glass, and I think the price makes sense for the one window you will open daily. Fixed glass elsewhere balances the budget.
Height is the part people rush. Mount the window too low and your backsplash covers the bottom edge, too high and the frame fights your upper cabinets. I aim for the glass to start about 6 inches above the counter, then set cabinet depth around it.
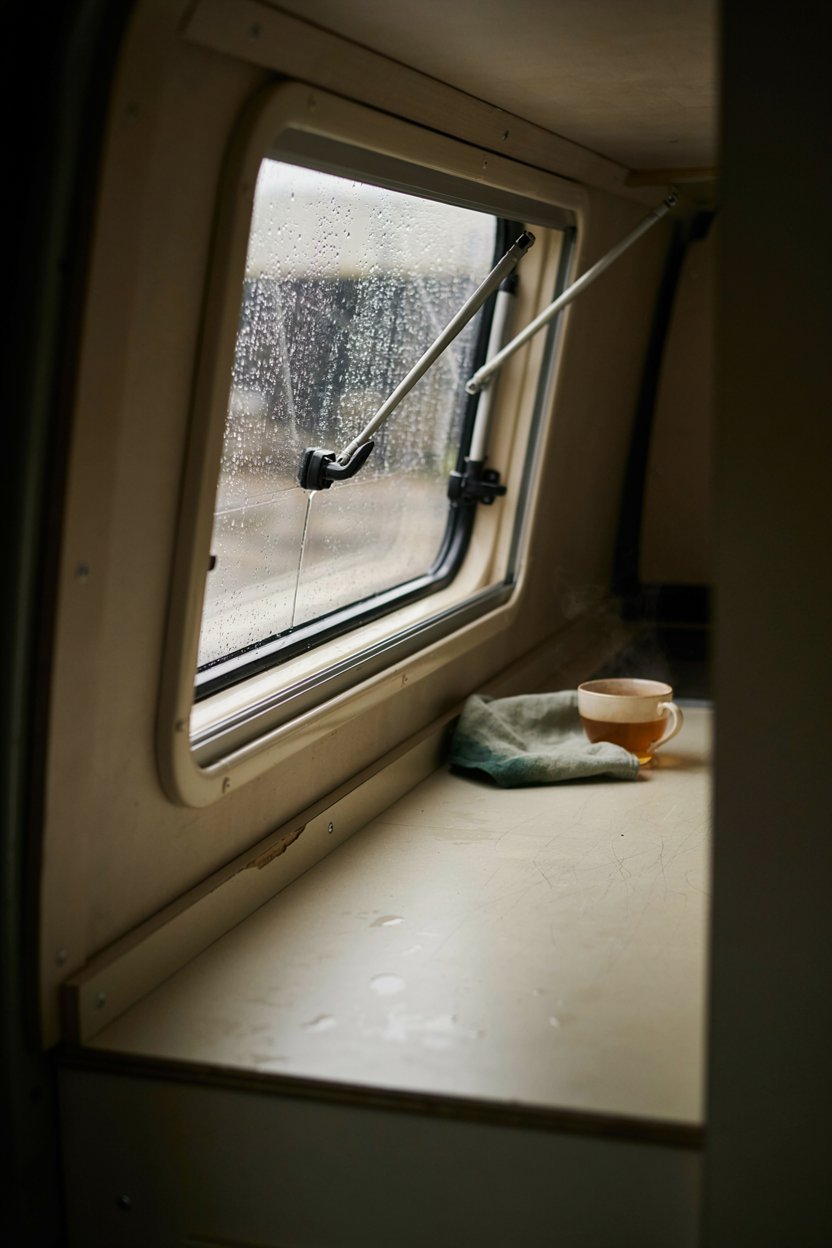
7. Light Bouncing Surfaces: How I Made Existing Windows Work Harder

Your finishes decide how far daylight travels inside a long Sprinter. Pale birch ply, off white walls, and a light ceiling push light down the van, while dark stained wood absorbs it and quietly undoes your glass budget. I went pale on the ceiling and upper walls, then kept darker tones below waist height.
Glass and open frames inside the build help just as much. A frosted panel in a bathroom door, a half height divider instead of a full wall, or an open shelf where a solid cabinet would sit all keep sightlines running end to end. Long sightlines read as space.
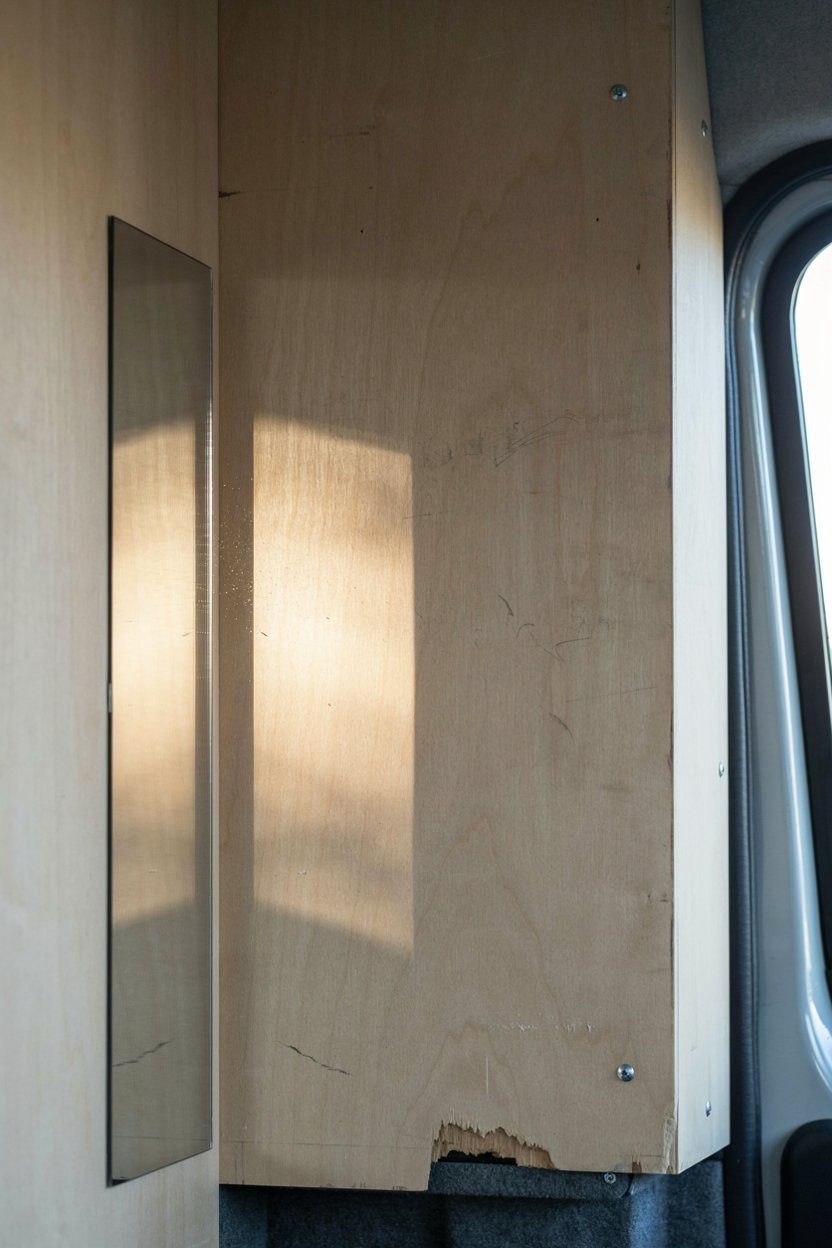
Small mirrors near a window double the effect for almost no money. I fitted one narrow mirror opposite the slider glass, mostly to check my hair, and it ended up brightening the whole mid section. Sometimes the cheap accident works better than the plan.
Balancing Daylight, Heat, And Privacy After The Glass Goes In
Cutting the holes is only half the job, because light you cannot control turns against you fast. A bright van at 9 a.m. becomes an oven at 3 p.m. and a fishbowl at a busy trailhead. I plan shades at the same time as glass now, not six months later.
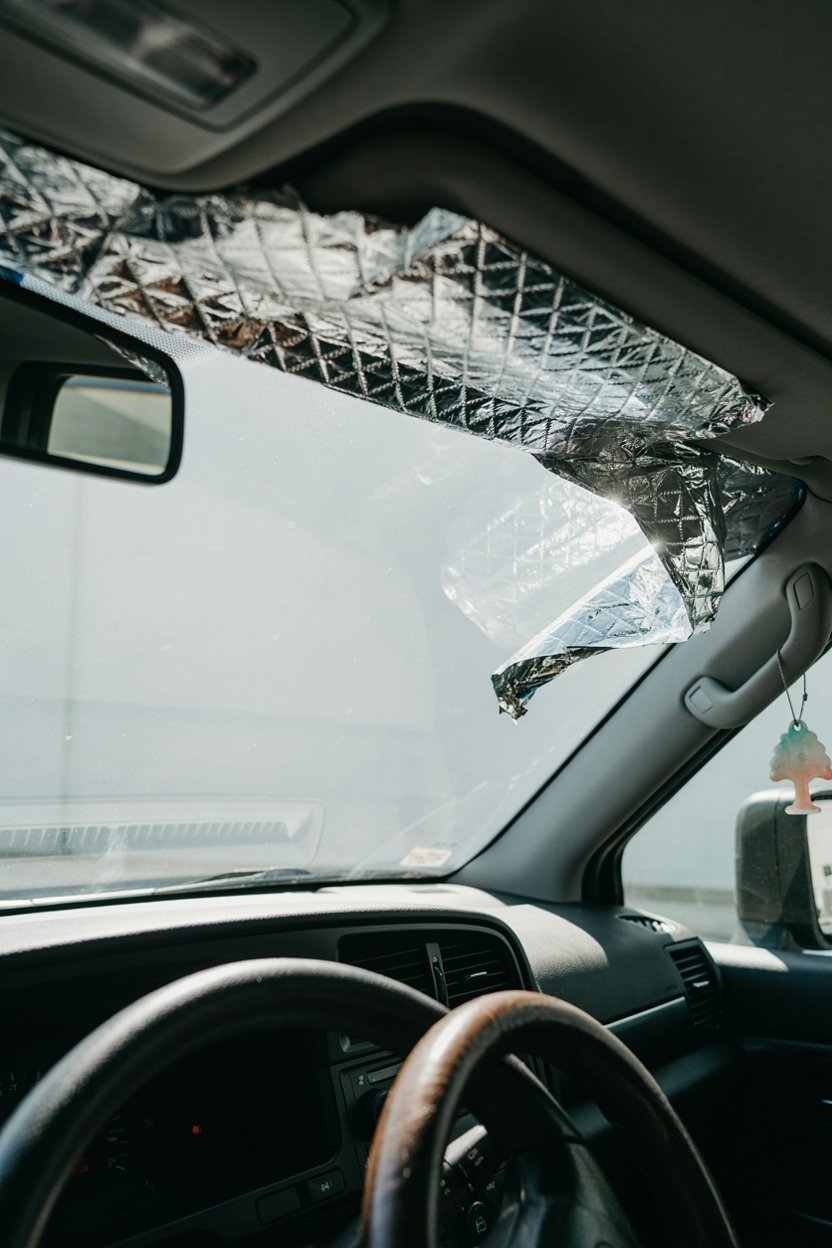
Reflective window covers handle the worst heat, and I keep a set for the cab glass alone since the windshield acts like a solar collector. Inside, I run simple magnetic covers on side windows and rely on the built in blinds that come with most roof hatches. Cheap fixes, big difference.
Condensation deserves the same attention as heat. Single pane glass drips on cold mornings, so double glazed windows and a running vent fan solve most of it before you reach for a towel. Cracking one awning window overnight moves more damp air out than people expect.
| Problem | Simple Fix | Rough Cost |
|---|---|---|
| Summer heat gain | Reflective covers, tinted glass | Low |
| Winter heat loss | Insulated hatch cover, double glazing | Low to mid |
| Campsite privacy | Magnetic shades, privacy tint | Low |
| Morning glare | Blackout blind on roof hatch | Included on most |
| Condensation | Vent fan plus cracked awning window | Low |
Conclusion: My Short List For A Brighter Sprinter Interior
A large Sprinter van interior feels open when daylight arrives from three heights instead of one wall. Seated eye level side glass gives you the view, a slider or galley window lights the space where you stand, and a roof hatch lifts the ceiling. That layering matters more than the number of windows.
My priority order stays the same on every build I help plan. Start with a vent fan that has a clear lid, add a side window at seated height, then a skylight over the bed, then rear door glass if your storage plan allows it. Each step earns its cost before you spend on the next.
Plan the control side alongside the glass. Reflective covers, blackout blinds, double glazing, and steady airflow keep a bright van comfortable in July and dry in January. Get those two halves right and the van stops feeling like a metal box and starts feeling like a small room with a very good view.
Frequently Asked Questions About Sprinter Van Windows And Skylights
How many windows does a 170 Sprinter conversion need?
Most balanced builds use three or four openings plus a roof hatch. One side window, one slider window, and rear glass covers the length well.
Will a skylight leak in a campervan?
A properly bedded hatch with butyl tape and quality sealant rarely leaks. Most failures I read about trace back to a rushed install on an uneven roof surface.
Should I pick a fixed window or an awning window?
Fixed glass costs less and seals better, so it suits walls you never open. Choose awning or T-vent glass for the galley and sleeping area where airflow helps.
Does a vent fan give enough light on its own?
A clear lid fan brightens a small area, but it will not light a 170 van alone. Pair it with a separate skylight placed further along the roof.
Where should I mount a roof vent fan in a Sprinter?
Over the galley works best for cooking steam and counter light. Over the bed suits people who want direct airflow while sleeping.
Do double glazed van windows really reduce condensation?
Yes, noticeably. The inner pane stays warmer, so moisture collects far less on cold mornings compared with single pane glass.
Can I cut a skylight without losing roof space for solar?
Usually yes on a long wheelbase Sprinter. Map your panel layout first, then place hatches in the gaps between panel rows.