

A backyard toadstool village works when it looks stumbled upon rather than installed. That is the whole trick.
I built my first one in a weekend and it looked like a garden centre display. The second attempt took longer, sat lower in the planting, and people started asking whether the mushrooms had grown there. Nothing about the sculpting had improved. The siting had.
Below are the fifteen decisions that make the difference, from picking the spot to keeping the paint alive through winter. Most of them cost very little.
Why A Toadstool Village Beats A Single Ornament
One mushroom reads as an ornament. A cluster reads as a place, and that shift is what makes people crouch down to look.
Scale does the storytelling. Varying the heights suggests age, as though some grew earlier than others, and that small illusion carries the whole idea.
The setting matters as much as the sculptures. A village tucked under ferns looks found, while the same pieces on open lawn look like they were dropped there this morning.
| Element | Reads As Magic | Reads As Ornament |
|---|---|---|
| Grouping | Odd numbers, varied heights | A single centred piece |
| Placement | Under planting, part shade | Open lawn, full sun |
| Materials | Concrete, clay, timber | Shiny moulded plastic |
| Colour | Muted reds, creams, browns | Bright primary tones |
| Detail | Moss, worn edges, leaf litter | Clean bright paint |
1. Pick A Shaded Corner With Something To Hide Under
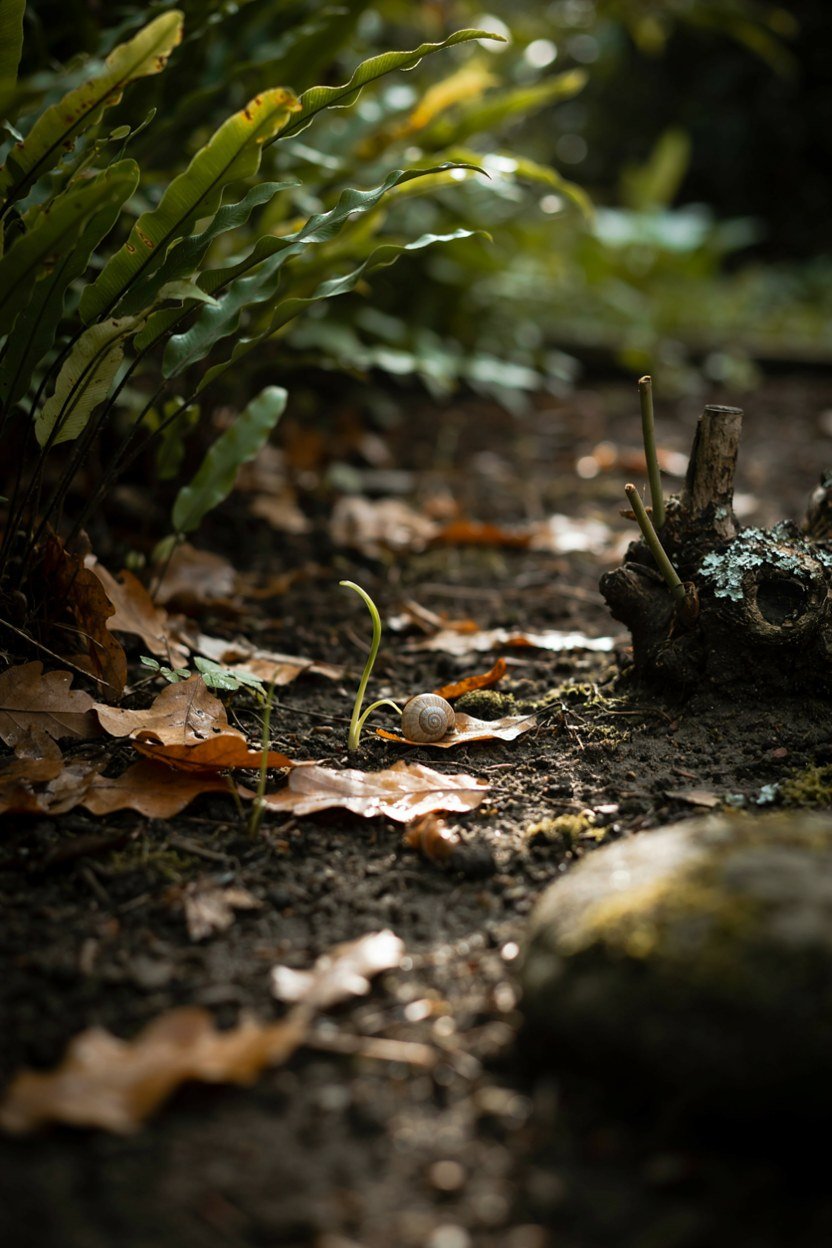
Choose part shade over sun. Damp shade grows the moss and lichen that make everything look older, and it keeps painted finishes from fading in a season.
Look for a spot that already has cover: under a fern, beside a log, at the base of a shrub. Existing planting does the framing for you.
Avoid the middle of the lawn. Anything there needs mowing around, and it loses the tucked away feeling that makes a village worth finding. Somewhere you have to lean in to see properly is always more interesting than somewhere you pass at walking pace.
2. Plan The Village In Odd Numbered Clusters
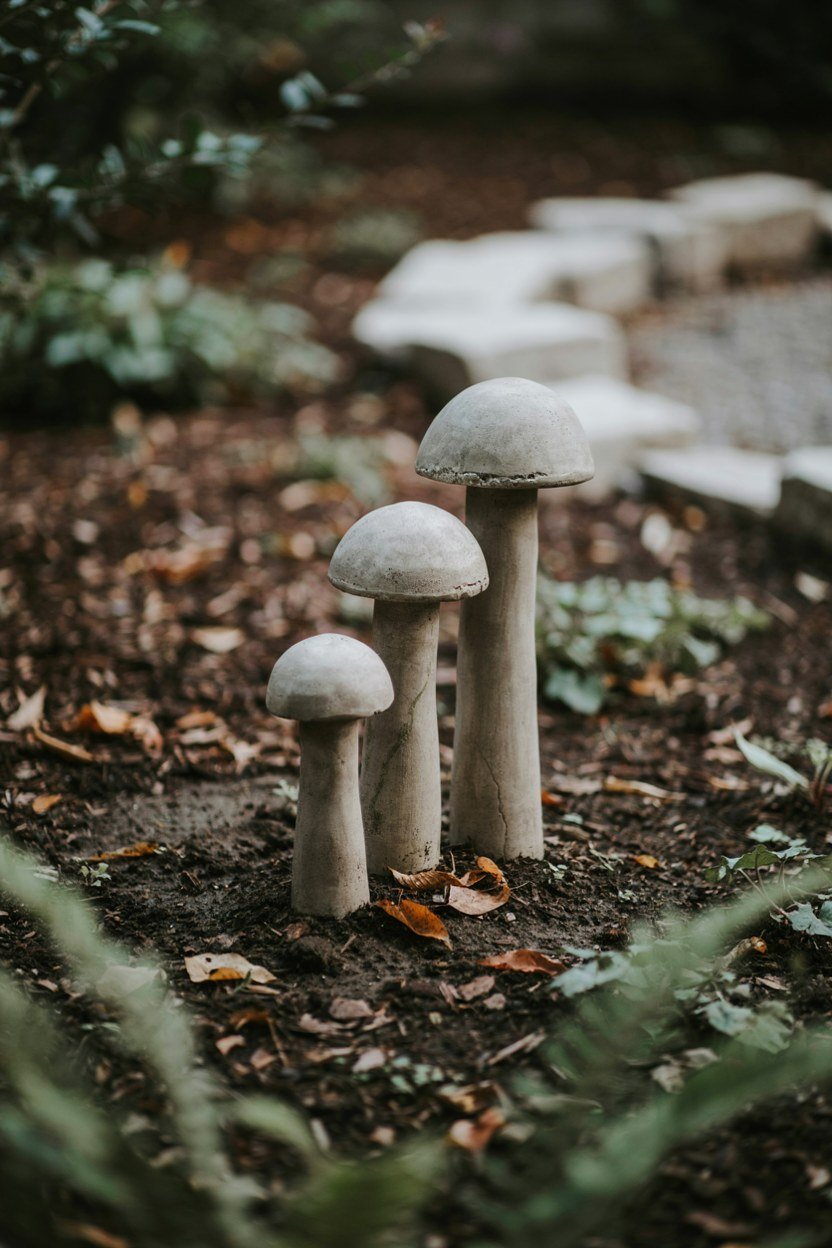
Group in threes and fives. Odd numbers read as natural growth, while pairs and fours look arranged, and the eye picks that up immediately.
Vary the heights within each cluster. One tall, one middling, one barely clearing the soil suggests different ages rather than a matching set.
Leave gaps between clusters. Two or three small groupings along a path beat one crowded pile, and they give someone a reason to keep walking. A village that reveals itself in stages feels larger than one you take in at a glance.
3. Choose Your Material Before Your Design

Material decides lifespan. Concrete lasts decades and takes moss beautifully, air dry clay suits indoors or covered spots only, and timber sits somewhere in between.
Concrete is the one I would pick for anything permanent. It is cheap, it takes paint, and it develops the weathered surface the look depends on.
Resin and moulded plastic pieces last well but never stop looking manufactured. If you buy them, plan to age the finish yourself. A wash of thinned grey paint wiped back with a cloth knocks the sheen off a resin piece in minutes.
4. Cast Concrete Caps From Bowls You Already Own
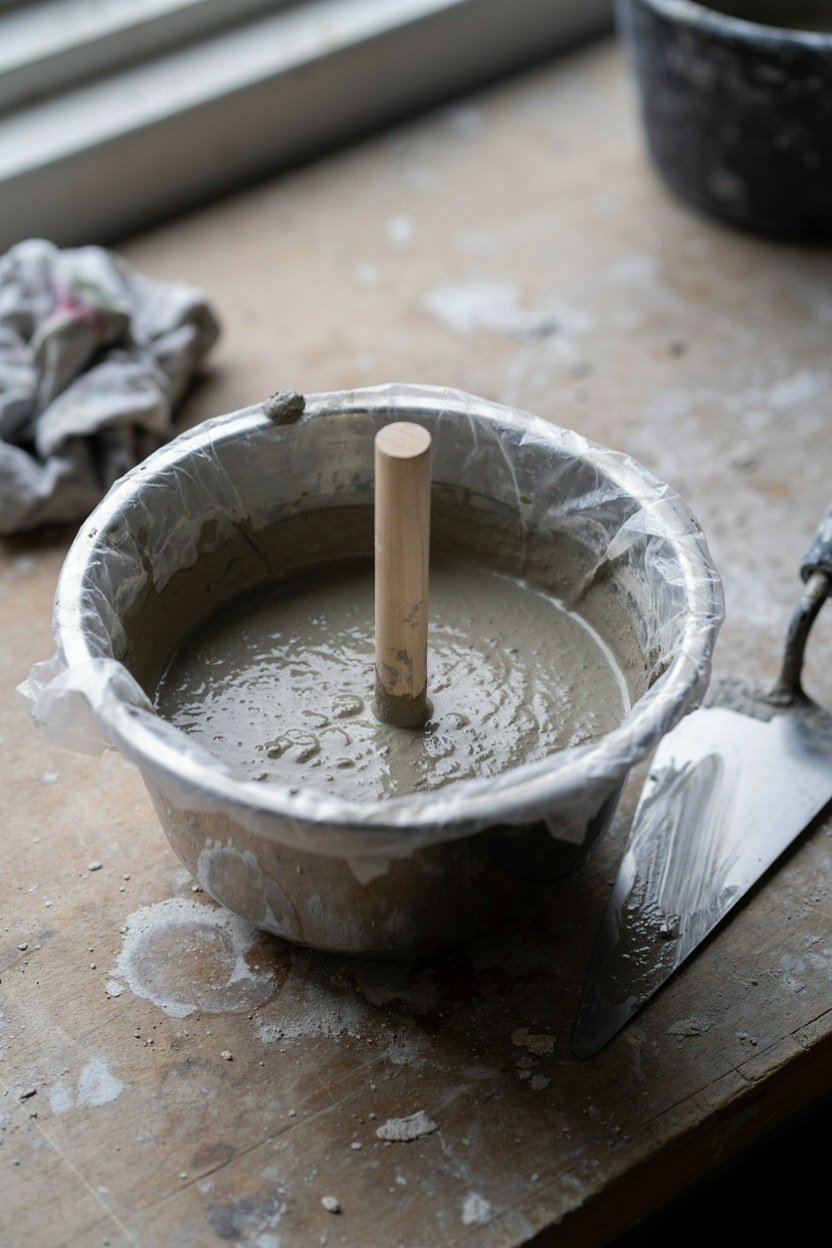
Kitchen bowls make excellent moulds. Line a mixing bowl with a plastic bag, fill with concrete, and you have a dome cap for the cost of the mix.
Vary the bowl sizes across the batch. Five identical caps look like a product line, while five different diameters look like a colony.
Push a short length of dowel or pipe into the wet concrete to take the stem later. Getting that right while it is soft saves drilling cured concrete afterwards. Cured concrete blunts ordinary bits quickly and cracks if you push too hard.
5. Keep Stems Shorter Than You Think

Short stems look right. Most real toadstools sit low, and tall thin stems read as garden stakes with hats on.
I keep stems between two and six inches above soil level. That range looks natural across a cluster and keeps the pieces stable in wind. A tall stem also puts the cap at an angle nobody views it from, which wastes the paintwork you did on top.
Bury the base properly. An inch or two below soil hides the joint and stops the whole thing shifting when someone brushes past.
6. Mix Your Colours Muted, Never Bright

Muted colour is what separates charming from tacky. Think faded barn red, dusty cream, soft ochre and brown rather than postbox red.
Mix a little grey or raw umber into whatever red you use. It knocks the plastic look straight out and reads as something that has sat outside for years.
Test on a spare cap first. Colours dry lighter on concrete than they look wet, and a shade that seemed right in the tin can land far too strong. Two thin coats also read better than one thick one, because the texture of the concrete stays visible.
7. Paint The Spots Irregularly
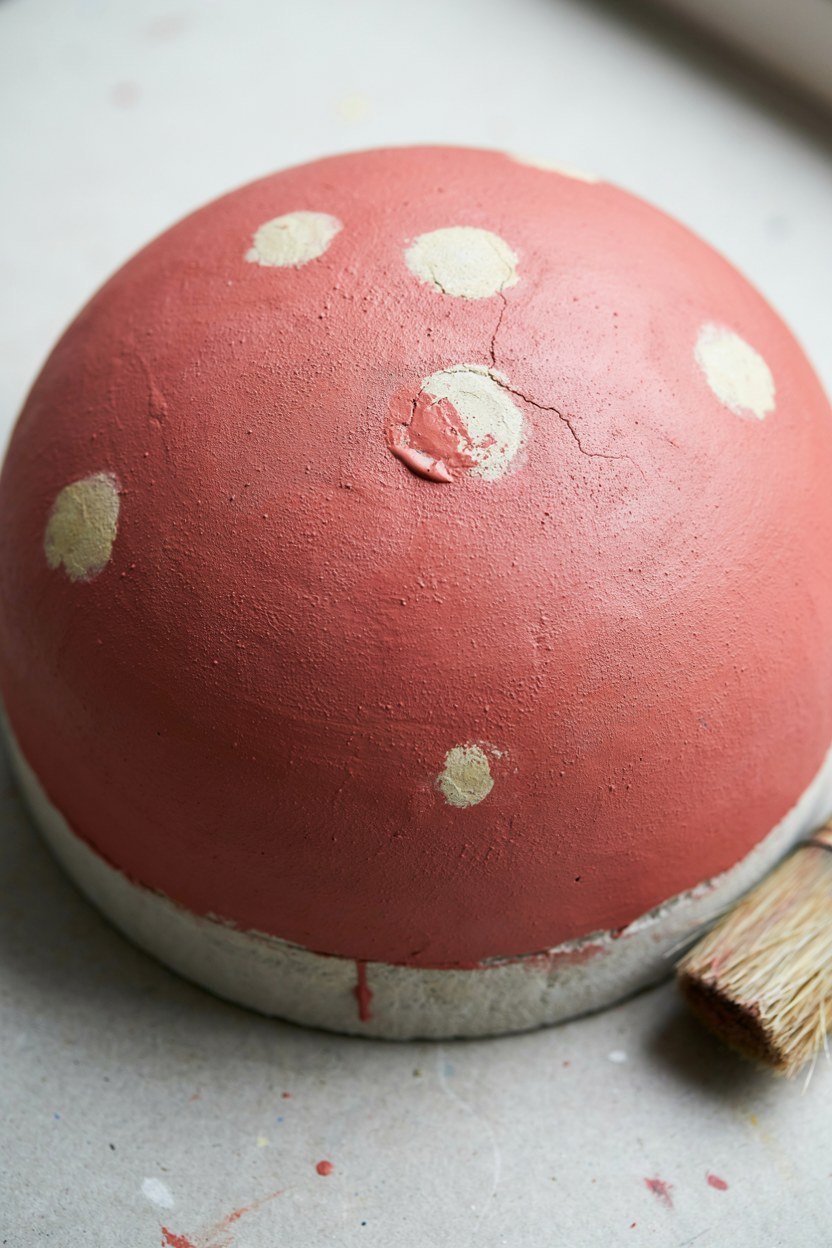
Spots make or break the illusion. Real caps have uneven, off centre, different sized spots, while evenly spaced dots look stencilled.
Use the end of a brush handle rather than a brush. Dabbing gives you slightly ragged circles, which is exactly what you want.
Skip spots entirely on a few pieces. A cluster where two are plain and one is spotted looks like a real mix of species. Real fungi rarely appear as a matching set, and copying that variation is free.
8. Add Doors And Windows Sparingly
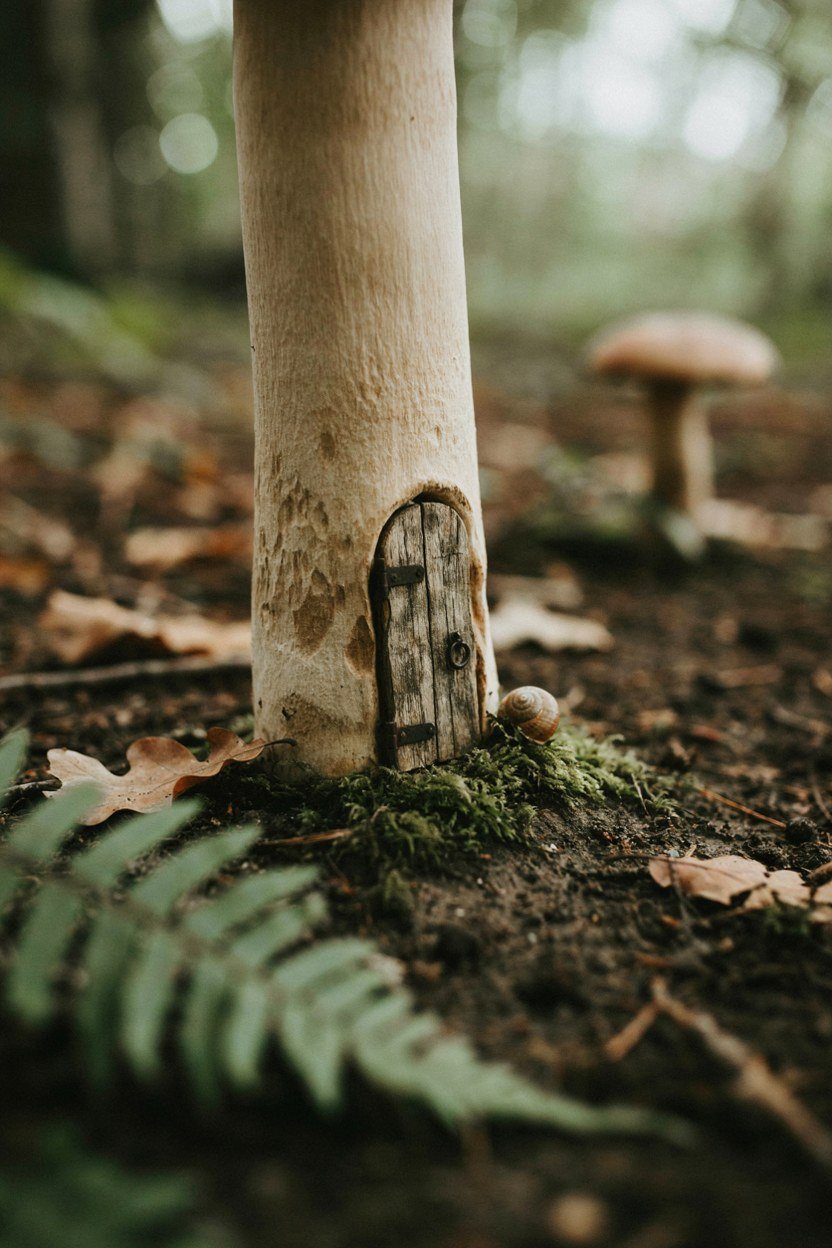
One door in a village is charming. A door on every mushroom turns the whole thing into a toy set.
I put a single small door at the base of the largest piece and leave the rest alone. That one detail is enough to suggest somebody lives there.
Keep the hardware tiny. Oversized hinges and knobs are the fastest way to lose the sense of scale you have been building. If a door looks like it belongs on a dolls house rather than a mushroom, it is too big.
9. Build A Path That Leads Somewhere
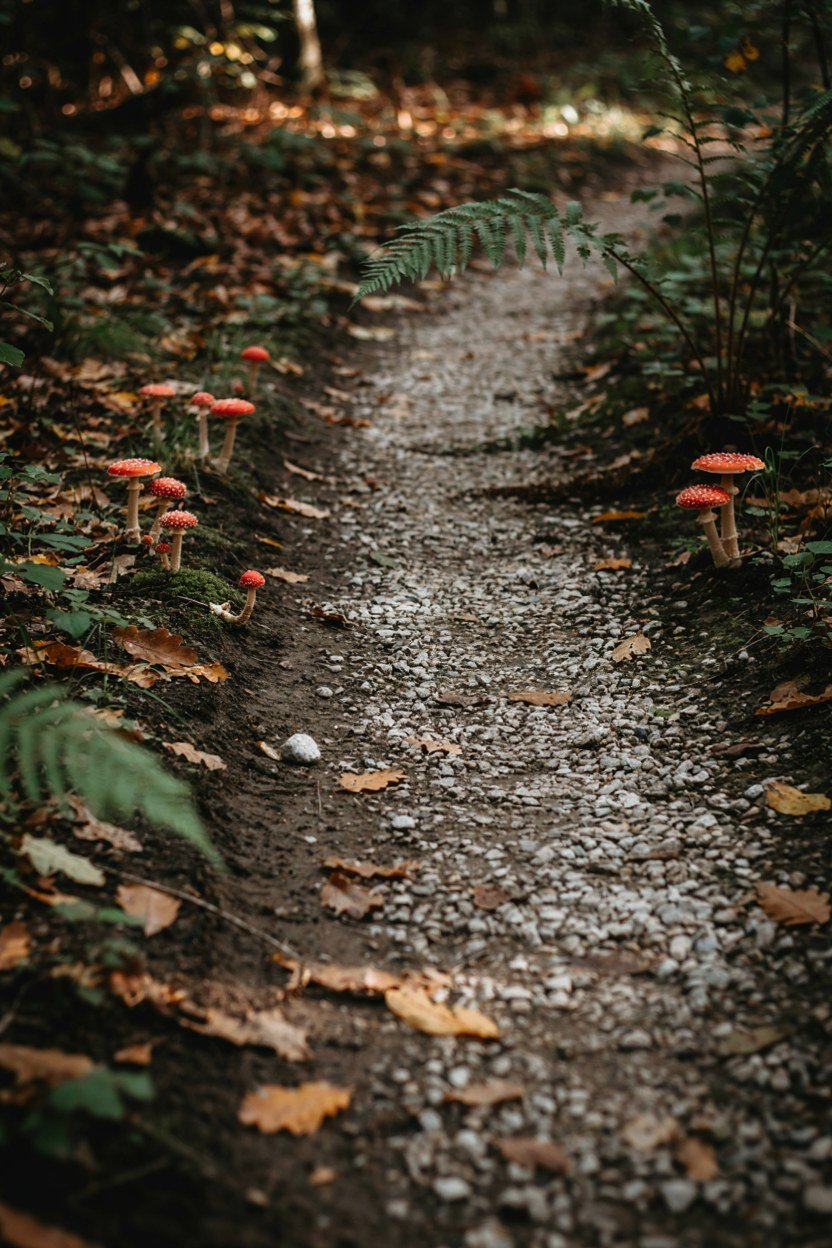
A small path turns objects into a place. Pea gravel, bark chips or slate offcuts all work, and the path only needs to be a few inches wide.
Curve it. A straight path reads as landscaping while a curve reads as something worn in by use.
Let it disappear behind planting. A path that vanishes under a fern implies more village than you actually built, which is the cheapest trick here. Suggestion does more work than construction, and it costs nothing but restraint.
10. Encourage Moss Instead Of Buying It
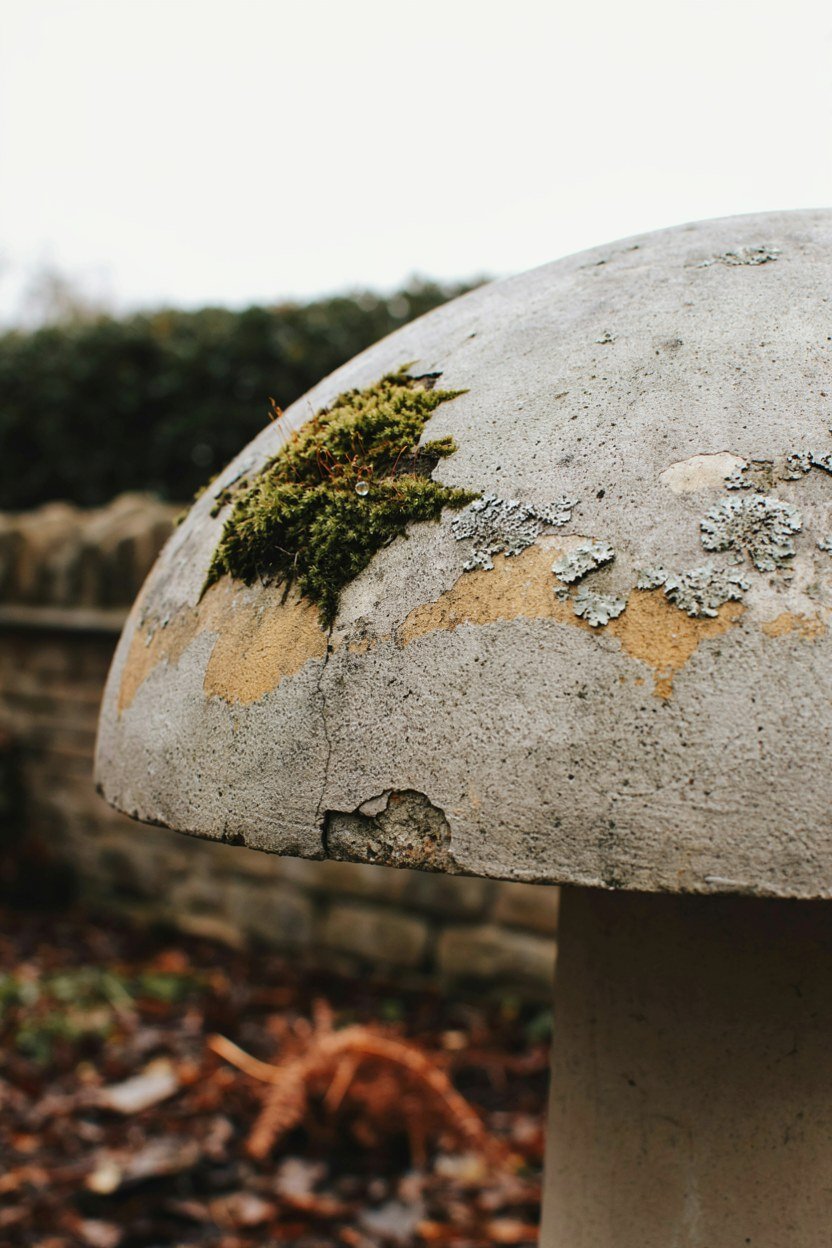
Moss makes concrete look old faster than any paint technique. Damp shade plus a rough surface is usually all it takes.
Brush a thin yoghurt and moss slurry onto the pieces if you want to speed it up. It is messy, it smells briefly, and it works within a few damp weeks.
Site the village where it stays damp. Moss will not hold on a sunbaked stone no matter what you paint on it. If the only spot available is sunny, plan for painted texture instead and accept that it will look newer for longer.
11. Plant Around The Village, Not Behind It
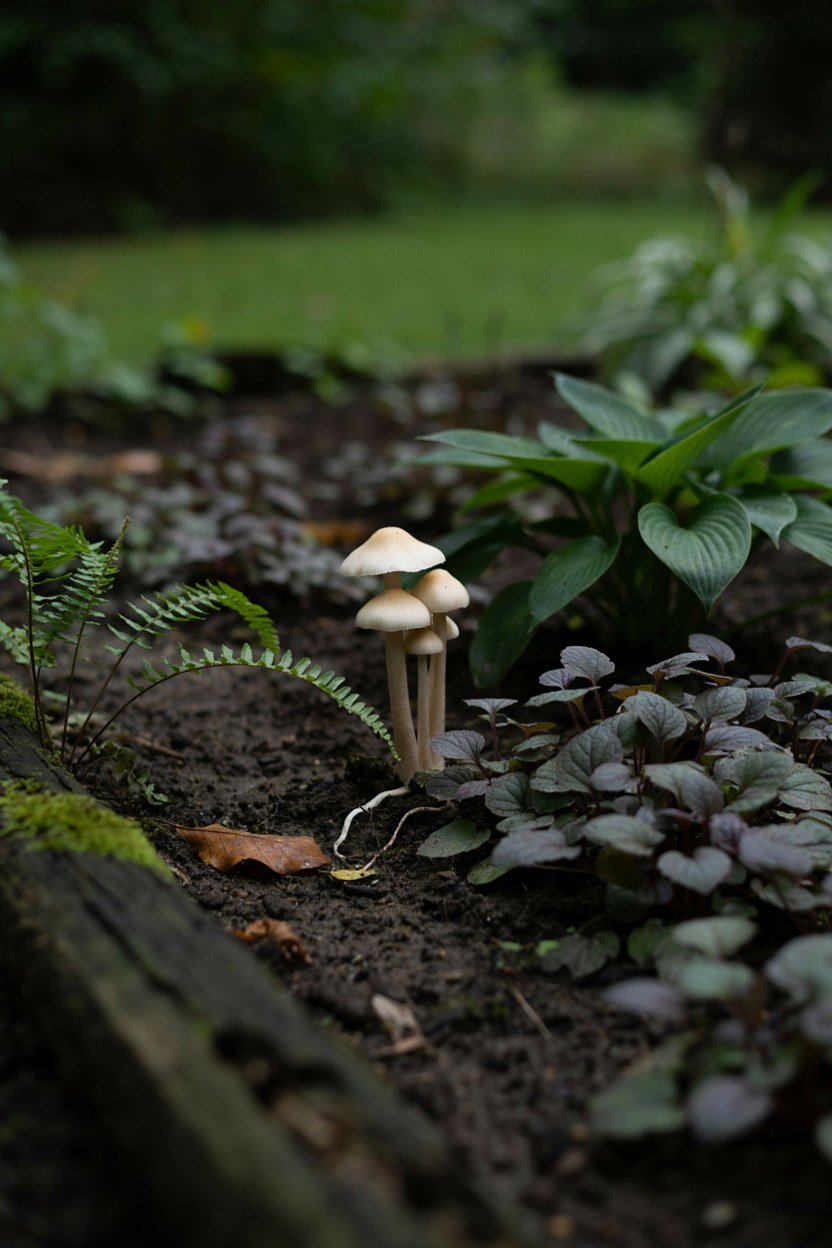
Planting is what makes the scene read as a habitat. Ferns, moss, ajuga and small hostas all suit the scale and like the same shade.
Plant so that foliage overlaps the pieces slightly. Something partly hidden looks found, while something fully exposed looks displayed.
Keep the leaf sizes small. Large leaves next to a three inch mushroom destroy the sense of scale instantly. Small leaved ground cover is what makes a three inch mushroom read as a tree sized thing in its own world.
12. Add Low Light For The Evening
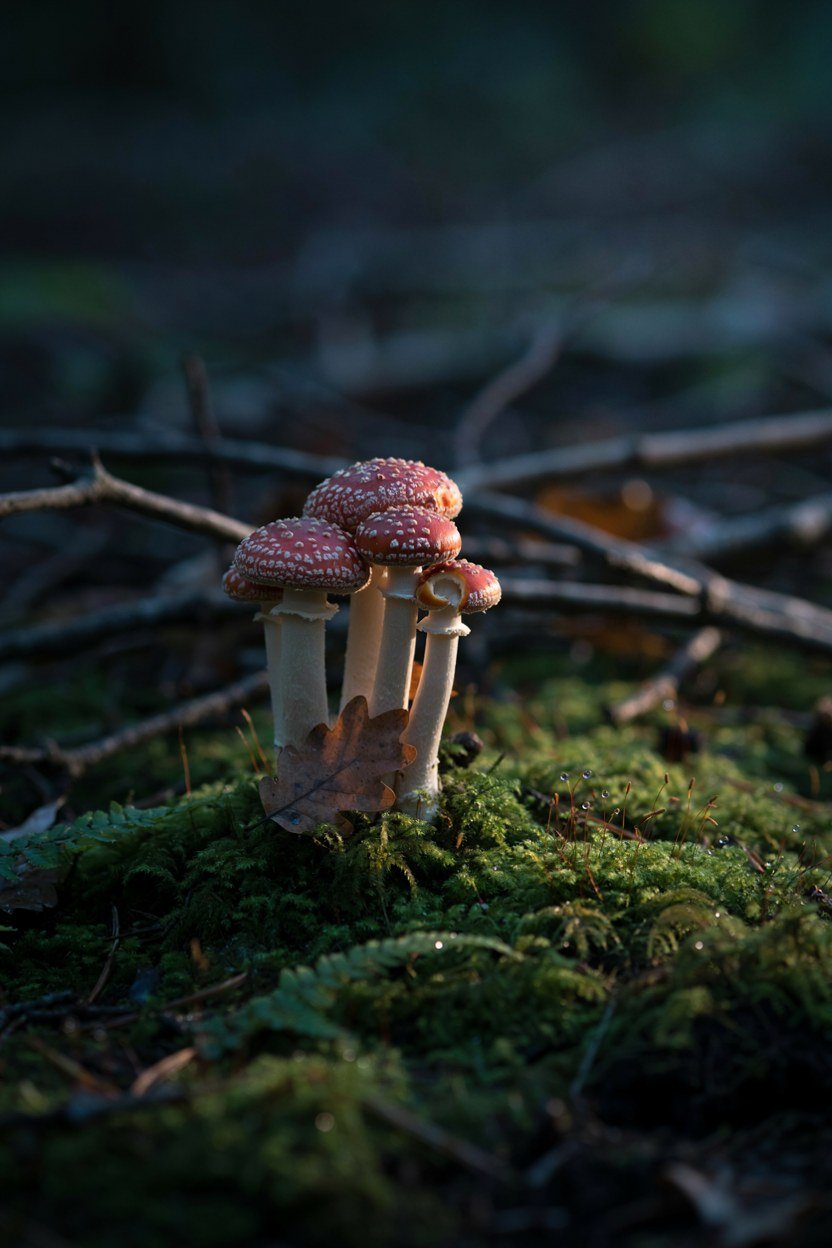
A little light after dark changes the village completely. Two small solar spikes aimed low across the group is plenty.
Aim the light sideways rather than down. Raking light throws shadows behind the caps and makes them look solid rather than flat.
Warm white only. Cool white makes painted concrete look grey and kills the whole mood you have built. One light is usually enough; two is the maximum before it starts to look staged.
13. Weatherproof Everything Before Winter

Sealing is the difference between one season and several. A matt exterior sealer over paint keeps colour from lifting in frost.
Choose matt, never gloss. Shine is the single strongest signal that something is manufactured, and it undoes careful paintwork.
Reseal every couple of years. It takes twenty minutes on a dry autumn afternoon and saves repainting the whole village. Doing it before the first frost matters more than the exact month.
14. Keep It Safe For Wildlife And Children
Skip anything toxic. Some sealers and paints are not safe once they flake, so exterior grade water based products are the sensible choice.
Set pieces firmly. A heavy concrete cap that tips is worth thinking about if small children play in the garden.
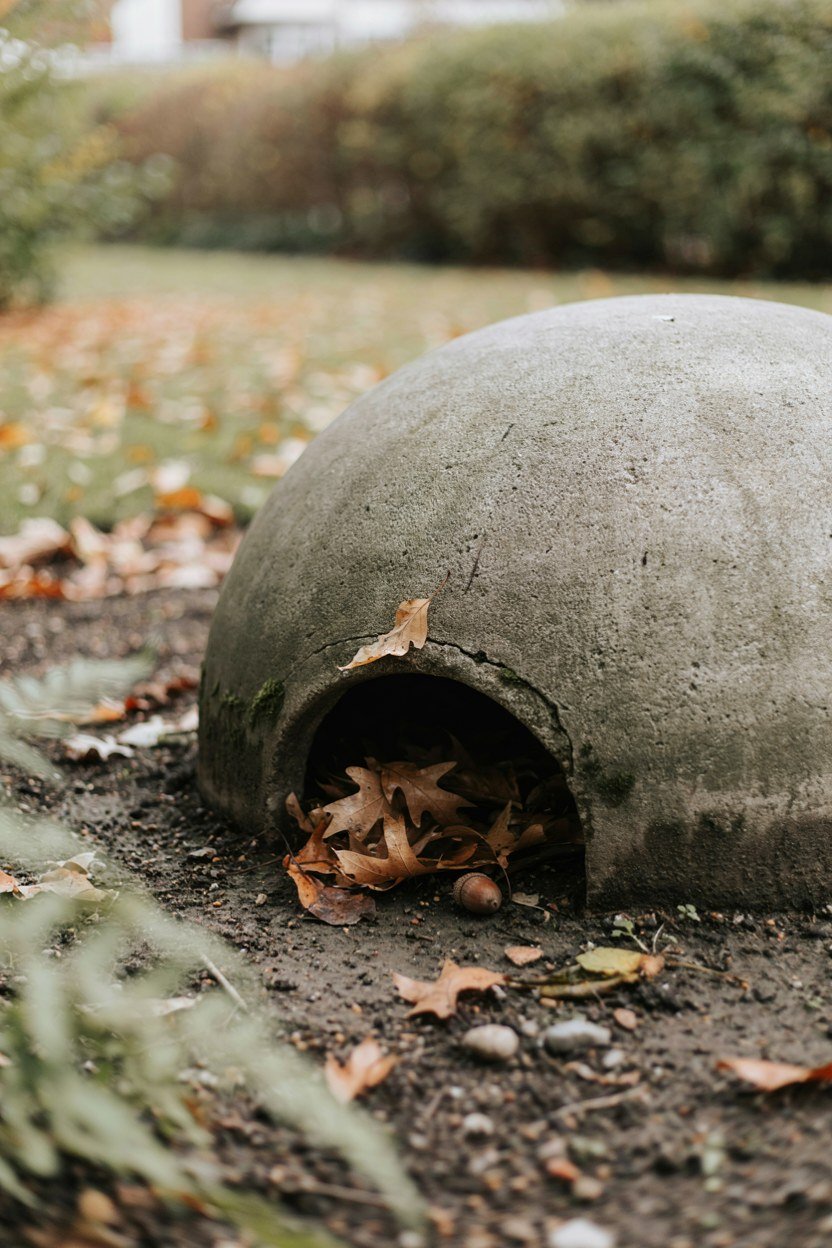
Leave gaps at ground level. Hedgehogs, frogs and beetles will use the shelter, and that is half the charm of building it. A feature that shelters something living is worth more than one that only looks good.
15. Let It Age Instead Of Maintaining It
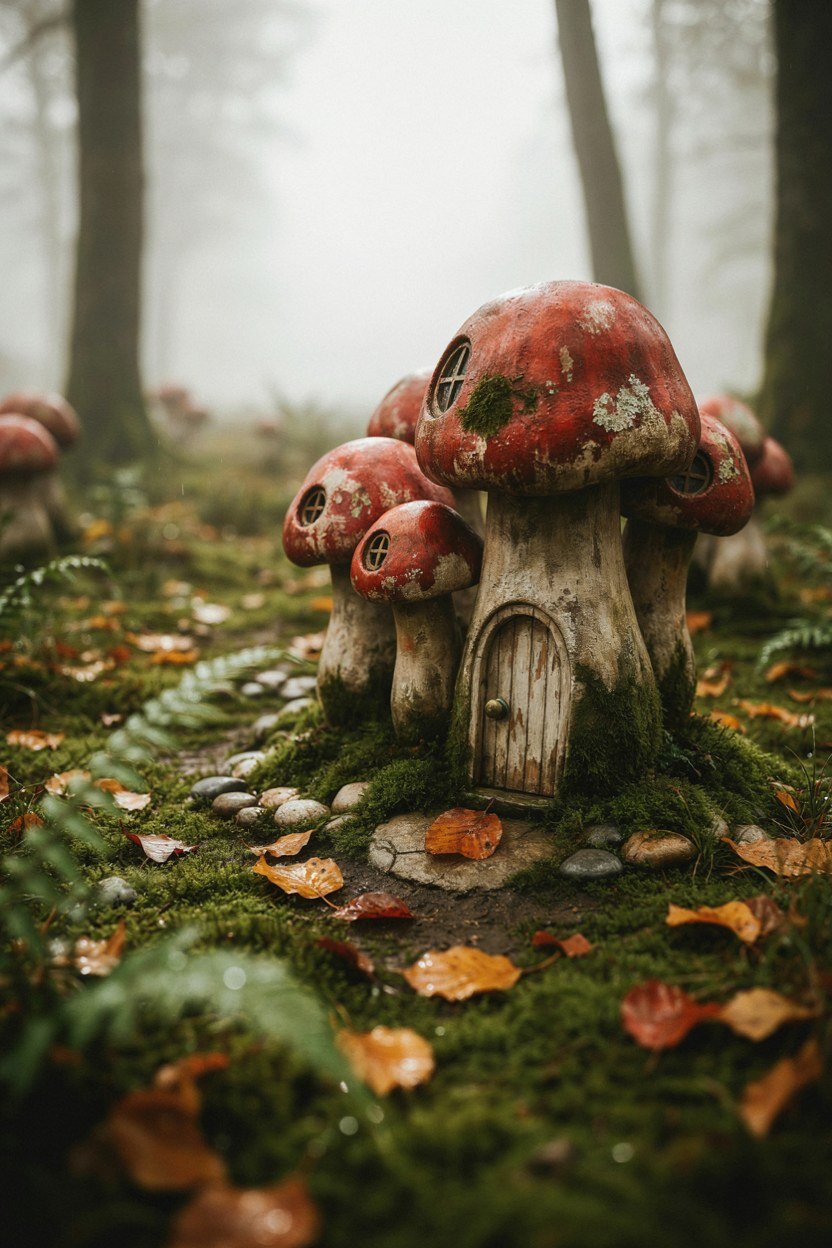
Resist tidying. Fallen leaves, a little algae and a lopsided cap all add to the effect, and a scrubbed village looks new again.
Do one clean a year at most. I clear heavy leaf fall in late autumn and otherwise leave everything where it lands.
Add a piece occasionally rather than rebuilding. A village that grows by one mushroom a year looks far more convincing than one built in a weekend. It also gives you a small ongoing project rather than a finished ornament.
What A Backyard Toadstool Village Costs To Build
Costs stay low because the expensive looking parts are the ones you make yourself. Concrete, paint and a bag of gravel cover most of it.
Bought sculptures are where budgets disappear. One good ceramic piece as a centrepiece with homemade concrete around it gives you the best of both.
Spend on the sealer rather than the paint. Cheap paint under good sealer outlasts good paint left bare, every time.
| Item | Notes | Rough Cost |
|---|---|---|
| Concrete mix | One bag makes several caps | Low |
| Exterior paint | Sample pots are plenty | Low |
| Matt exterior sealer | Worth buying properly | Low to mid |
| Gravel or bark path | One bag covers a small run | Low |
| Shade planting | Ferns, moss, ajuga | Low to mid |
| Solar spike lights | Two is enough | Low |
Conclusion: The Three Things That Sell The Illusion
If you take three things from this, take placement, scale and finish. Tuck the village into existing planting, keep the stems short, and kill every trace of shine.
Everything else is decoration. A perfect paint job on an ornament sitting in open lawn still looks like an ornament.
Then leave it alone. The version people find charming is the one that has been rained on, grown a little moss, and had a leaf land on it.
Frequently Asked Questions About Backyard Toadstool Villages
What material lasts longest outdoors?
Concrete, comfortably. It survives frost, takes paint well and grows the moss that makes the pieces look established.
How many mushrooms make a village?
Five to nine across two or three clusters is plenty. Beyond that it starts reading as clutter rather than a scene.
Where should I put it in the garden?
Part shade, tucked under planting, near a path where someone will notice it. Damp shade also grows moss far faster.
How do I stop the paint fading?
Seal it with a matt exterior sealer and keep the village out of direct afternoon sun. Reseal every couple of years.
Can I make one with children?
Yes, and air dry clay suits small hands well. Keep clay pieces under cover, since they will not survive a wet winter outdoors.
How do I get moss to grow on concrete?
Damp shade and a rough surface do most of it. A moss and yoghurt slurry brushed on speeds things up over a few weeks.
Will it attract pests?
No more than any garden feature. Leaving gaps at ground level tends to attract frogs and beetles, which most gardeners welcome.