
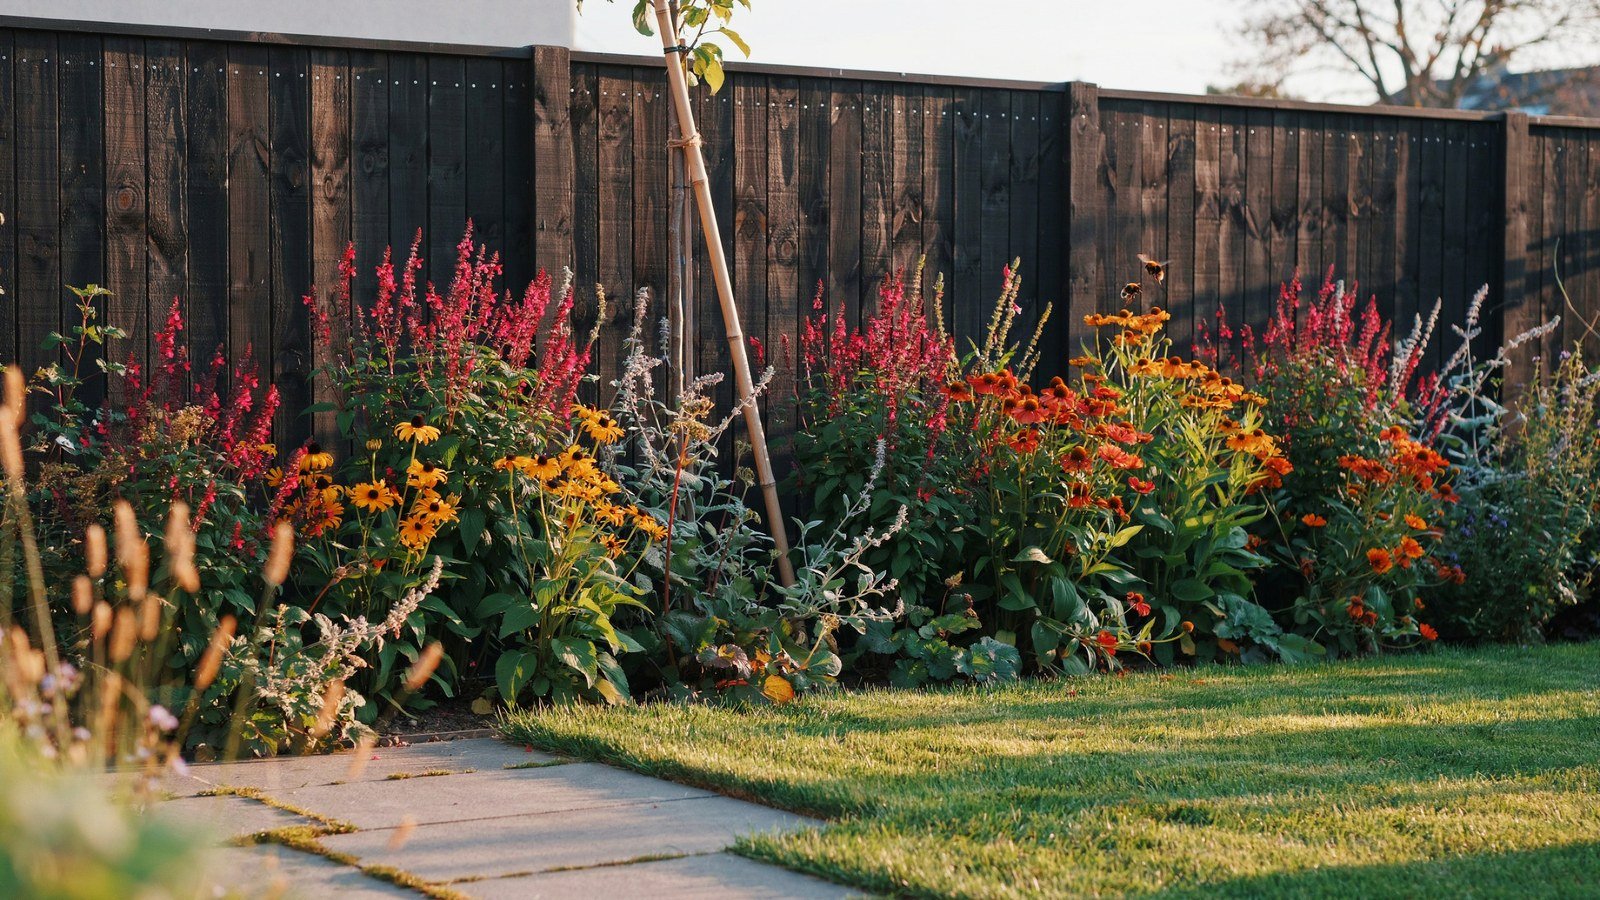
A vibrant perennial border comes down to three things: a repeated colour, a mix of flower shapes, and enough plants of each kind to read as a drift rather than a collection. Get those right and a plain backyard strip turns into the part of the garden people walk towards. Get them wrong and you have a row of single plants sulking in bare soil.
My own border started as a two metre strip of builders rubble along a south facing fence. The first year I bought one of everything, which looked exactly as scattered as it sounds. The second year I dug half of it up, grouped what was left in threes and fives, and the difference was immediate.
Below are fifteen ways to build and plant a border that holds colour from spring through to the first frost. Some are planting choices, some are structural decisions you make before a single plant goes in the ground. The order matters, because a few of them are hard to undo once the border is full.
What Separates A Bright Border From A Busy One
Brightness is not the same as variety. A border reads as bright when a strong colour repeats down its length, because your eye joins the repeats into a rhythm instead of stopping at each new plant. Twenty different colours in twenty single plants reads as noise, and no amount of watering fixes that.
The second half of it is flower shape. Gardeners talk about spires, daisies, umbels and plumes, and a border with only one of those shapes looks flat even when the colour is right. Put a vertical spire next to a flat daisy head and both look better than either does alone.
Depth is the quiet third factor. A border under a metre deep cannot hold three layers of planting, so it always looks thin no matter what you put in it. If your strip is narrow, widening it by half a metre will do more for the display than any plant you could buy.
| Border depth | What it can hold | Realistic effect |
|---|---|---|
| Under 1 m | One layer, low plants only | Edging, not a border |
| 1 to 1.5 m | Two layers, low and mid | Works, needs tight repetition |
| 1.5 to 2 m | Three layers with a back row | The sweet spot for most gardens |
| Over 2 m | Full drifts, paths through | Wonderful, needs real maintenance |
What To Sort Out Before You Buy A Single Plant
Soil and light decide your plant list, and no design survives ignoring them. Spend a day watching where the shadow falls at nine, one and five, and write it down rather than trusting your memory of a sunny afternoon. Most backyard borders have a bright end and a dim end, and planting them identically is the commonest reason one half fails.
Drainage matters as much as light. Dig a hole a spade deep, fill it with water, and see how long it takes to drain away. If it is still sitting there the next morning you have heavy clay, which rules out most silver leaved plants and points you towards astrantia, persicaria and hardy geraniums instead.
Then work out your budget in plants rather than pounds. A border one and a half metres deep by six long needs roughly forty to fifty perennials to look full in its second season, which is a lot of nine centimetre pots. Buying fewer, larger plants feels better in the moment and looks worse for two years.
1. Start With A Backbone Of Tall Late Summer Perennials
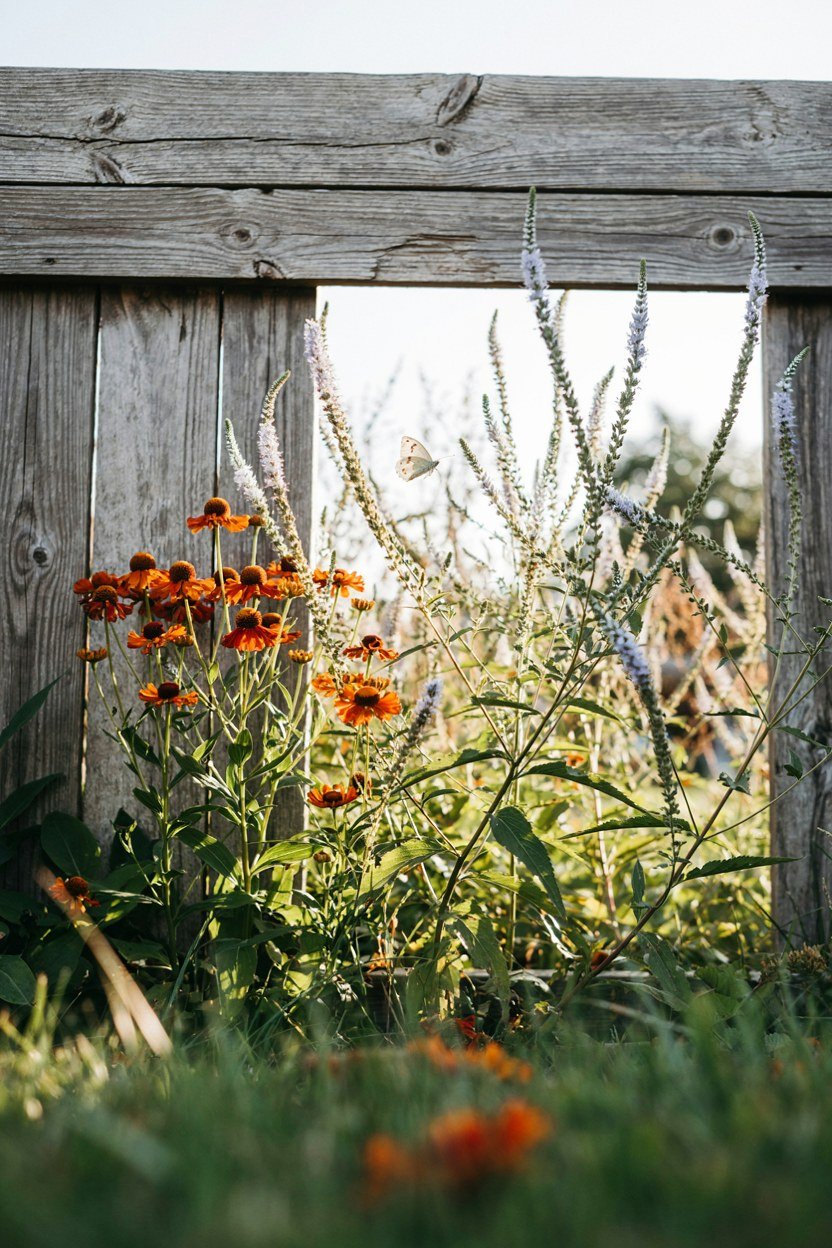
Plant the back row first and everything in front of it becomes easier. Tall late season perennials like helenium, veronicastrum and the taller rudbeckias give the border a wall of colour at exactly the point in the year when most gardens run out of steam. They also hide the fence, which is usually the least attractive thing in the plot.
Put them in groups of three at minimum, spaced roughly a third of their eventual spread apart. Single tall plants flop sideways and look like accidents, whereas a group of three leans into itself and stays upright without staking. This is the cheapest structural support you can give a border.
Keep the back row to two or three species repeated along the length. I use veronicastrum and helenium, alternating, and nothing else goes behind the mid layer. The restraint is what makes the front look rich rather than chaotic.
What Goes Wrong When The Back Row Is Too Short
A back row shorter than the mid layer collapses the whole design, because the border loses its slope and reads as a flat mat. It usually happens when someone buys by flower rather than by height and puts a lovely metre tall plant behind something that reaches one point four. Height is the one thing a plant label usually gets right.
Check the mature height on the label and then knock ten percent off it for a first year plant. If the numbers put your back row within thirty centimetres of the mid layer, move it forward and find something genuinely tall for behind. Height differences under thirty centimetres do not register from a distance.
2. Repeat One Colour Down The Whole Border
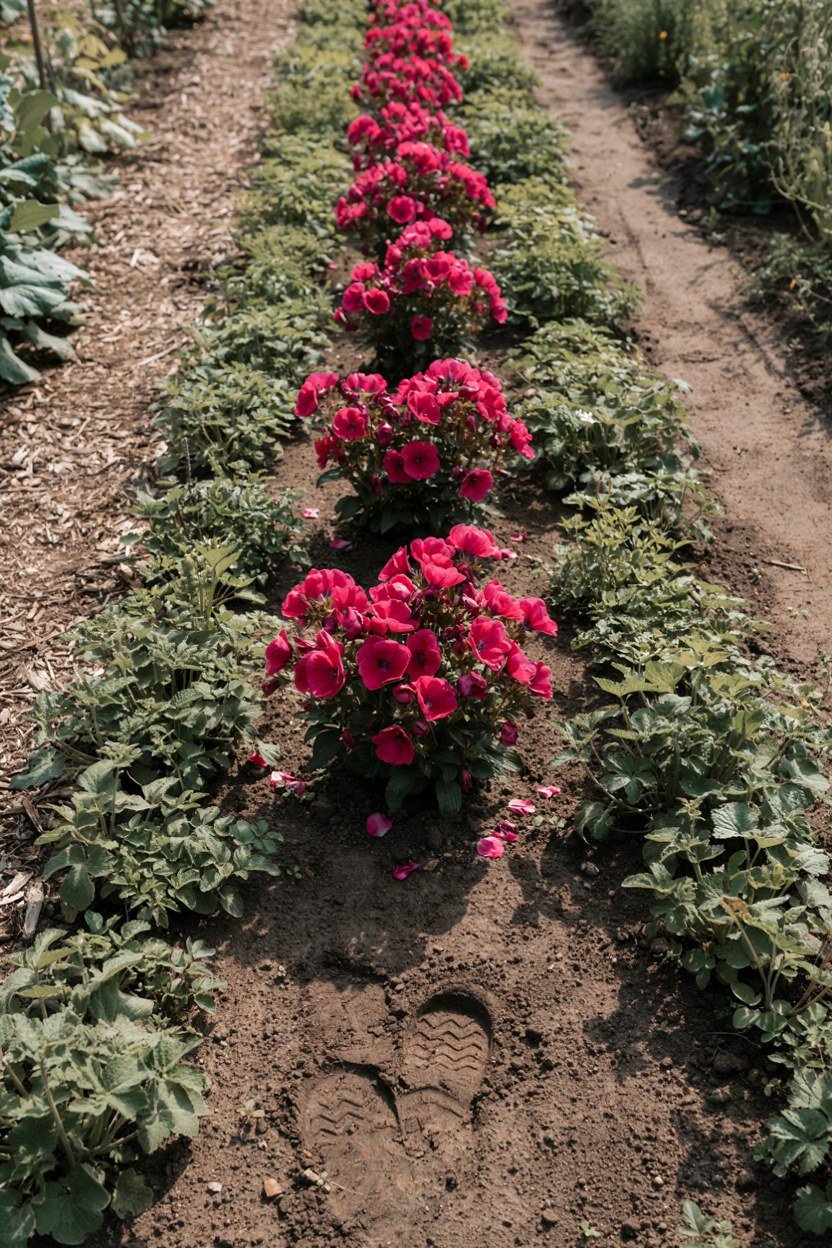
Pick one strong colour and repeat it at intervals down the length of the border. Hot orange from a helenium, deep magenta from a geranium, or the acid yellow of achillea will all do the job, as long as it appears at least four or five times. The repeat is what turns separate plants into a scheme.
Space the repeats unevenly. Perfectly regular spacing looks like municipal planting, whereas gaps of roughly two, then three, then two metres feel like the garden made the decision. I aim for a rhythm rather than a grid and it always reads better.
The repeated colour does not have to come from the same plant. Using two or three different plants in the same colour, flowering at different times, keeps the thread running from June to September without the border going blank in between. I run magenta through mine using a geranium and a lythrum.
How To Choose The Repeating Colour
Start from something you cannot move: a brick wall, a fence colour, a nearby shrub. Choose a repeat colour that either sits close to it or sits directly opposite it on the colour wheel, and avoid the awkward middle ground where it neither matches nor contrasts. Orange against a red brick wall is the classic near miss.
Test it before committing by standing three plants in pots along the border for a week. It costs almost nothing and tells you more than any planting plan on paper. I have changed my mind twice doing this and saved myself digging up forty plants.
3. Use Ornamental Grasses To Soften Hard Edges
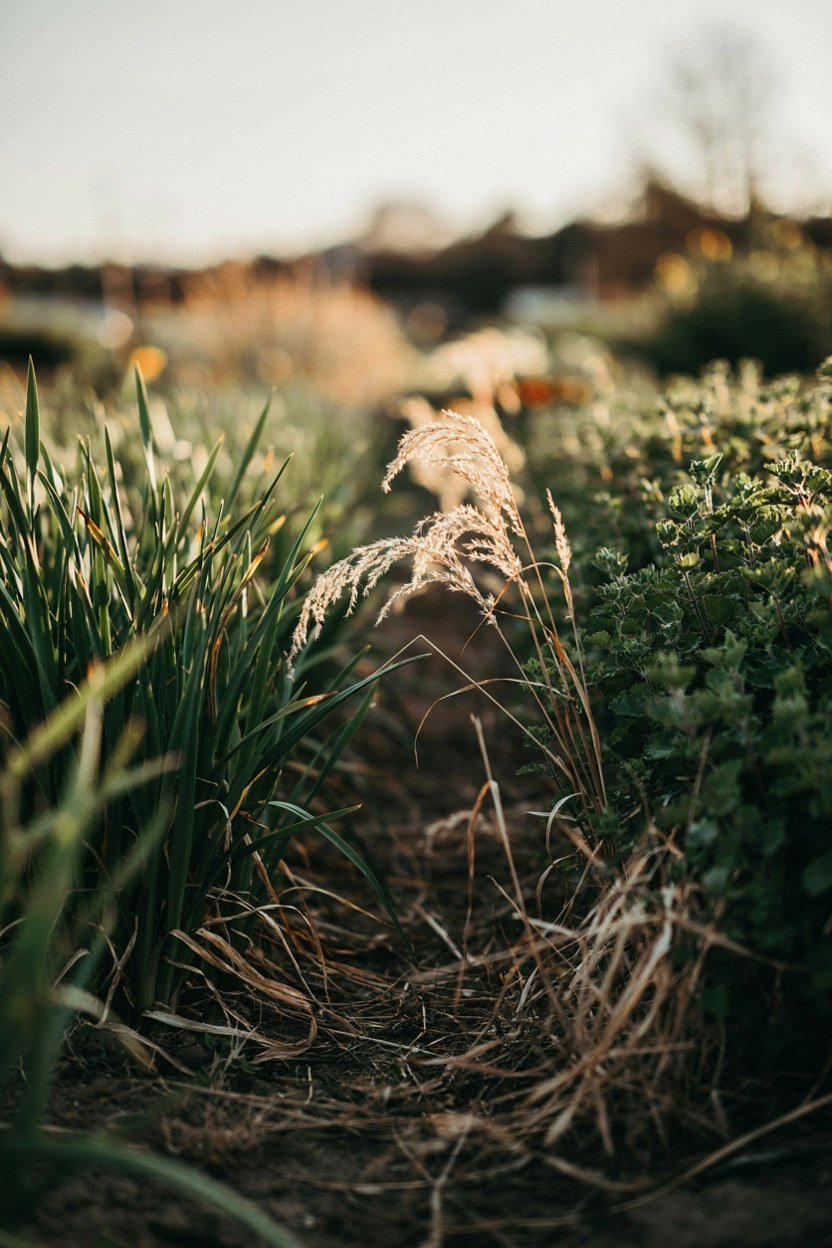
Grasses do the job that no flowering perennial can, which is to hold movement and light between blocks of colour. Deschampsia, molinia and the smaller miscanthus catch low sun and glow, and they keep the border alive through the weeks when nothing much is in flower. They also stop strong colours from shouting at each other.
Use them as connective tissue rather than as specimens. Threading a repeated grass between your flowering groups blurs the joins, which is exactly what a border wants. A single grass planted alone in the middle looks like a mistake nobody wanted to correct.
Choose deciduous grasses over evergreen ones for a bright border. They cut down to the ground in late winter in one clean job, whereas evergreen grasses need combing out by hand every spring and look tired by their fourth year. One cut in February and the job is finished.
The Grass To Avoid In A Small Backyard
Avoid pampas grass and the larger miscanthus varieties in anything under about eight metres of border. They reach two and a half metres, throw shade across everything behind them, and take two people and a sharp spade to divide once established. Scale is what small gardens get wrong most often.
If you want that scale of drama, put one at the far end where it acts as a full stop rather than in the middle where it swallows the planting. Better still, use molinia, which gives you the height in flower but stays transparent enough to see through. Either way, keep it out of the middle third.
4. Plant In Odd Numbered Drifts, Not Single Specimens
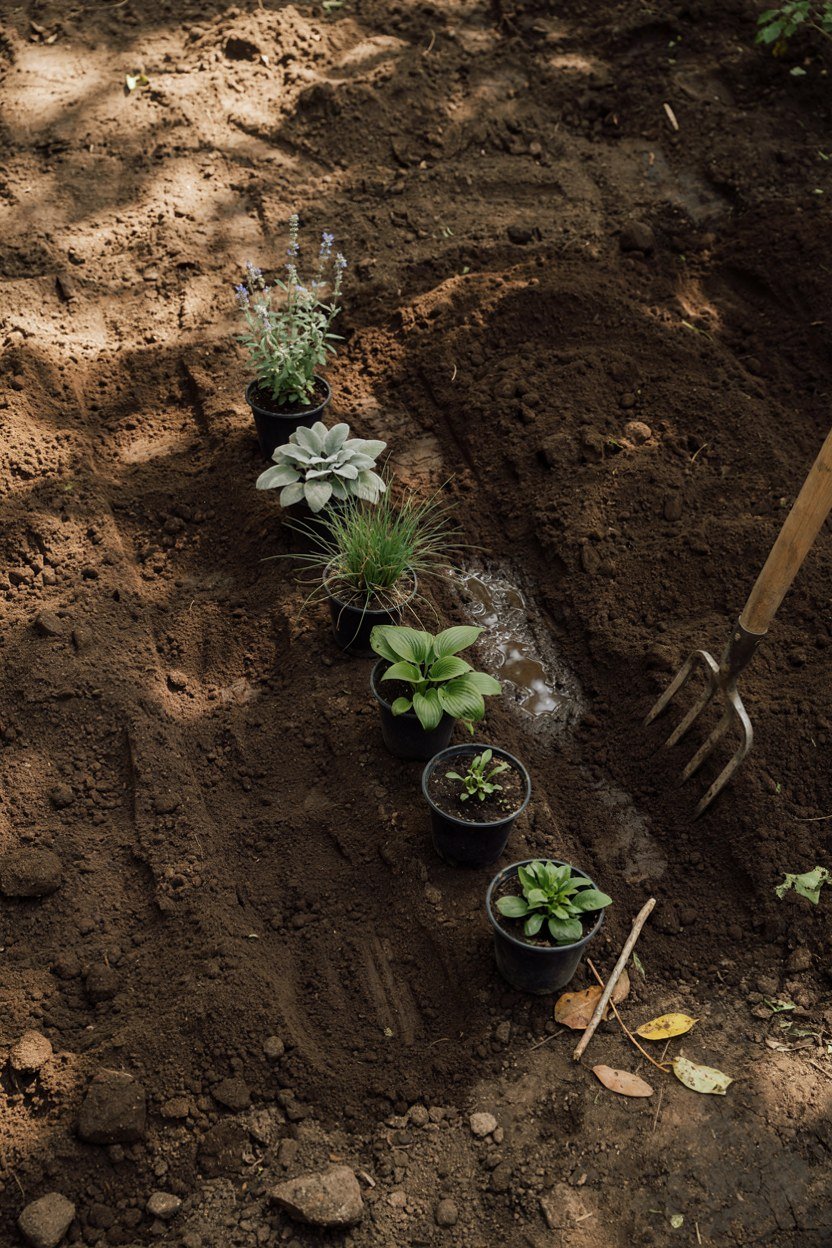
Odd numbered groups of three, five and seven read as natural, and even numbers read as arranged. This is not superstition, it is that odd groups cannot be split into two matching halves, so your eye keeps moving instead of settling on a symmetry. In a border you want the eye to travel.
Set the drift shape as a long diagonal rather than a circle. Circular clumps look like polka dots from a distance, whereas a drift running at an angle across the border depth pulls the front and back layers together. It is the single change that made my own border look designed rather than assembled.
Overlap the ends of neighbouring drifts by a plant or two. Hard edges between groups make a border look like a seed catalogue, and a little interleaving reads as though the plants have been there for years. Two plants of overlap is enough to blur a join.
How Many Plants Per Drift For Each Layer
Front row plants go in fives and sevens because they are small and read as a mat. Mid layer plants work in threes and fives. Back row plants can go in threes, and the very tallest sometimes work as a single specimen because their size carries them.
As a rough working number, plan on nine to eleven plants per square metre for the front, five to seven for the middle, and three for the back. Those numbers look absurdly generous in April and about right by August. Adjust down only if the plants are already large.
5. Get The Border Depth And Edge Right First

A clean edge does more for a border than an extra hundred pounds of plants. A cut edge against lawn, a brick soldier course or a strip of steel edging all work, and all of them stop the border bleeding into the grass. Without one, everything reads as slightly unfinished no matter how good the planting is.
Cut the shape with a hose laid on the ground and left overnight before you commit. Curves that look generous on paper often turn out fussy in reality, and one long sweeping curve beats three shallow wiggles every time. Straight edges suit small gardens better than most people expect.
Widen the border while it is empty, because doing it later means lifting everything at the front. If you are unsure, go half a metre deeper than feels sensible. Nobody has ever stood in a garden wishing their border was narrower.
Steel, Brick Or A Cut Edge
A cut edge costs nothing and needs redoing twice a year with a half moon iron. Steel edging costs more and holds a line for a decade, which suits a curved border in a lawn. Brick suits formal gardens and gives you a mowing strip, so the mower runs along it and you never trim by hand.
Whatever you choose, keep the soil level about two centimetres below the top of the edge. Soil piled level with it washes onto the lawn in the first heavy rain and takes your mulch with it. That small drop keeps the mulch where you put it.
6. Build In A Long Flowering Hardy Geranium
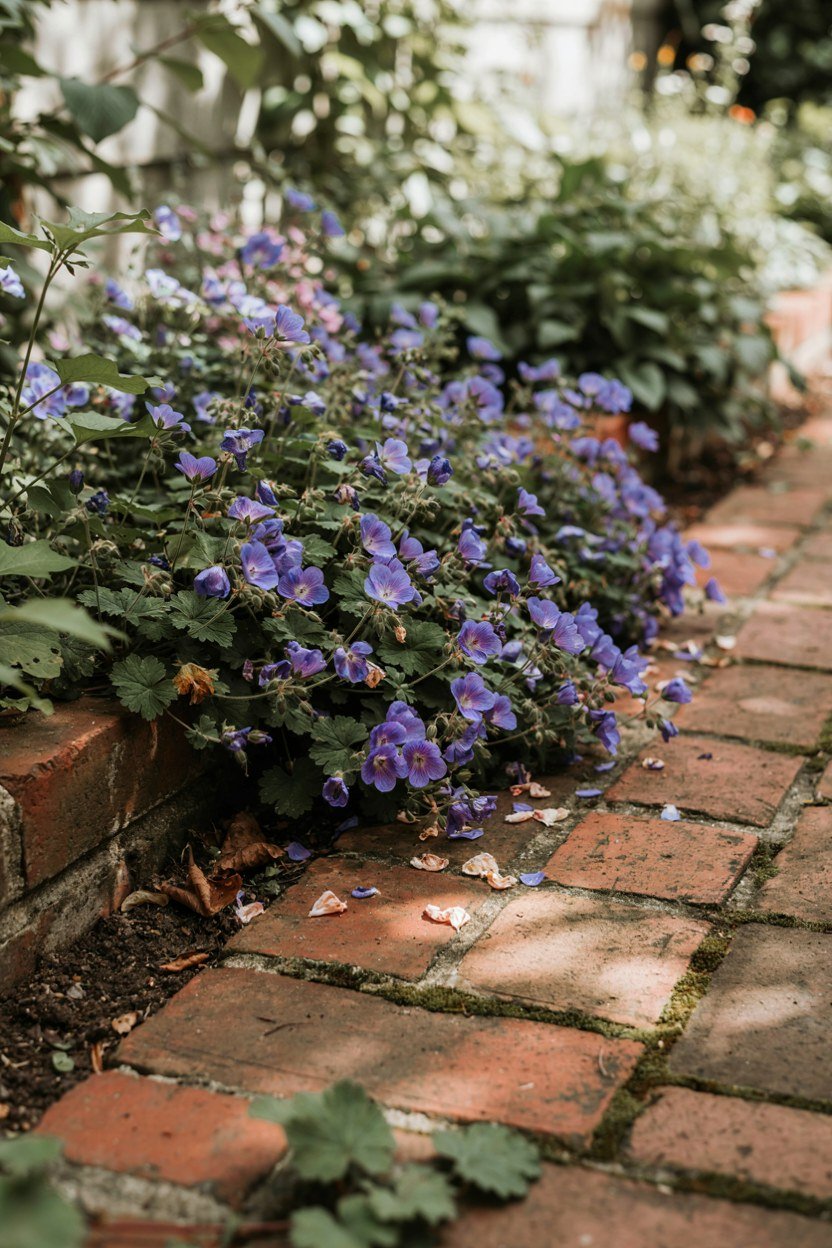
Hardy geraniums are the workhorse of a bright border and the plant I would keep if I could only keep one. Varieties like Rozanne flower from June until the frosts without deadheading, cover bare soil, and suppress weeds while doing it. That combination is rare enough to be worth building a scheme around.
Use them in the mid layer where they can flop forward over the front row. The sprawl is a feature, not a fault, because it hides the leggy stems of everything behind. A border with rigid gaps between every plant always looks younger than it is.
Cut them back hard in late July when they start to look tired. A geranium sheared to a hand’s width above the ground regrows and reflowers within three weeks, which gives you a second season from one plant. Water the clump well the same evening.
When A Geranium Is The Wrong Choice
In deep shade or genuinely dry soil under a hedge, geraniums sulk and go mildewy. Swap in epimedium or a tough euphorbia for those spots and accept that the flowering season will be shorter. Fighting a site is a slow way to lose.
They also spread. In a small border, the vigorous varieties will smother a delicate neighbour within two seasons, so keep them away from anything precious and give them room to do what they do. Rozanne is the better behaved one of the group.
7. Add Vertical Spires For Contrast With Flat Flowers
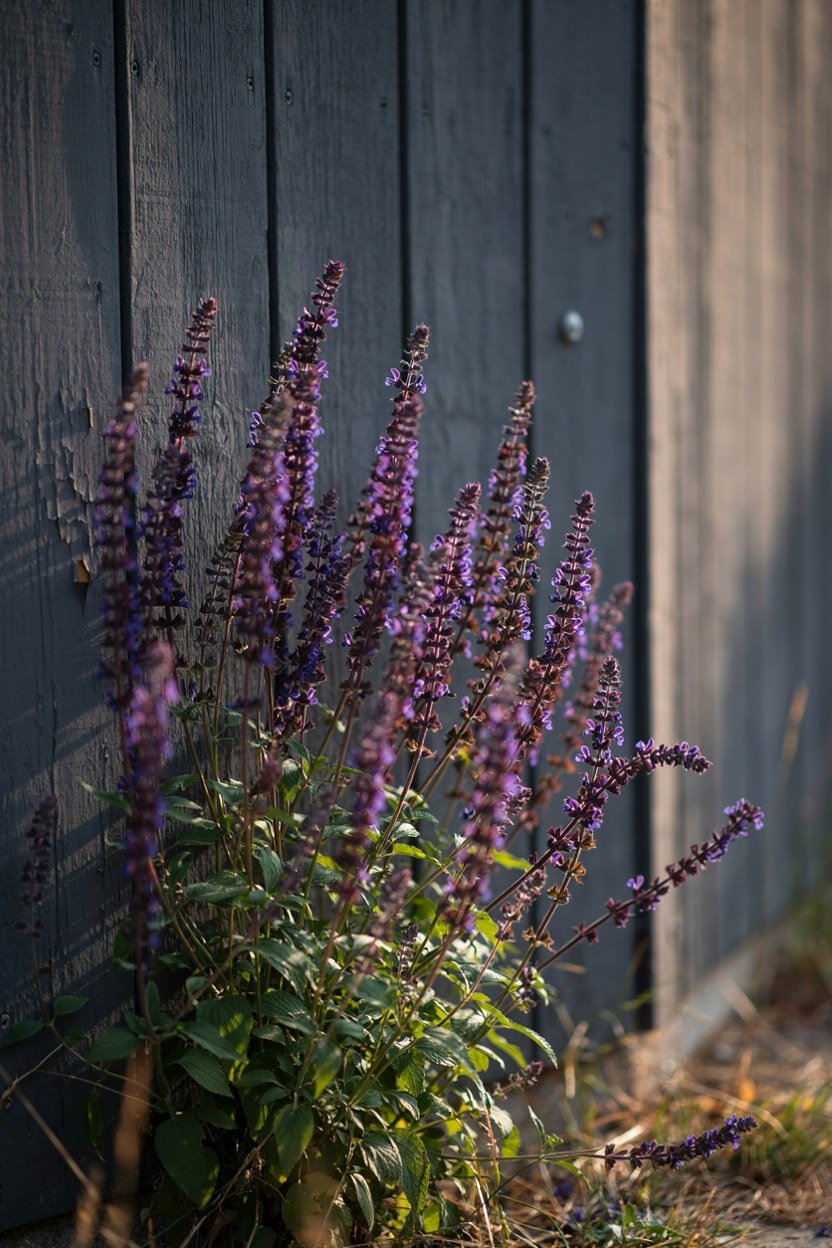
Spires are what stop a border reading as a blanket. Salvia, lupin, digitalis, veronicastrum and lythrum all send flowers up in vertical lines, and setting them against a flat daisy shape makes both look sharper. Without them, a border of achillea and rudbeckia flattens into a single horizontal band.
Place spires so they break the skyline of whatever sits behind. A salvia in front of a low mound of grass has nothing to work against, whereas the same salvia read against dark foliage or a fence panel stands out immediately. Contrast is about background as much as neighbour.
Repeat the spire shape at least three times along the border, even if you change the plant each time. The shape is the thread, not the species, and a lupin in June followed by a lythrum in August keeps the vertical line running. Three is the point where the eye starts reading a pattern.
Staking Spires Without It Looking Obvious
Get the stakes in during April, before the plant needs them. Pushing a cane through a collapsed lupin in July never looks anything other than emergency surgery. Hazel pea sticks pushed in early and bent over disappear entirely once growth covers them.
For heavier plants, a ring of three canes with soft twine run between them holds the clump without strangling individual stems. Avoid single tight ties, which cut into the stem and snap it in the first real wind. Check the twine again in June as the growth thickens.
8. Choose Two Or Three Reliable Repeat Bloomers
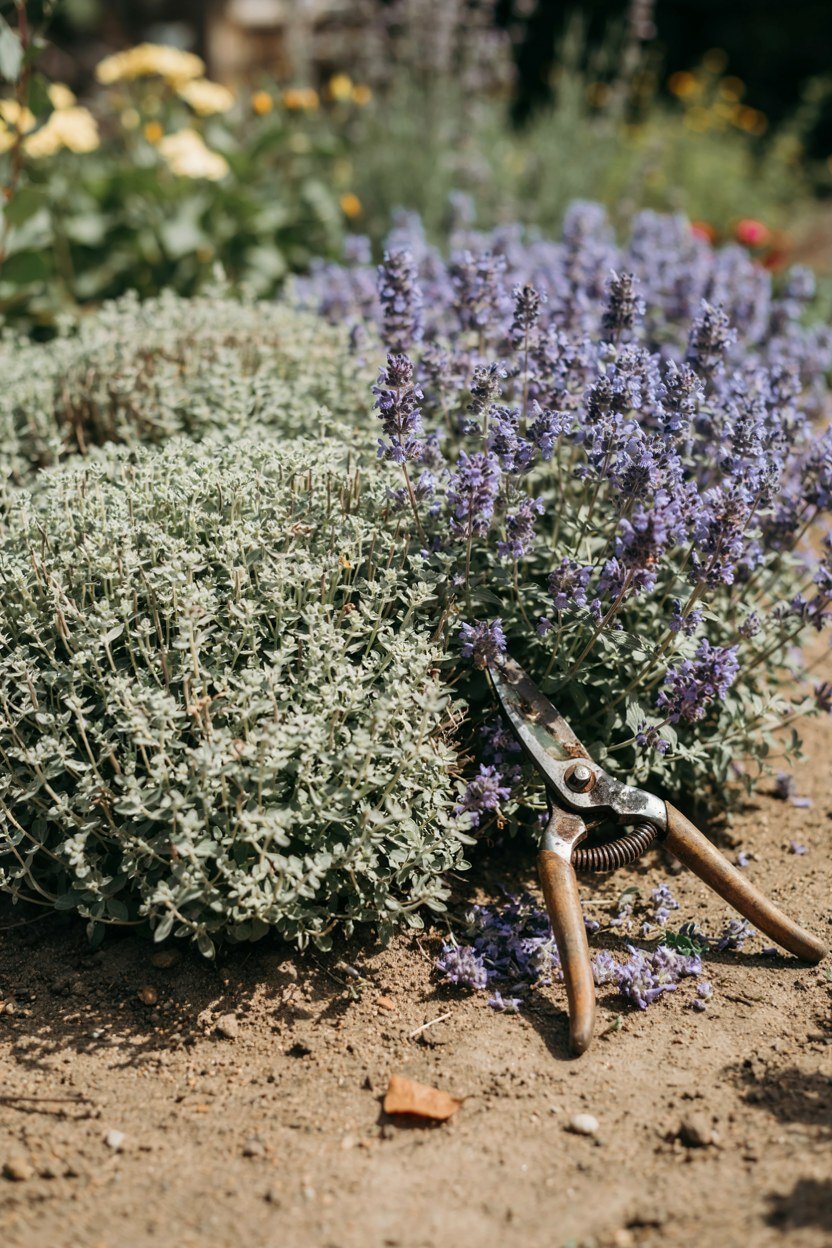
Every border needs plants that keep going after their first flush. Nepeta, achillea, salvia and the shorter penstemons all reflower if you cut them back, and they carry the border through the July gap when the early perennials have finished. Without them, the display goes quiet exactly when you are outside most.
Plan the cut back rather than reacting to it. Nepeta sheared in early July is back in flower by early August, and doing half the clump one week and half the next avoids a bald patch. It takes ten minutes and doubles the season.
Do not rely on repeat bloomers alone. They tend to be mid height and mounded, so a border made only of them lacks both the tall back and the vertical contrast. Use them as the reliable middle and build structure around them.
The Chelsea Chop, And Where It Helps
Cutting sedum, phlox and helenium back by a third in late May delays flowering by two or three weeks and produces a shorter, sturdier plant. Do it to half your clump and you get a longer season from the same plants, because the cut half flowers after the uncut half finishes. Late May is the window for it, not late June.
It does not work on everything. Plants that flower on old wood, or that only produce one flush like lupins, respond by simply not flowering. Try it on one clump before doing it to a whole drift.
9. Layer Bulbs Under The Perennials For An Early Start
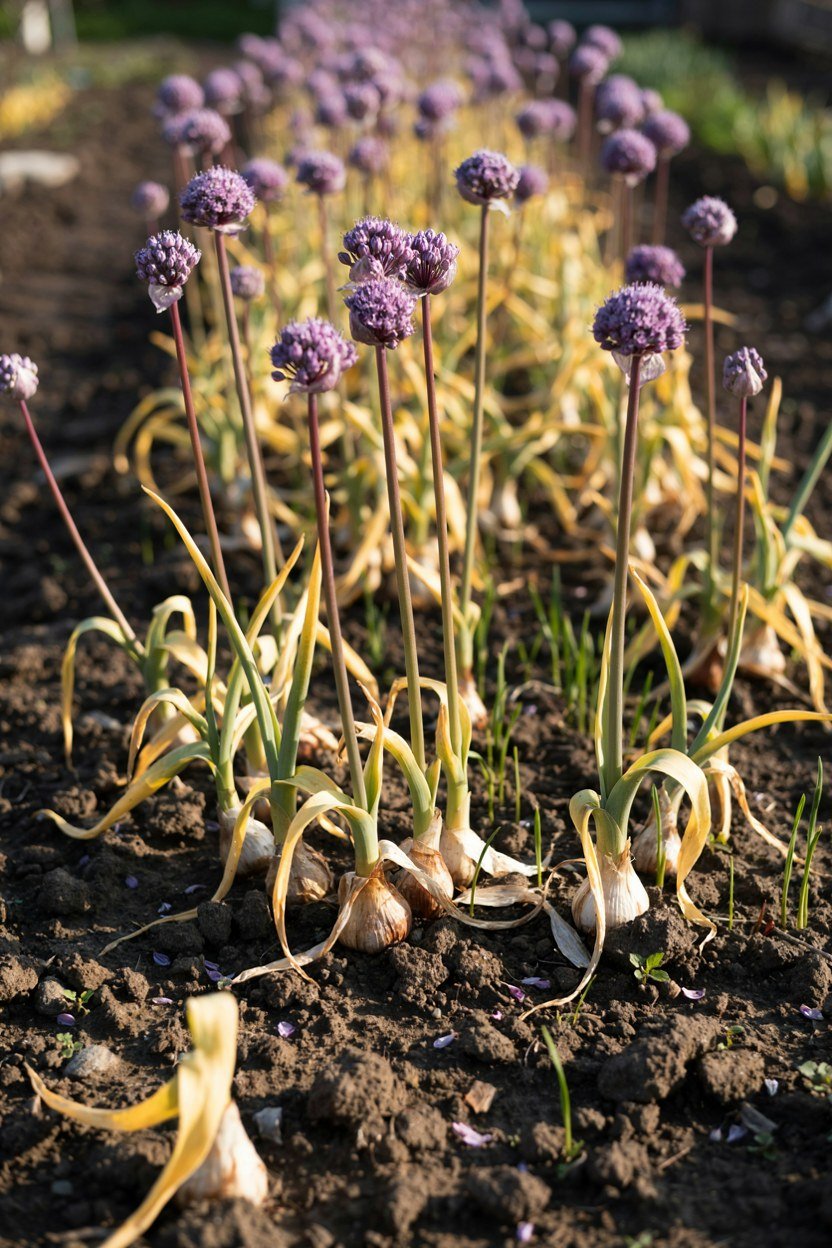
Perennial borders are empty in March, and bulbs are the only sensible answer. Plant alliums, camassia and narcissus between the perennial clumps in autumn, and the border carries colour from early April rather than waking up in June. The bulbs are underground during the busy season so they cost you no space at all.
Choose bulbs whose foliage disappears politely. Allium leaves go yellow and untidy just as the flowers open, so plant them behind something that covers the base, such as a geranium or a low grass. Camassia dies back cleanly and suits the front better.
Plant more than feels sensible. Twenty alliums in a six metre border reads as a scattering, whereas sixty reads as a display, and they are cheapest bought in bulk in September. They come back for years, so the cost spreads.
The Bulbs Worth Repeating Every Year
Tulips are the exception to the perennial rule, because most modern varieties fade after their second season. Treat them as an annual expense if you want the colour, or stick to species tulips and darwin hybrids, which come back more reliably. Plant those in November, which lowers the risk of tulip fire.
Alliums, camassia and narcissus genuinely naturalise and increase, so buy those once and let them multiply. After four years my allium drift had roughly doubled without me doing anything at all. Lift and space them out once the clumps get congested.
10. Keep A Silver Or Grey Plant To Break Up Strong Colour
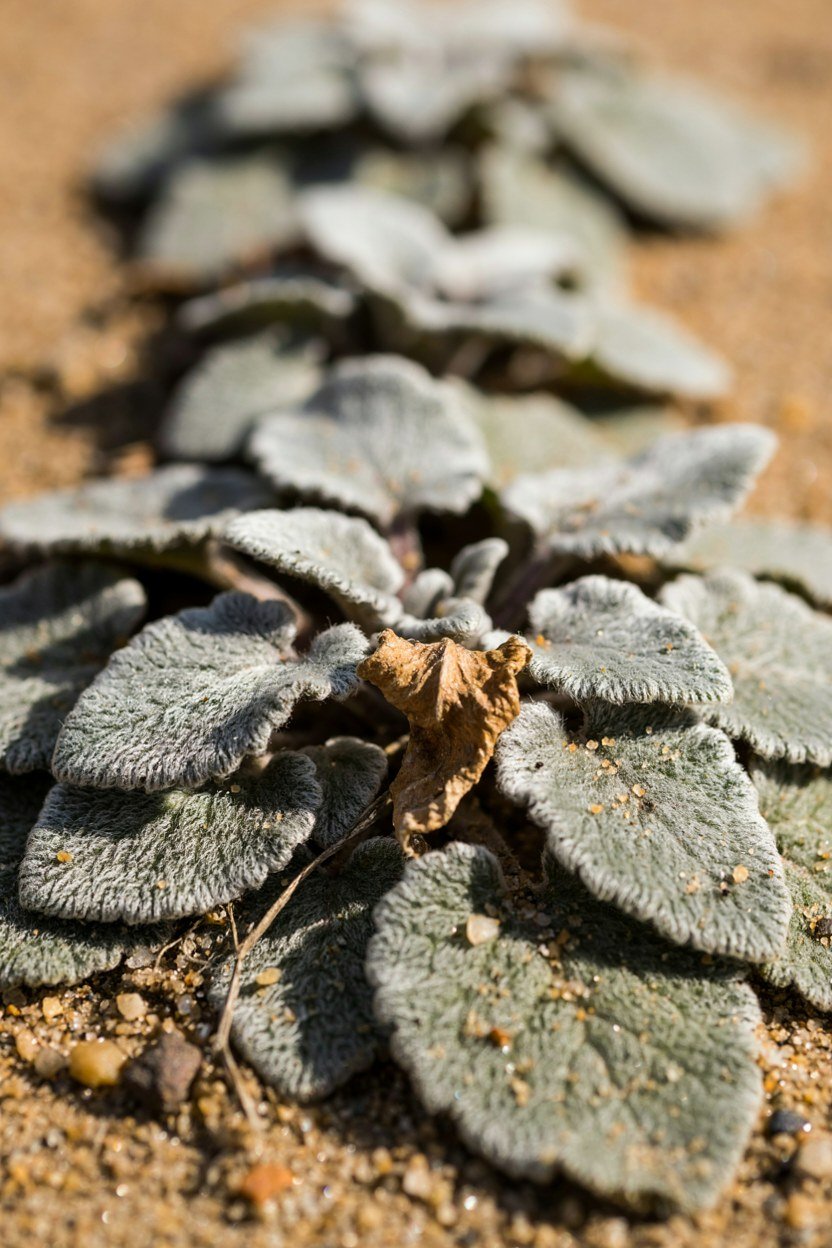
Strong colour needs somewhere for the eye to rest. Silver foliage from artemisia, stachys or a low santolina does that job without adding another flower to compete with. It also makes the colours next to it look stronger, which is useful when the border is at full volume in August.
Use silver in small repeated patches rather than one big block. A block of grey in the middle of a hot border creates a hole, whereas five small repeats read as a thread running through. It works as punctuation rather than as a paragraph.
Silver leaved plants almost all want sharp drainage and full sun. On heavy clay they rot over winter, so either improve the drainage with grit or use a pale green instead, which does a similar job at lower risk. Raised or sloping ground suits them best.
Pale Flowers As An Alternative
If your soil is too wet for silver foliage, white or cream flowers do the same work. White astrantia, cream achillea and the paler scabious all separate hot colours and lift the border at dusk, when white is the last thing still visible. White also reads better than grey in flat light.
Keep the white to one or two species. Scattered white in five different plants stops reading as a device and starts reading as indecision. One repeated white reads as a decision.
11. Use Achillea And Rudbeckia For The Hot Section
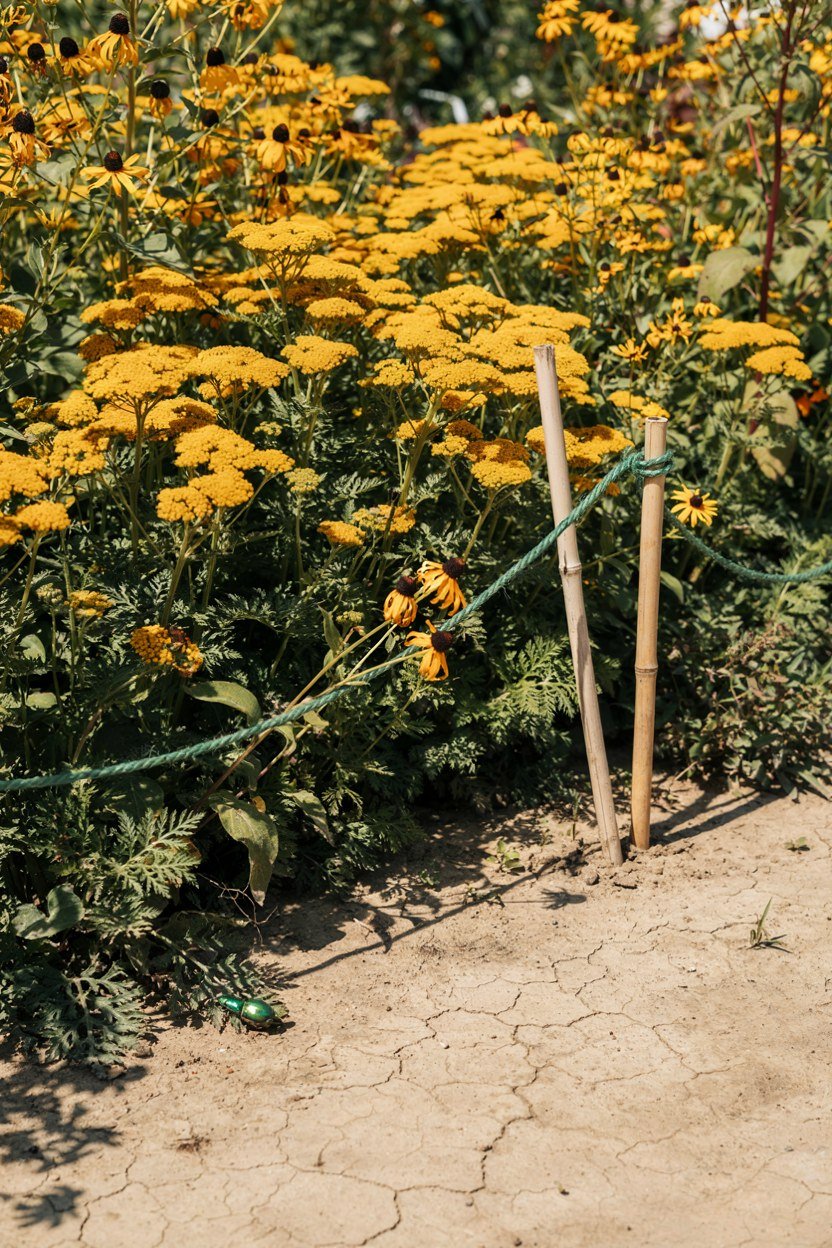
If you want a genuinely bright border, the hot section is where achillea and rudbeckia earn their place. Achillea gives you flat plates of yellow, terracotta and rust that catch the light from above, and rudbeckia brings a saturated gold that holds from July to October. Together they carry the loudest part of the year.
Give them full sun and poor soil. Both flop badly in rich ground, which is the opposite of what most people assume, and a border enriched with too much compost produces tall soft growth that goes over in the first storm. Grit is often more useful here than compost.
Set them against dark foliage to stop the brightness turning brash. A dark leaved sambucus, a bronze carex or simply a dark fence behind will absorb some of the glare and make the colour read as rich rather than fluorescent. A dark background costs nothing and works straight away.
Keeping Achillea Upright Without Stakes
Achillea flops because it grows too fast in fertile soil. Cut it back by a third in late May, plant it in the leanest part of the border, and stop feeding it entirely. Three seasons of neglect produce a much sturdier plant than three seasons of care.
Divide it every second or third spring. The centre of an old clump dies out and the outer ring falls outwards, so lifting and replanting the healthy edges restores both vigour and posture. Replant the divisions at the depth they were already growing.
12. Give The Front Row Low Mounding Plants
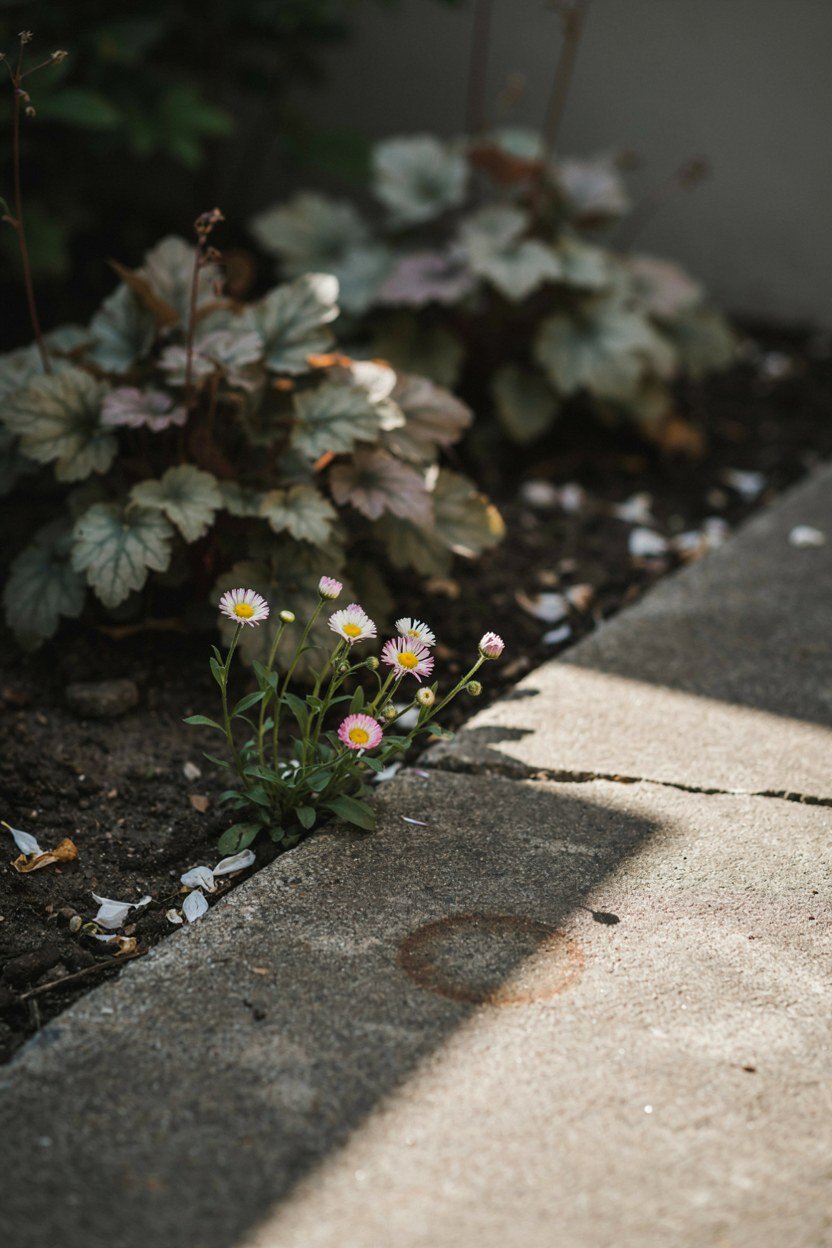
The front row is what people actually look at, and it needs to be dense enough to hide the soil. Low mounding plants like heuchera, dianthus, erigeron and the shorter geraniums knit together within a season and give the border a finished lower edge. Bare soil at the front makes everything above it look temporary.
Plant the front row closer than the label says. Spacing that leaves gaps in year one leaves gaps in year three, and a front row is one place where slight overcrowding works in your favour. I plant at roughly two thirds of the recommended spacing here.
Let some of it spill onto the path or lawn edge. Erigeron seeding itself into a paving joint is the difference between a border that looks planted and one that looks settled. It takes about two years to happen on its own.
Front Row Plants That Stay Neat All Season
Heuchera, bergenia and dwarf hebe hold their shape from March to November and need almost nothing. They are the plants to use where the border meets a path and any flopping would be a nuisance. All three take a clip in spring and recover quickly.
Avoid alchemilla in that position unless you enjoy weeding out seedlings. It is a lovely plant in the wrong place, and the wrong place is anywhere near gravel. Deadhead it in July if you want to keep it.
13. Plan A Late Season Section For September Colour
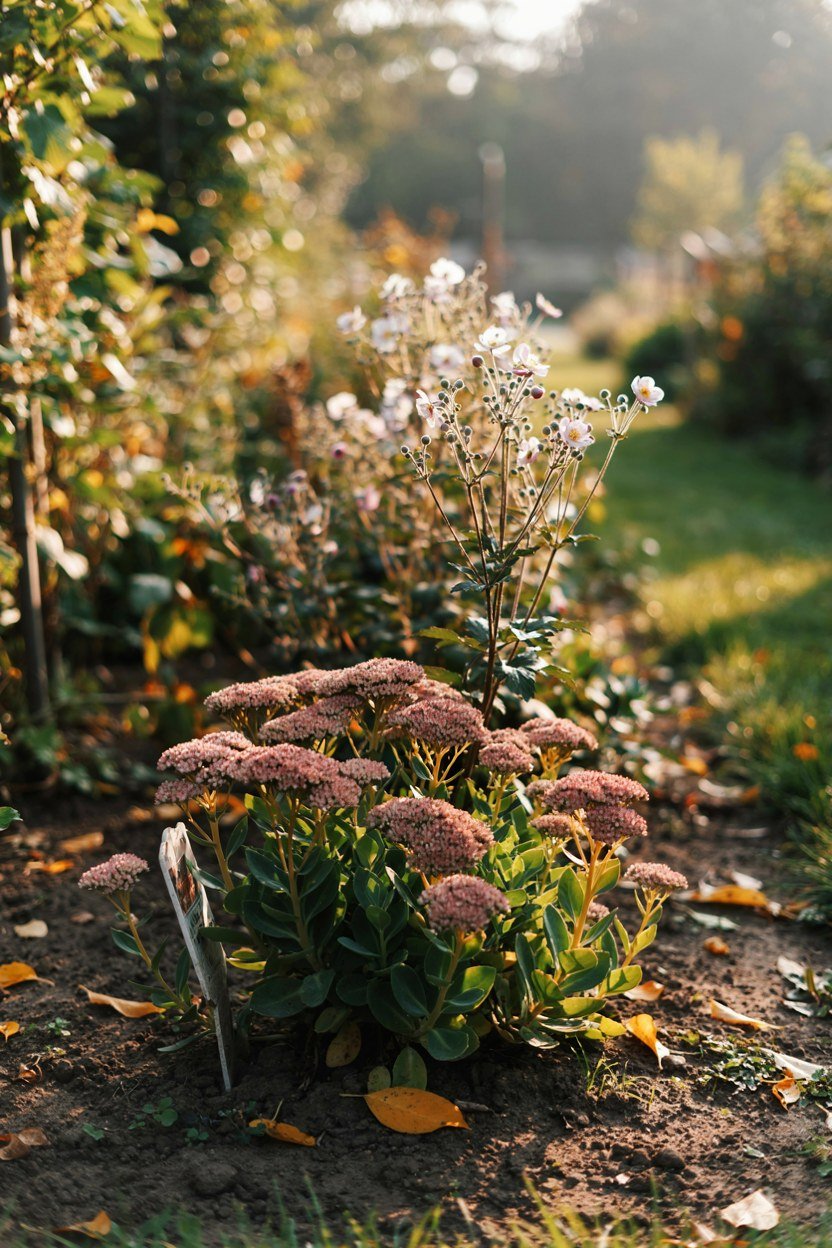
Most borders peak in July and then slump. Building a deliberate late section using aster, sedum, japanese anemone and persicaria keeps the display running to the first frost, and September light is kinder than July light anyway. This is the change that most extends a border’s useful life.
Put the late section where you see it from the house in autumn, not at the far end. In September you look at the garden through a window far more than you walk in it, so the placement matters more than it does in midsummer. Autumn planting is really window planting.
Use plants that also look good in bud. Sedum spends six weeks as a grey green plate before it colours, and that stage carries the border through August without needing anything else to happen. Buds carry a border for longer than flowers do.
Where Late Season Planting Goes Wrong
The commonest mistake is putting all the late plants together in one block, which leaves that block dull for four months. Thread them between the summer plants instead, so the border changes character rather than moving its centre of gravity. Spread them through at least three separate groups.
The second mistake is cutting everything back in August out of tidiness. Anything cut then will not reflower before the frosts, and you have traded September colour for a neat fortnight. Leave the tidying until the frosts have done their work.
14. Leave The Seed Heads Standing Through Winter

Cutting a border to the ground in October gives you six months of bare soil. Leaving the seed heads of achillea, sedum, echinacea and the grasses standing gives you structure, frost and birds instead, and none of it costs anything. The border stays worth looking at in January.
Cut back in late February or early March instead, just as the new growth appears at the base. Everything comes down in one session, the debris composts faster after a winter of weathering, and you have not spent the winter looking at soil. Watch for the new shoots and cut just above them.
Leave the hollow stems in a corner rather than shredding them all. Solitary bees overwinter in them, and it costs nothing to stack a bundle behind the shed. Bundle them loosely and keep them dry.
What To Cut Back Early Anyway
Anything that has gone mushy rather than dry should come out in autumn, because it will rot into the crown. Hostas, day lilies and the softer geraniums all fall into this group and are better cleared before the wet sets in. Clear it before the first hard frost if you can.
Also cut anything that seeds itself too freely if you do not want fifty seedlings. Verbena bonariensis and alchemilla are both worth deadheading before the seed drops, unless you actively want the spread. Ten minutes in August saves an hour in May.
15. Split And Move Plants In The Third Year
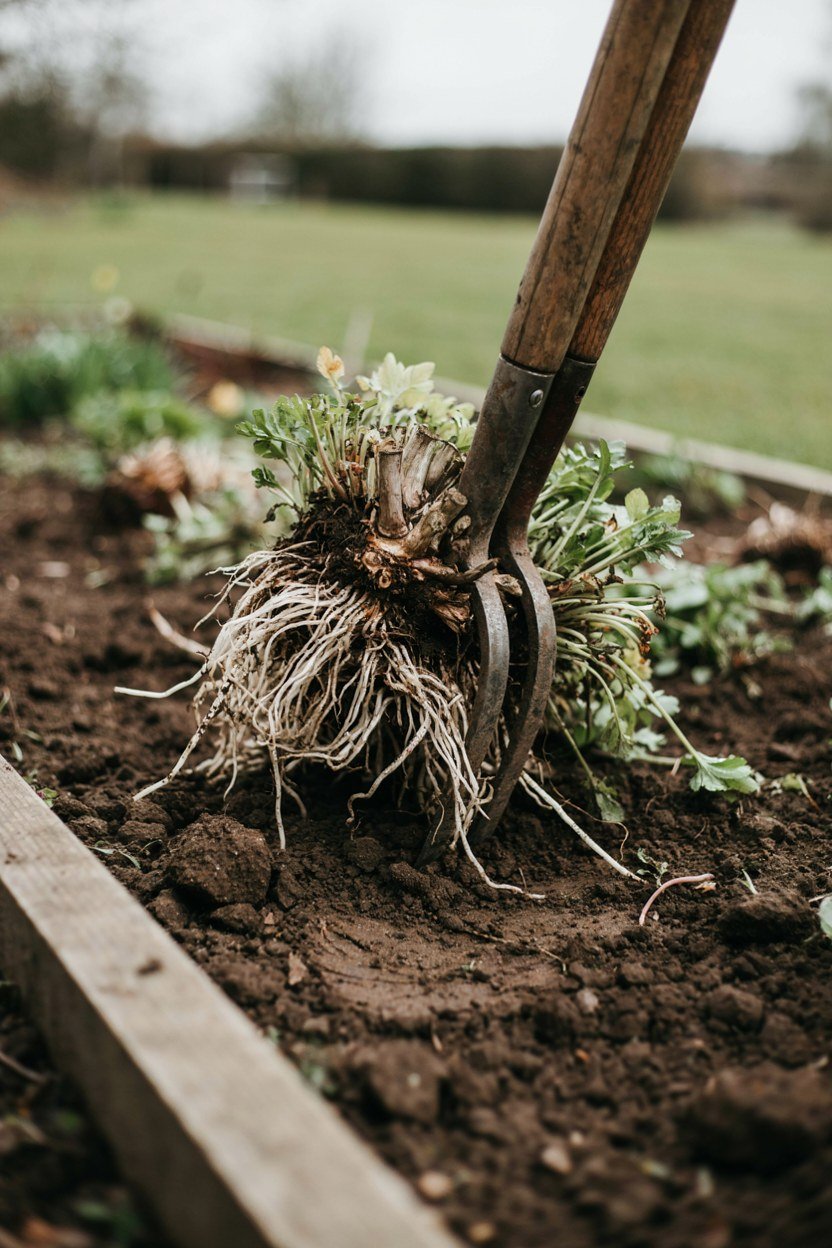
A perennial border is not finished when it is planted, it is finished in about year three. That is when you can see which plants have thrived, which have been swamped, and which are simply in the wrong place. Lifting and dividing then is normal practice, not an admission of failure.
Divide in early spring for most perennials, or in autumn for anything that flowers in spring. Cut the clump into pieces the size of a fist with a spade or two forks back to back, discard the woody centre, and replant the outer growth. You will finish with three times as many plants as you started with.
Use the spare divisions to strengthen your repeats rather than adding new species. This is how a border gets richer without getting more expensive, and it is the point at which the whole thing starts to look like it was always meant to be there. Give the extras away rather than squeezing them in.
The Plants That Resent Being Moved
Peonies, oriental poppies and baptisia all dislike disturbance and can sulk for two seasons after a move. Put them where you want them permanently and work around them. Plant them shallow and then leave them alone.
Everything else is more forgiving than people assume. I have moved geraniums in full flower in June, watered them heavily for a fortnight, and lost none of them. Cut the top growth back by half first.
What A Perennial Border Actually Costs To Plant
A border is cheaper than most garden projects and slower to look right. Nine centimetre pots cost a fraction of two litre pots and catch up within two seasons, so buying small is the biggest saving available. Bare root and mail order plug plants are cheaper still if you can wait for the planting window.
Ground preparation is where the money is genuinely worth spending. Removing perennial weeds, adding organic matter and getting the edge cut properly all happen once, and doing them badly costs you years of fighting bindweed through a full border. Bindweed is the one weed worth a whole season to remove.
The table below is a rough guide for a border one and a half metres deep by six metres long, planted to look full in its second summer. Prices vary by region and season, so treat the ratios as more useful than the totals. Scale the numbers up or down by area.
| Item | Quantity | Relative cost |
|---|---|---|
| Perennials in 9 cm pots | 45 to 50 | The bulk of the budget |
| Bulbs for the underlayer | 60 to 80 | Roughly a fifth of the plants |
| Compost and grit | 4 to 6 bags | Low, but do not skip it |
| Edging, steel or brick | 6 m | Varies most of any line |
| Mulch, bark or compost | 2 to 3 bags a year | Small, annual |
The Mistakes That Flatten A Bright Border
Buying one of everything is the mistake almost everyone makes first. It feels generous in the nursery and looks scattered in the ground, because a single plant of forty kinds cannot form a rhythm. Buy five of nine things instead of one of forty five.
Overfeeding is the second. Rich soil produces soft tall growth that flops, and most of the brightest perennials evolved on poor ground. Compost as a mulch is fine, but a general fertiliser through a border usually creates work rather than flowers.
Ignoring the fence or wall behind is the third. A border is seen against its background, and a bright orange scheme in front of an orange brown fence panel loses half its impact. Painting a fence dark costs very little and makes every colour in front of it stronger.
Planting Too Close To A Hedge
The strip within about eighty centimetres of a hedge is dry, shaded and full of roots, and almost nothing thrives there. Gardeners plant it anyway because it looks like usable space on a plan. Hedge roots reach further out than the branches do.
Leave it as a maintenance gap, or plant only tough dry shade plants there and accept a shorter season. The rest of the border will do better for the water it is not losing. A narrow path there also makes the hedge easier to cut.
Conclusion: Three Decisions That Carry The Whole Border
If you take only three things from all of this, take repetition, depth and drift size. A colour repeated four or five times down the length turns separate plants into a scheme. A border at least one and a half metres deep can hold the three layers that give it a slope, and drifts of three, five and seven read as planting rather than as a collection.
Everything else is refinement. The bulbs extend the season at the front end, the seed heads extend it at the back, and the Chelsea chop buys you a few extra weeks in the middle. None of them will rescue a border planted one of everything in a one metre strip.
Give it three years before you judge it. Year one looks sparse, year two looks promising and year three is when the drifts meet and the whole thing finally reads as one piece. The dividing you do that year is what carries it for the next decade.
Frequently Asked Questions About Perennial Borders
How many plants do I need for a perennial border?
Plan on roughly nine to eleven small plants per square metre at the front, five to seven in the middle and three at the back. A border six metres long and one and a half deep typically takes forty five to fifty plants.
When is the best time to plant a perennial border?
Autumn is best in most areas, because the soil is warm and the roots establish before winter. Spring works too, but you will water far more through the first summer.
Which perennials flower the longest?
Hardy geranium Rozanne, nepeta, achillea, salvia and erigeron all flower for months rather than weeks. Cutting them back after the first flush is what keeps them going.
Do I need to stake perennial borders?
Only the tall ones, and only if your soil is rich or your garden is windy. Get supports in during April, because staking a collapsed plant in July never looks tidy.
Should I cut the border back in autumn or spring?
Late February or early March suits most borders. Leaving seed heads standing gives you winter structure and food for birds, and everything comes down in one session.
How often should perennials be divided?
Most benefit from division every three to four years, in early spring. Discard the woody centre of the clump and replant the vigorous outer growth.