

A hidden bookcase door works when three things are right: the hardware carries the weight, the gaps around it match the shadow lines of the room, and the shelves look like the rest of your library rather than a prop. Get those right and people walk past it for months. Get them wrong and you have a heavy bookcase that sags and announces itself from across the room.
Mine hides a small storeroom off a study, and the first version was a disaster. I built the carcass in eighteen millimetre plywood, hung it on ordinary butt hinges, and it dropped four millimetres within a fortnight. The second version used a proper pivot and has not moved since.
Below is the whole build in fifteen steps, from checking the wall through to the adjustments you make after a month of use. Several of the steps are decisions rather than work, and getting those in the right order is what keeps the project from becoming expensive. Read the whole list before you cut anything.
What Makes A Bookcase Door Actually Disappear
The gaps do most of the work. A door that reads as a door has an even shadow line all the way round, exactly like every other door in the house, and that is precisely what gives it away. A hidden door needs its gaps broken up, interrupted by trim, or set so tight that the eye reads them as the joint between two pieces of joinery.
The second factor is context. A single bookcase standing alone on a blank wall is obviously a door, whereas the same bookcase in a run of three identical units is invisible. Building the neighbouring units, even shallow dummy ones, is often the difference between a trick that works and one that does not.
The third is behaviour. Real bookcases do not swing, wobble or sag, so anything that moves when you touch it announces itself immediately. The whole engineering side of this project exists to make the door behave like furniture rather than like a door.
| Factor | Reads as hidden | Gives it away |
|---|---|---|
| Gaps | Broken by trim, tight and even | Wide, continuous shadow line |
| Context | Part of a run of shelving | Alone on a blank wall |
| Movement | Solid, no flex or sag | Wobbles or drops at the free edge |
| Contents | Real books, filled normally | Fake spines, empty shelves |
| Hardware | Hidden pivot or concealed hinge | Visible hinges and a handle |
What To Sort Out Before You Cut Anything
Check the structure first. If the opening is in a load bearing wall, the lintel above it does a job you cannot ignore, and widening or altering that opening is not a weekend project. Get advice from a structural engineer or a builder before you touch a load bearing opening.
Then think about escape and safety. A hidden door must never be the only way out of a room that people sleep in, and it should not obstruct a fire escape route or block access to a meter, a stopcock or a consumer unit. Building control rules vary by country and by property, so check what applies to yours before you build.
Last, work out the weight. A filled bookcase door is heavy, often heavier than people expect once the books go in, and the hardware has to be rated for it with margin to spare. Weigh a metre of your own filled shelf on bathroom scales and multiply up, because guessing this is what wrecks the first attempt.
1. Decide Whether The Door Swings In Or Out
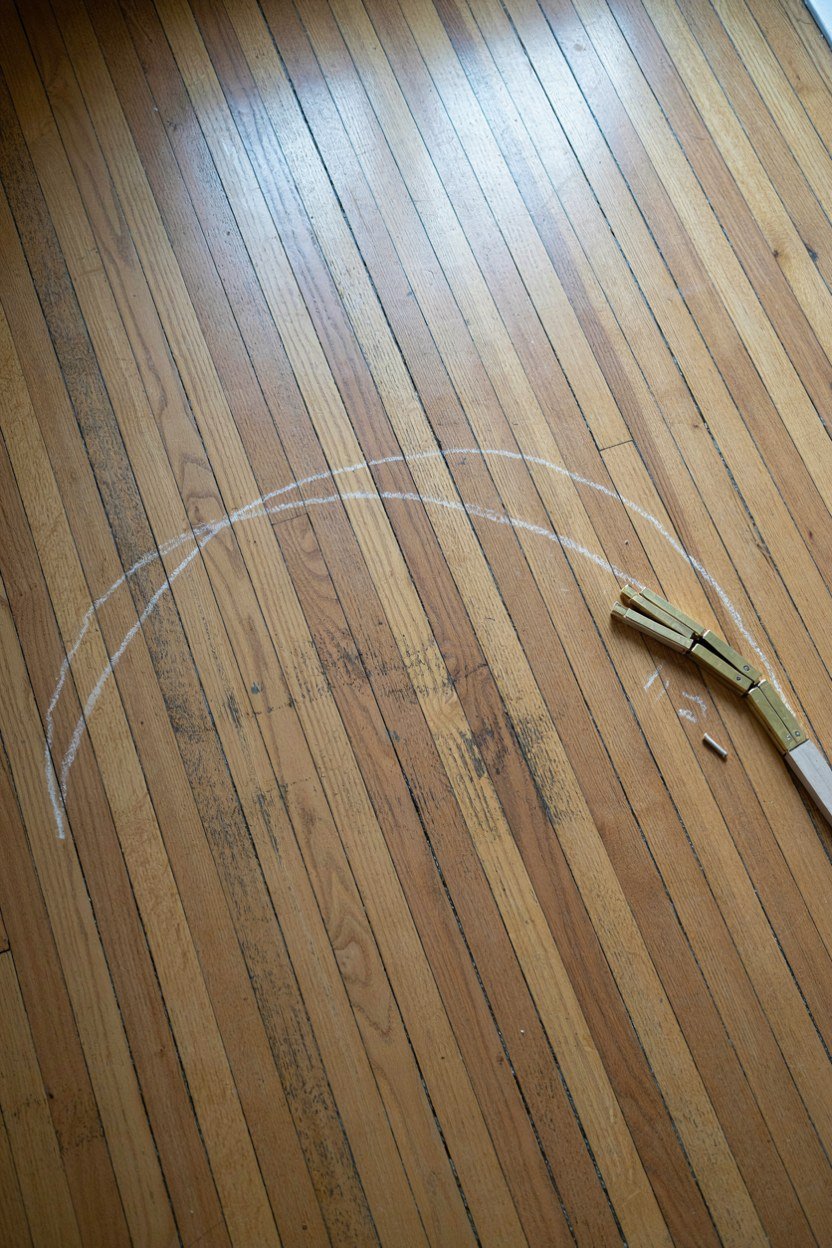
The swing direction affects everything that follows, so decide it first. A door that swings into the hidden space keeps the library face flush and simple, but it needs clear floor behind it and it limits how you use that space. A door that swings out into the room needs a clear arc in front and shows the shelf edges as it opens.
Most bookcase doors swing into the concealed space, because the room side is the side that has to look perfect. That also means the depth of the bookcase eats into the storeroom rather than the library, which is usually the better trade. Measure the space behind before you commit.
Consider what is stored behind it. A door swinging inward into a room full of shelving or boxes will hit something within a month, no matter how careful you are today. Leave the swing arc permanently clear or swing it the other way.
When Swinging Outward Is The Right Call
Swing outward when the hidden space is very small, such as a cupboard or a stair void, since there simply is no room for the door to travel. It is also the answer when the floor behind steps down or is uneven. Both situations make an inward swing impossible rather than merely awkward.
The cost is that the exposed shelf edges become visible in the open position, so they need finishing properly. Veneer or a hardwood lipping on the edges solves it. That detail is easy to forget until the day you first open it.
2. Check What Is Inside The Wall First
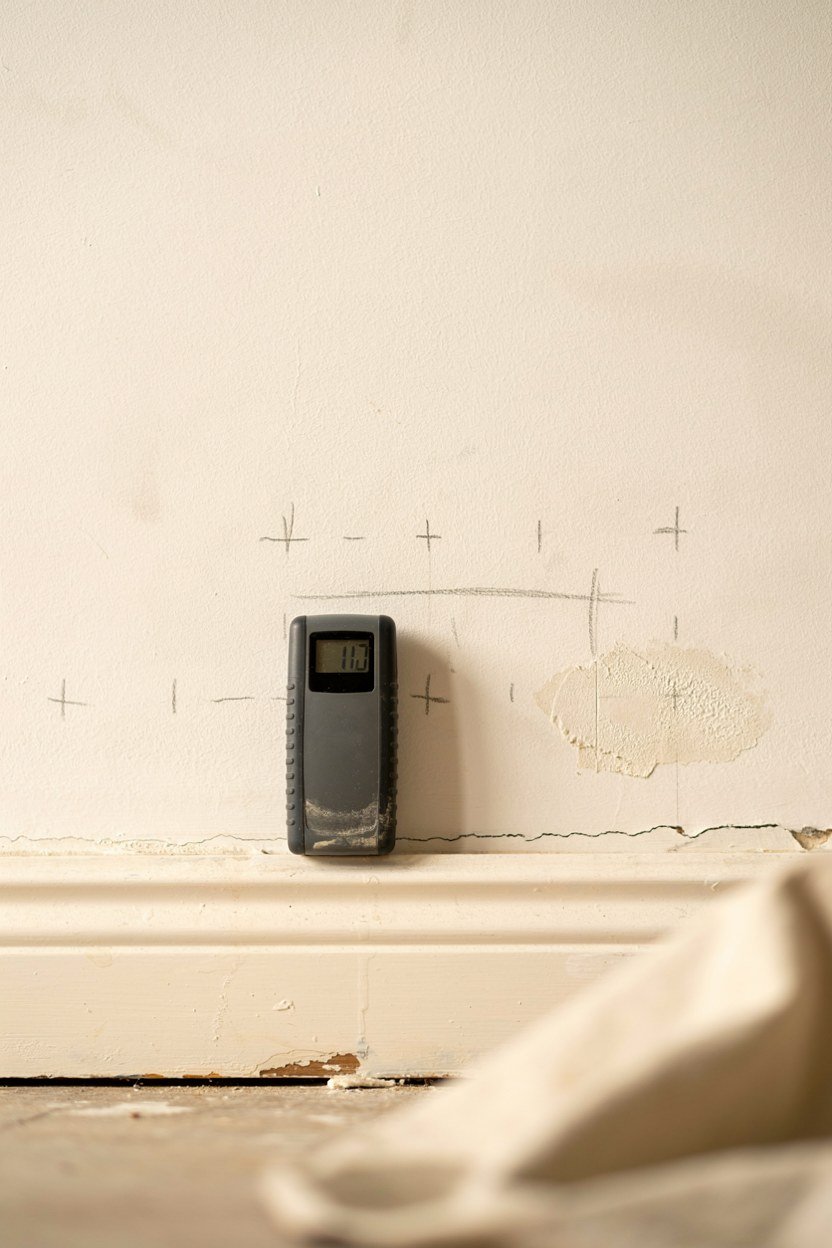
Before cutting an opening or fixing a frame, find out what is in the wall. Cables, pipes and studs all live in places that are inconvenient rather than logical, and a detector costs far less than a repair. Scan the full area, not just where you intend to cut.
Switch off the circuit before cutting into any wall that might carry cables. Detectors miss things, particularly older wiring and anything running through metal conduit. Working on a dead circuit turns a possible disaster into a minor inconvenience.
If you are enlarging an existing opening rather than using one as it stands, treat that as a separate job with its own planning. Removing part of a wall changes how loads travel, even in a stud wall. This is the point at which most people should bring in a builder.
Working With An Existing Doorway
An existing doorway is by far the easiest starting point, because the structure is already resolved and the lintel is already there. Strip off the architrave and the door stop, keep the frame if it is sound, and you have a square opening ready to work with. That saves both the hardest work and the largest risk.
Check the frame for square and for twist before reusing it. Old frames often sit out of true by several millimetres, which will fight you at the gap setting stage. Packing and planing the frame now is far easier than correcting it later.
3. Choose Between A Pivot And A Concealed Hinge System

The hardware is the decision that determines whether this works. A bottom mounted pivot carries the weight down into the floor and is the most reliable option for a heavy filled bookcase. Concealed hinge systems designed for this job also work well, and both are sold as kits rated by weight.
Buy a system rated well above your calculated weight. Hardware running at its limit will sag, bind and eventually fail, and the margin costs very little at the point of purchase. This is the one line in the budget where saving money is a false economy.
Avoid ordinary butt hinges entirely. They are designed for a hollow door of a few kilograms, not for a loaded bookcase, and they will pull out of the frame or drop the door. That is the mistake I made on my first attempt.
How Pivot And Hinge Systems Compare In Use
A pivot lets the door swing on an axis set slightly in from the edge, which is what allows the neat gap on the hinge side and the smooth motion. It also transfers weight to the floor, which suits heavy doors. The trade off is that it needs a solid floor fixing and more careful setting out.
A concealed hinge system fixes to the frame and needs no floor work, which suits a suspended timber floor or a finished stone surface. It is usually quicker to install and slightly more forgiving. Weight capacity is generally lower, so it suits a smaller or more lightly loaded bookcase.
4. Measure The Opening And Set The Reveal
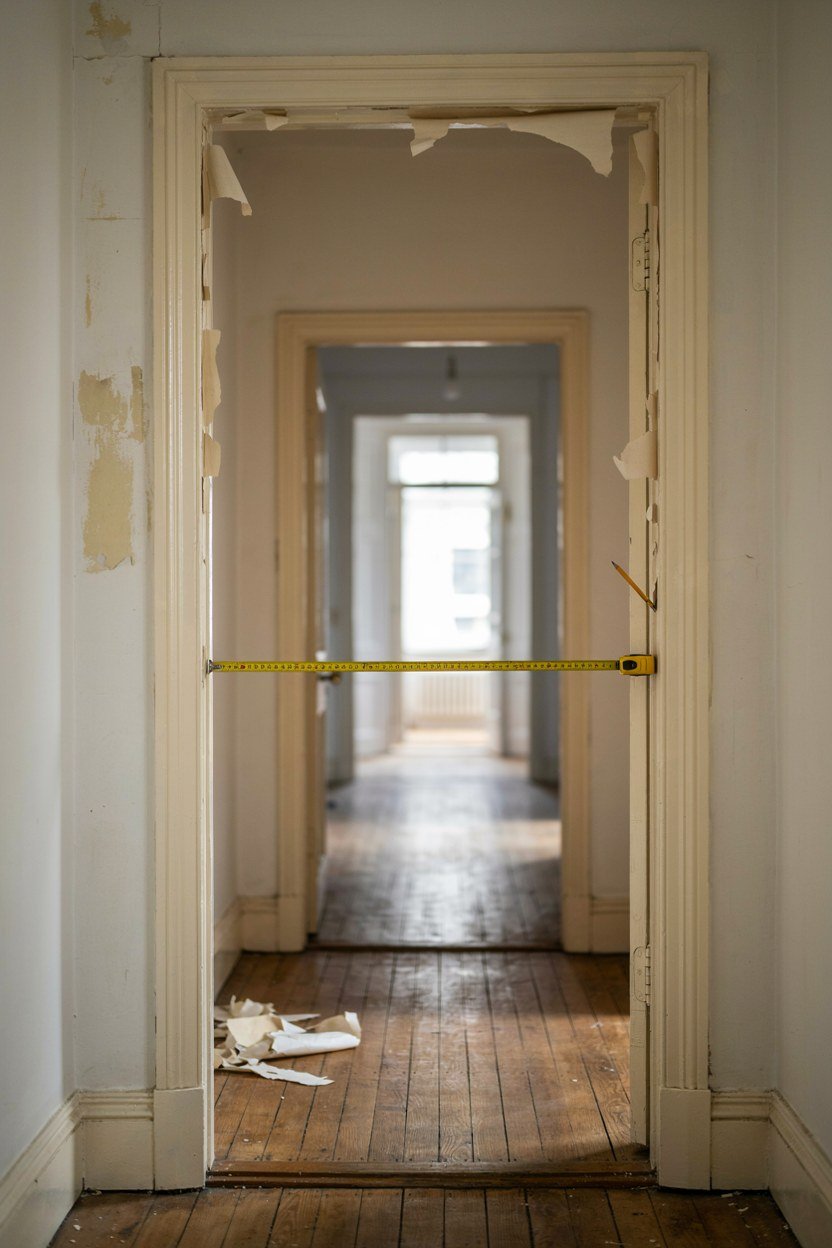
Measure the opening in at least three places for both width and height, since almost no opening is truly square. Use the smallest measurement as your working dimension and plan to pack out the differences. Building to the largest measurement guarantees a door that will not fit.
Decide your reveal, meaning the gap between the door and the frame, at this stage rather than later. A tighter gap looks better and hides the door more effectively, but it leaves less room for seasonal movement in the timber. Somewhere in the region of three to five millimetres is a common working range.
Remember that a pivot door needs clearance to swing at the hinge edge. The corner of the door travels through an arc, so a door built tight to the frame at that edge will bind as it opens. The hardware instructions will specify what that system needs.
Allowing For Timber Movement
Timber and sheet materials move with humidity, and a door that fits perfectly in a dry February can bind in a damp August. Allow a little more clearance at the top than at the sides, since height is where most movement shows. This is why very tight gaps are risky in an unheated room.
Let your materials sit in the room for a week before cutting. Acclimatising the sheets and timber to the room’s own humidity removes most of the later movement. It costs nothing but patience.
5. Build The Frame Into The Opening
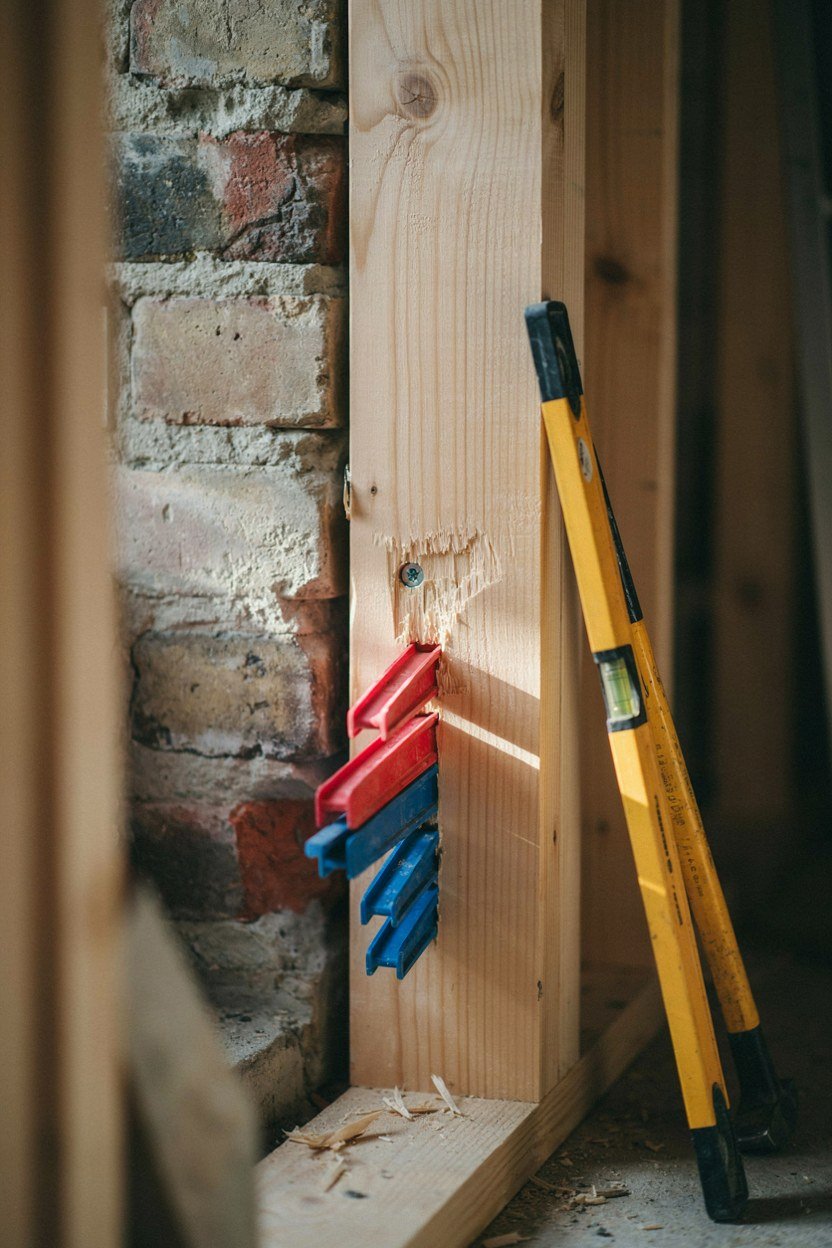
The frame is what everything else references, so it has to be square, plumb and solidly fixed. Use a decent softwood or a stable engineered timber, fix it into the structure rather than into plaster alone, and check it with a long level as you go. Any error here doubles by the time it reaches the door.
Pack behind the frame at every fixing point so it cannot flex when the fixings tighten. A frame that pulls in as you screw it will end up bowed, and a bowed frame makes an even gap impossible. Small packers cost nothing and save hours.
Check the frame diagonals before the fixings go fully home. Two equal diagonals mean a square frame, and that single measurement catches almost every setting out error. Adjust while you still can.
Fixing Into Different Wall Types
Into masonry, use proper frame fixings at reasonable centres rather than plugs and screws intended for lighter loads. Into a timber stud wall, fix into the studs themselves and add noggins where the studs fall in the wrong places. A hidden door puts real load on these fixings every time it swings.
Avoid fixing into plasterboard alone under any circumstances. It will hold for a while and then let go, usually taking a chunk of the wall with it. If there is no timber where you need it, add some.
6. Build The Bookcase Carcass Light
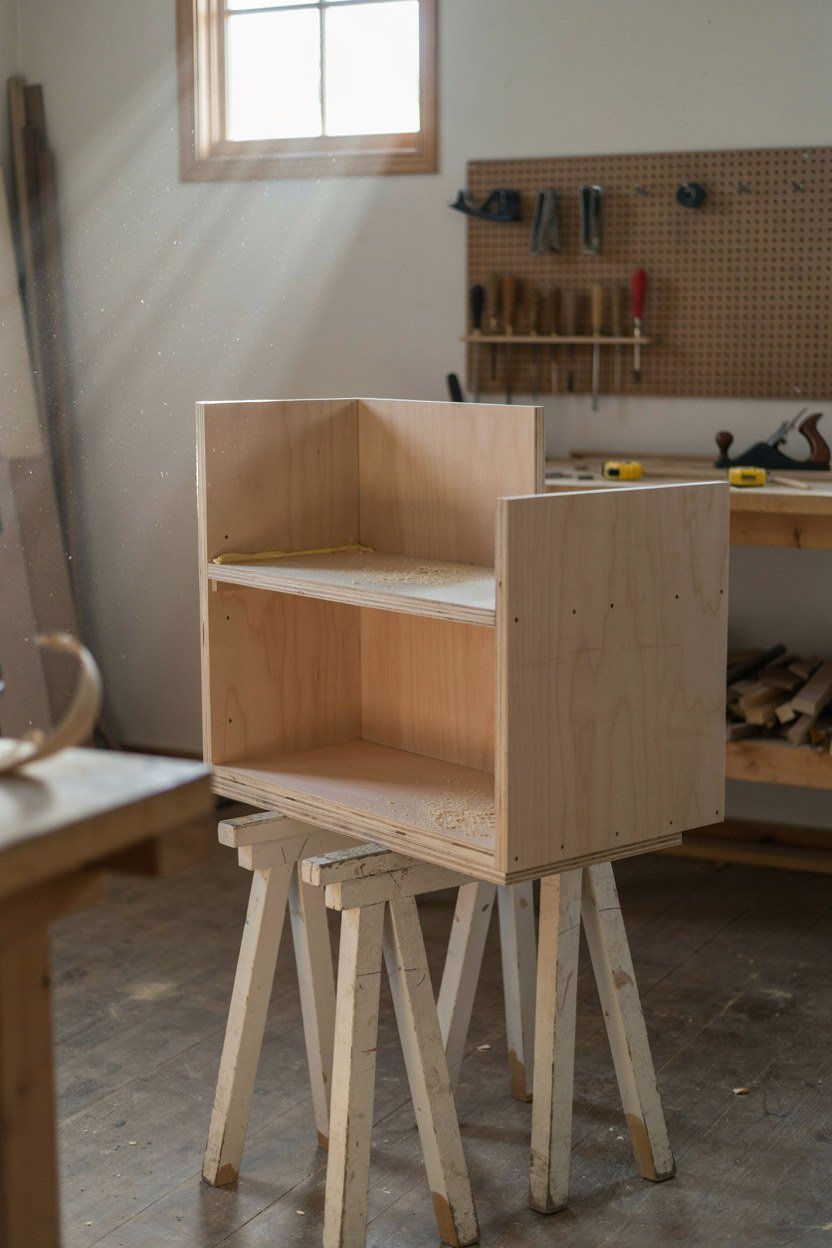
Weight is the enemy of this project, so build the carcass as light as the job allows. Twelve or fifteen millimetre plywood with a stiff back panel is usually stronger and lighter than eighteen millimetre boards, because the back is what stops the box racking. Chipboard and MDF are heavy and are worth avoiding here.
Use a full sheet back rather than a thin hardboard panel. The back is a structural part of this box, holding it square against the constant twisting force of swinging on one edge. A properly glued and pinned back turns a floppy carcass into a rigid one.
Glue and screw every joint rather than relying on screws alone. Movement is what kills a bookcase door, and glue is what stops joints working loose over years of swinging. This is one place where more effort now saves an annual tightening ritual.
Adding A Diagonal Brace Where It Will Not Show
A single diagonal brace across the back of the carcass, hidden behind the back panel or against the concealed side, resists racking better than any amount of extra thickness. It is the same principle as the brace in a garden gate. On a tall door it is worth doing as a matter of course.
Fit the brace running from the bottom hinge corner up to the top free corner. That direction puts the brace in compression under the door’s own weight. Fitted the other way round it does considerably less.
7. Keep The Shelves Shallow And The Books Loose

Shallow shelves keep the weight down and keep the door slim. Around twenty centimetres is enough for most books, and it means the whole door is thinner, lighter and easier to hang than one built to a standard shelf depth. Deep shelves invite people to stack books two rows deep, which is how these doors get overloaded.
Fix the shelves permanently rather than using adjustable pins. A glued and screwed shelf adds enormous stiffness to the carcass, while a shelf sitting loose on four pins adds almost none. You lose adjustability and gain a door that stays square.
Add a small lip or a low rail at the front of each shelf if the door will swing often. Books slide forward with every movement, and a shallow lip stops them creeping off the edge. Keep it low enough that it reads as a detail rather than a barrier.
Why Fake Book Spines Rarely Work
Rows of glued fake spines look convincing in photographs and obviously wrong in person, because the light falls on them as a flat plane. Real books sit at slightly different depths and angles, which is exactly what the eye reads. Nothing gives a hidden door away faster than a shelf that looks painted on.
Use real books and accept the weight, or use a mix of real books and light objects if weight is genuinely critical. Boxes, framed pictures and small baskets all read as normal library contents. They also weigh a fraction of a full shelf of hardbacks.
8. Fit The Hardware Before The Shelves Go In
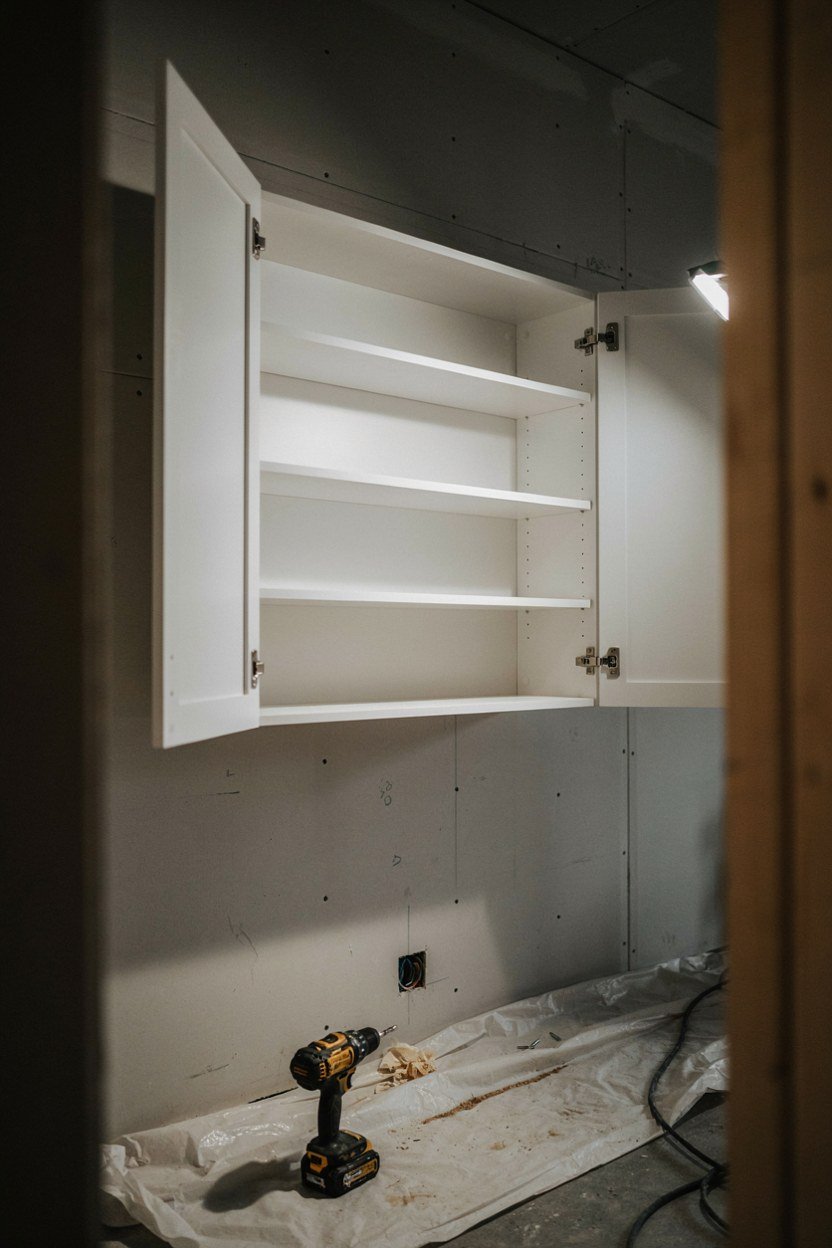
Hang the empty carcass first, then load it. An empty box is manageable by two people, whereas a filled bookcase door is not something you want to be lifting into position. This also lets you adjust the hardware while the door is light enough to move easily.
Follow the hardware setting out precisely, because pivot and concealed hinge systems have very little tolerance. Most kits specify exact distances from the edge and from the frame, and a couple of millimetres out will show as a binding door or an uneven gap. Mark everything twice before drilling.
Test the full swing before going any further. Open and close the empty door thirty or forty times, watching where it comes close to the frame at every point of the arc. Fixing a binding point now is trivial and later is not.
Setting The Pivot Into A Solid Floor
A bottom pivot needs a solid fixing, usually into concrete or into a substantial timber. On a suspended floor, that often means adding a noggin between the joists directly under the pivot point. Lifting a board to do that is far easier than dealing with a pivot that has worked loose.
Check the pivot plate sits absolutely level. A pivot fixed even slightly out of level will swing open or closed on its own, which is both irritating and a giveaway. A small spirit level and a few shims solve it in minutes.
9. Balance The Weight Front To Back

A bookcase door carries its load forward of the pivot axis, which puts a constant twisting force on the hardware. Keeping the heaviest books on the lower shelves and nearest the hinge side reduces that force considerably. It costs nothing and makes a noticeable difference to how the door feels.
Load the door evenly rather than filling one end. An unbalanced door drops at the free edge over time, and that drop is what turns a neat three millimetre gap into a visible wedge. Check the gap with a ruler after the first full load.
Leave some capacity spare. A door loaded to the limit of its hardware on the day it is built has nowhere to go when somebody adds another twenty books. Plan for roughly three quarters of the rated capacity.
Checking For Sag After The First Load
Measure the gap at the top corner of the free edge before loading and again a week after. Any change tells you the hardware is moving or the carcass is flexing, and both are far easier to address early. A millimetre of settlement is normal, more than that is a warning.
If it has dropped, take the load out and look at the fixings before adjusting anything else. Most sag is a fixing problem rather than a hardware failure. Tightening into fresh timber usually solves it.
10. Set The Gaps So The Door Disappears
Even gaps are what make a door look like a door, so break them up deliberately. Running a vertical trim strip down the free edge, or aligning the gap with the joint between two shelving units, hides the line in plain sight. The eye reads it as joinery rather than as an opening.
Keep the gap consistent along its length even while disguising it. A gap that varies from two millimetres at the top to six at the bottom draws attention immediately, because nothing else in a room tapers like that. Consistency matters more than absolute size.
Match the gap to the other shadow lines in the room. If your existing joinery has a three millimetre shadow gap, use three millimetres here and the door joins a pattern that already exists. Copying what is already there is the cheapest disguise available.
Using A Scribe Or Filler Strip
A scribe strip fixed to the frame rather than the door lets you close the gap down to almost nothing on the closing side. It also hides any variation in the frame itself. This is standard practice in fitted furniture and works just as well here.
Fit the strip to the frame, not to the moving door, so it stays put as the door swings. Attached to the door it becomes another thing that can catch. That is a common and frustrating mistake.
11. Hide The Hinge Side With A Filler Strip
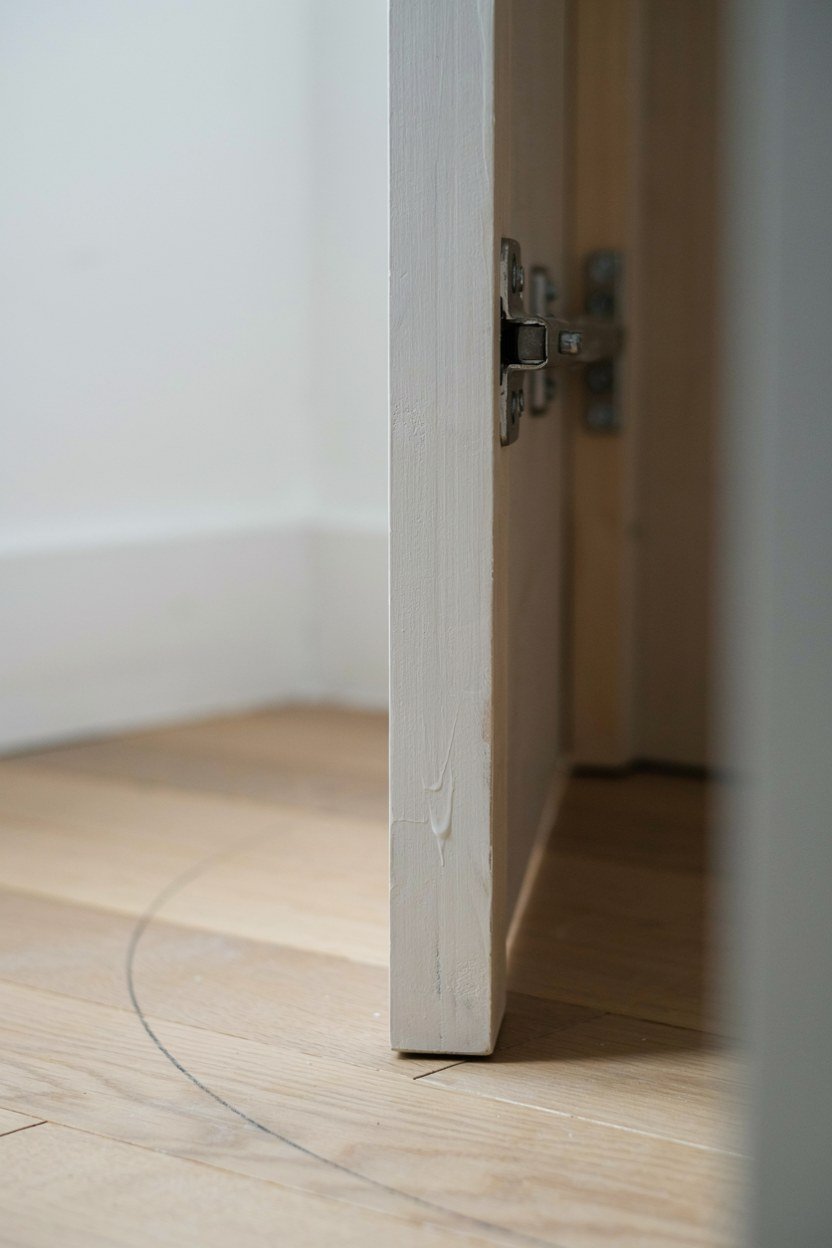
The hinge side is where a pivot door shows most, because the gap has to open up as the door swings. A filler strip or a narrow fixed panel alongside the door covers that gap in the closed position without obstructing the arc. Getting this detail right is what separates a convincing door from an obvious one.
Set the strip out from the actual travel of the door corner rather than from the closed position. Swing the empty door slowly and mark where the corner sweeps, then keep the strip clear of that line. A pencil arc on the floor makes this simple.
Finish the strip in the same material as the carcass sides. Any difference in colour or grain direction draws the eye straight to the one place you are trying to hide. Cut it from the same sheet if you can.
Dealing With The Top Gap
The top gap is the one people forget, and it is visible from across a room in the right light. A slim head trim fixed to the frame closes it in the same way a filler strip closes the sides. Keep it clear of the door’s travel at the free corner.
Avoid running a shelf or a cornice across the top of the moving door itself. Anything fixed to the door adds weight at the worst possible place. Fix it to the wall above instead.
12. Choose A Latch That Opens Without A Handle
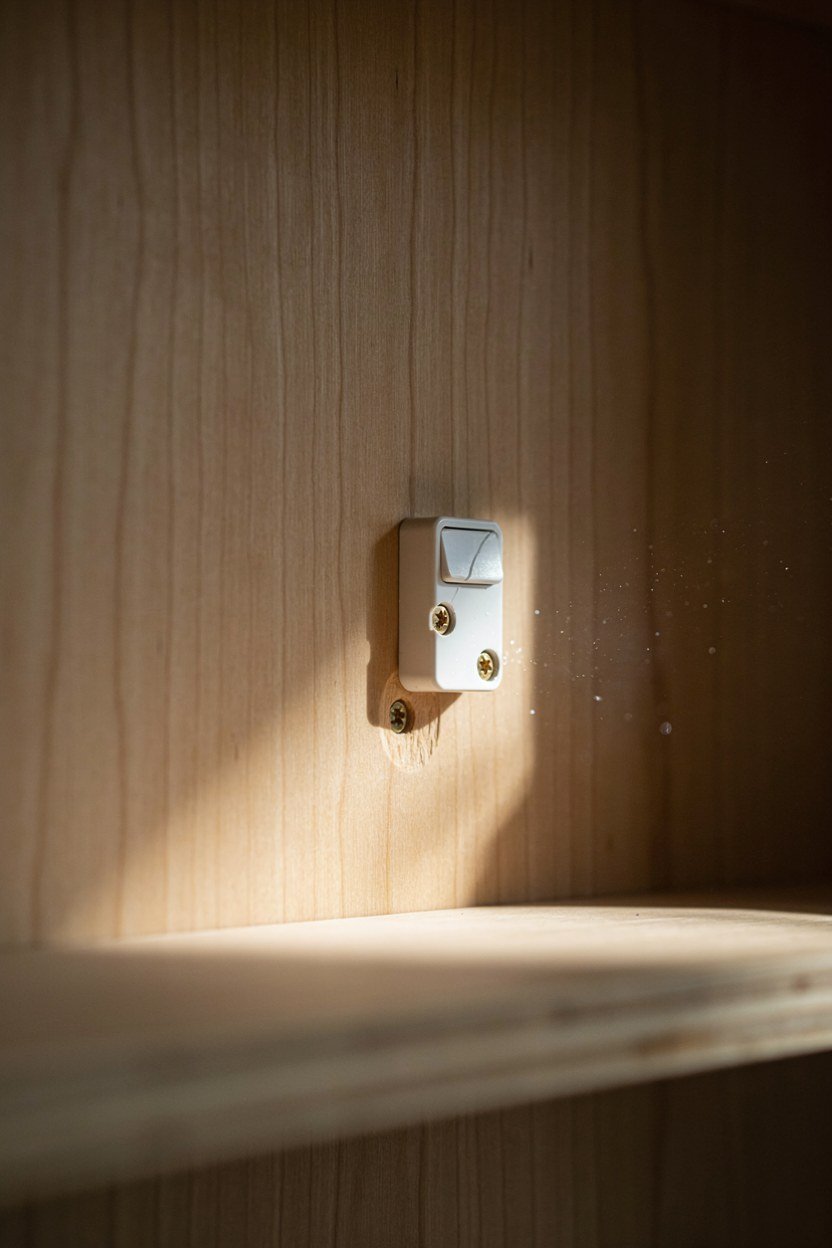
A hidden door cannot have a visible handle, so the opening mechanism has to be part of the trick. Touch latches, magnetic catches and simple friction catches all work, and each opens with a push on the shelf front or the frame. Test whichever you choose with the door fully loaded, because the force needed changes with weight.
Fit a secondary catch to hold the door closed rather than relying on the latch alone. A heavy door left on a single small catch will drift open, particularly if the floor is not perfectly level. Two catches at different heights hold the line much better.
Think about how it opens from the other side. Being able to get out of the hidden room without a handle matters more than it sounds, and a simple pull fixed inside solves it. Do not build a door that traps somebody.
The Book Or Object That Triggers It
The classic trick is a book or an object that releases the catch, and it can be done with a simple lever or cable. It is genuinely satisfying and it adds a mechanism that can fail. Build it as an extra to a working latch rather than as the only way in.
Keep the linkage short and simple. Long cable runs stretch, and complicated mechanisms in a moving bookcase come out of adjustment. Simplicity is what keeps it working in five years.
13. Deal With The Floor And The Threshold
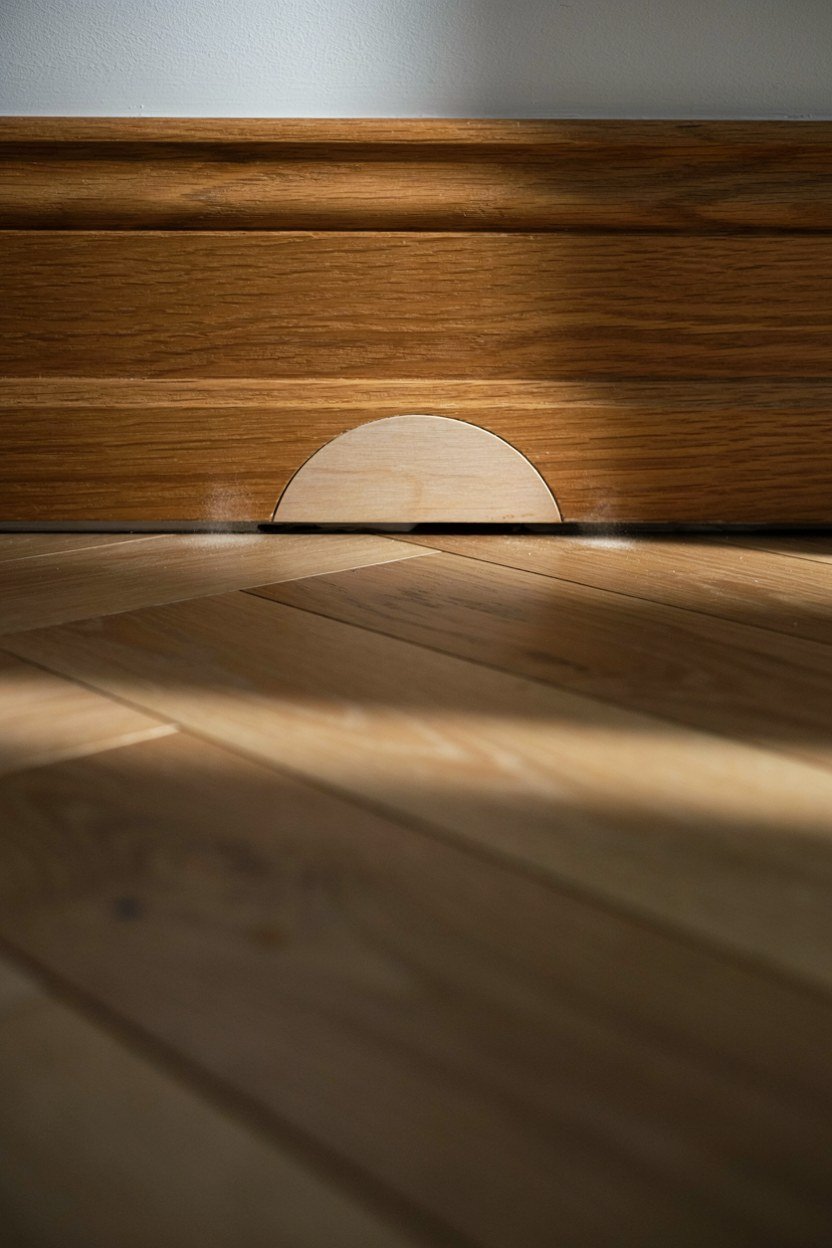
The floor under a bookcase door has to be flat and clear through the entire swing. Carpet, a threshold strip or an uneven board will all catch the bottom of the door, and a door that drags is a door that gets noticed. Check the floor with a straight edge before you hang anything.
Leave a consistent gap at the bottom, matched to the floor finish on both sides. Different floor heights either side of the opening are common and awkward, and the usual answer is to set the gap from the higher side. Trimming the door bottom later is possible but rarely tidy.
Avoid a threshold strip across the opening if you can. It breaks the illusion at floor level, which is exactly where somebody kneeling by the shelves will be looking. Continuous flooring under the door reads far better.
Carpet And Bookcase Doors
Carpet and a swinging bookcase door are an awkward combination, because the pile compresses unevenly and the door will eventually wear a visible arc into it. Hard flooring through the swing area avoids the problem entirely. Where carpet is unavoidable, keep the pile short and the gap generous.
Set the gap with the carpet actually laid rather than from the subfloor. Underlay adds more height than most people expect. Measuring from bare boards is how doors end up jamming on the day the carpet arrives.
14. Match The Trim To The Rest Of The Room
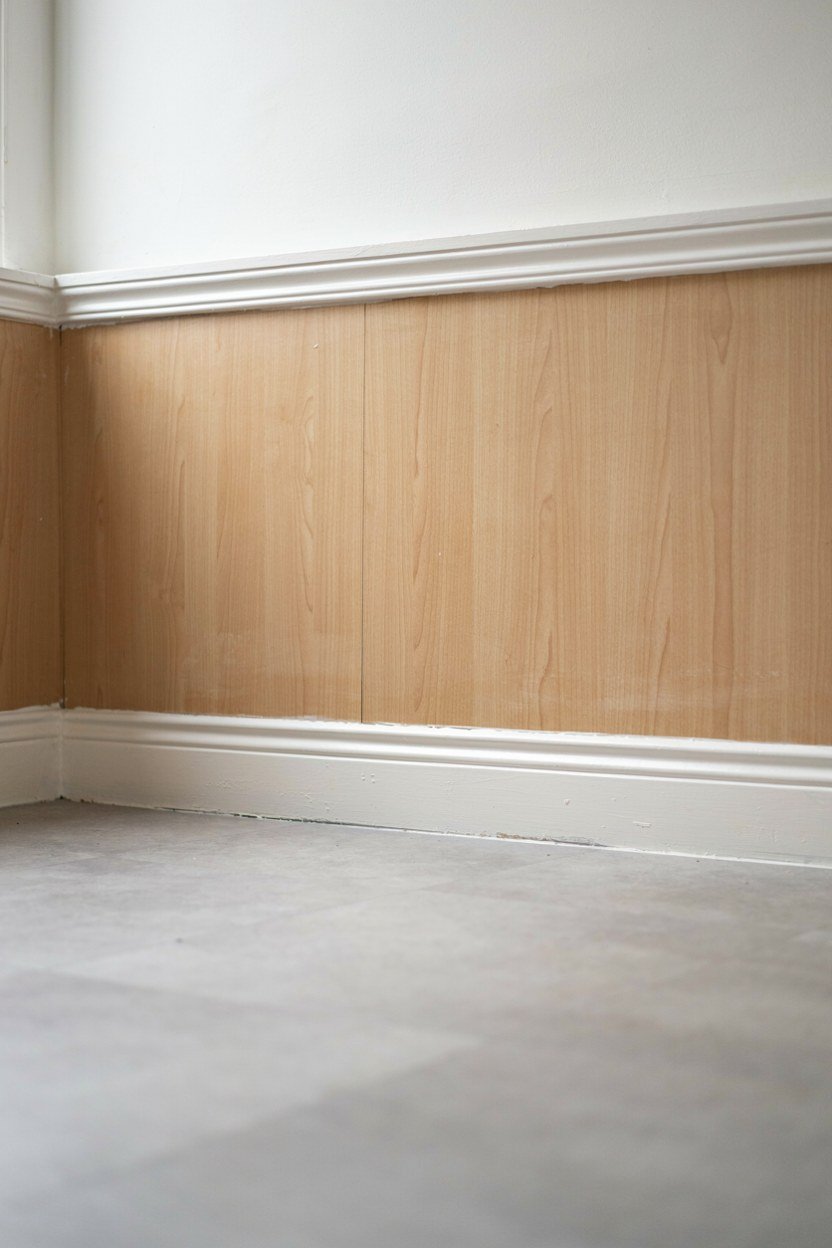
The bookcase has to belong to the room it stands in, not just to the wall it hides. Matching the skirting, the cornice profile and the paint finish to the rest of the library is what makes the eye skip over it. A perfect door in the wrong finish is still obvious.
Run the skirting across the face of the door if the design allows, cut so it separates cleanly at the gap. A skirting that stops dead at both sides of a bookcase is a strong hint that something is going on. This is a detail worth planning before the carcass is built.
Use the same paint or finish and the same sheen level as the neighbouring joinery. Sheen differences show up under raking light even when the colour matches exactly. Finish everything from the same tin on the same day if you can.
Matching An Existing Bookcase Run
If the door sits within an existing run, copy the shelf spacing, the edge thickness and the upright widths exactly. Those three dimensions are what the eye compares, and getting them close but not right is worse than being obviously different. Measure the existing unit rather than working from the plans.
Build a shallow dummy unit on the other side if the door would otherwise stand alone. Two units read as furniture, one reads as a door. It is the cheapest possible improvement to the disguise.
15. Load It And Adjust Over The First Month
A bookcase door settles, and the first month is when it does most of it. Load it fully, use it normally, and check the gaps weekly with a ruler rather than by eye. Small adjustments made early prevent the large problems that come later.
Most hardware allows fine adjustment in at least two directions, so learn where those adjusters are before you need them. A quarter turn on a pivot adjuster can bring a dropped corner back into line. Keep the instructions somewhere you will find them again.
Retighten the carcass fixings after the first few weeks. New joints bed in, and a single pass with a screwdriver keeps the box rigid. After that first month a well built door needs almost nothing.
The Annual Check Worth Doing
Once a year, empty the two lowest shelves, check the pivot or hinge fixings, and look at the gaps top and bottom. Ten minutes of attention catches everything that goes wrong with these doors. It also stops a small drop becoming a jammed door in a damp summer.
Wax or lubricate the pivot according to the maker’s instructions. A dry pivot is what makes a hidden door creak, and a creak is as much of a giveaway as a visible hinge. This is the single most useful piece of maintenance.
What A Hidden Bookcase Door Costs To Build
The hardware is the largest single line and the one worth buying properly. Pivot and concealed hinge kits made for this purpose cost considerably more than ordinary door hardware, and they are the reason the door works. Everything else on the list is ordinary joinery.
Sheet materials come next, and good birch plywood costs more than MDF while weighing less and holding screws far better. On a project where weight matters this much, that difference earns its money. Buy enough to cut the whole carcass and the filler strips from matching sheets.
The table below shows where the money goes on a typical single door in an existing opening. Treat the priorities as the useful part, since material prices move constantly. The hardware is the only line where paying more reliably buys a better door.
| Item | Priority | Notes |
|---|---|---|
| Pivot or hinge hardware | Buy well rated, do not skimp | Largest single line |
| Plywood for carcass | Birch ply, 12 to 15 mm | Lighter and stronger than MDF |
| Frame timber and fixings | Solid fixings into structure | Small cost, high consequence |
| Latch and catches | Two catches, not one | Test under full load |
| Paint or finish | Match the room exactly | Same tin, same sheen |
| Trim and filler strips | Cut from matching sheet | Where the disguise lives |
The Mistakes That Give A Hidden Door Away
Underrated hardware is the first and most damaging. A door hung on hinges intended for something lighter will sag within weeks, and every fix after that is a patch on a problem that should never have existed. Buy for the loaded weight with margin.
Building it too heavy is the second. Thick boards, deep shelves and a double row of hardbacks add up to a door the hardware cannot hold steady, and the fix is to take it apart. Shallow shelves and lighter sheet materials avoid the whole issue.
Leaving it standing alone is the third and the most common design error. A single bookcase on a blank wall with an even gap all round is recognisably a door, regardless of how well it is built. Give it neighbours, even shallow fake ones.
Forgetting The Room Behind It
A hidden room needs light, ventilation and a way out from the inside, and it is easy to focus so hard on the door that these get forgotten. A sealed cupboard with no airflow will smell damp within a season. A switch and a vent are small jobs at build stage and awkward afterwards.
Never let a hidden door be the only exit from a room where somebody might sleep or work alone. That is a safety issue rather than a design one. Check what your local building rules require before you build.
Conclusion: Three Things That Decide Whether It Works
If you take three things from this, take the hardware, the weight and the context. A pivot or concealed hinge system rated well above your loaded weight is what makes the door behave like furniture instead of like a door. It is the most expensive line and the one that decides everything else.
Weight is the second, and it is controlled at the design stage rather than fixed later. Shallow shelves, lighter sheet materials, a stiff back panel and a diagonal brace give you a rigid carcass that does not need to be heavy. Every kilogram you leave out is a kilogram the hardware does not have to hold in place for the next twenty years.
Context is the third and the cheapest. A bookcase door surrounded by other bookcases, finished in the same paint, with the skirting running across it and the gap aligned to an existing joint, simply does not read as a door. Build the neighbours before you worry about clever latches.
Frequently Asked Questions About Hidden Bookcase Doors
What hardware do I need for a hidden bookcase door?
A bottom pivot or a concealed hinge system made for this purpose, rated well above the loaded weight of the door. Ordinary butt hinges are not suitable and will sag.
How heavy can a bookcase door be?
That depends entirely on the hardware you buy, so work out the loaded weight first and choose a kit with spare capacity. Aim to run at around three quarters of the rated limit.
How deep should the shelves be?
Around twenty centimetres suits most books and keeps the door slim and light. Deeper shelves invite double stacking, which is how these doors get overloaded.
Can I fit one into a stud wall?
Yes, provided you fix the frame into the studs and add noggins where needed. Never fix a door frame into plasterboard alone.
Do fake book spines work?
Rarely, because they read as a flat plane and the light gives them away. Real books at slightly different depths look far more convincing.
Is a hidden door safe as a bedroom door?
It should never be the only way out of a room where someone sleeps, and it must not block an escape route. Check the building rules that apply where you live before building.